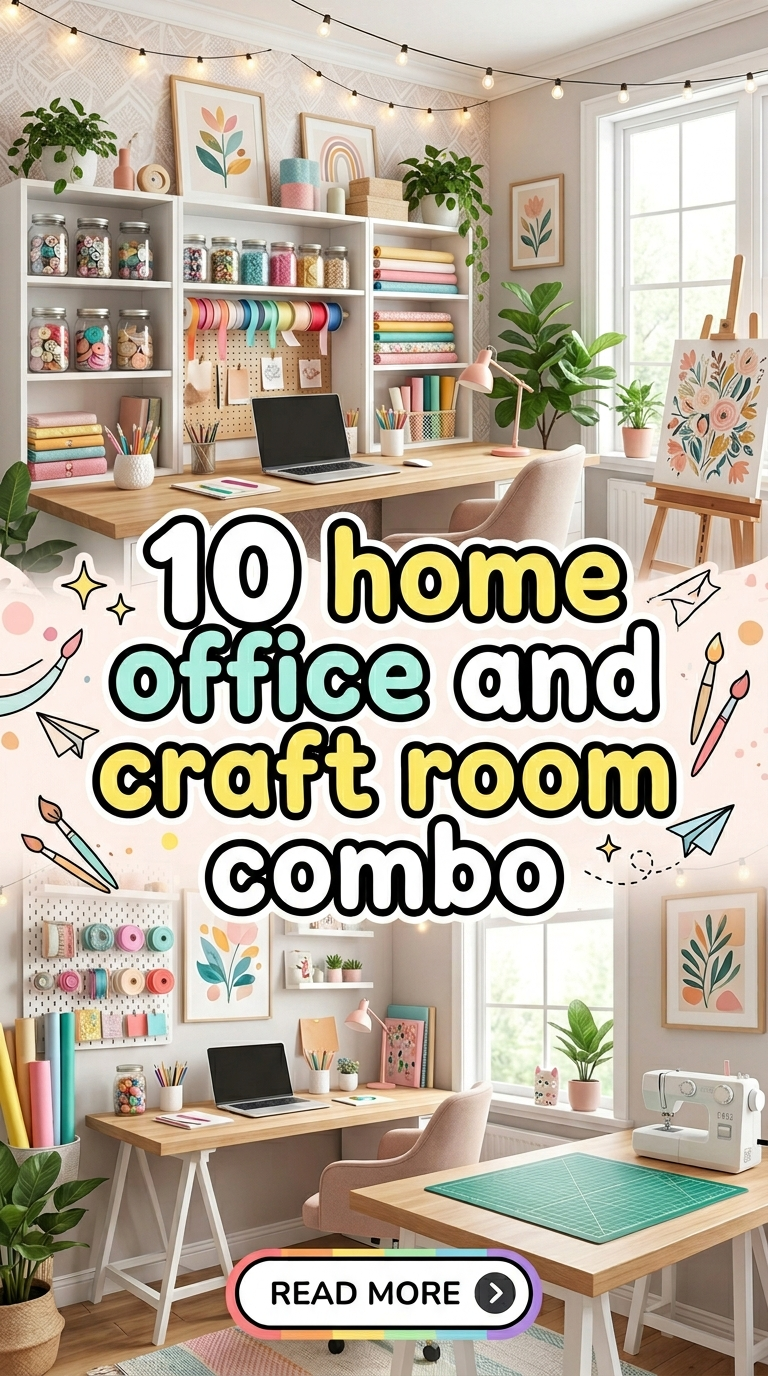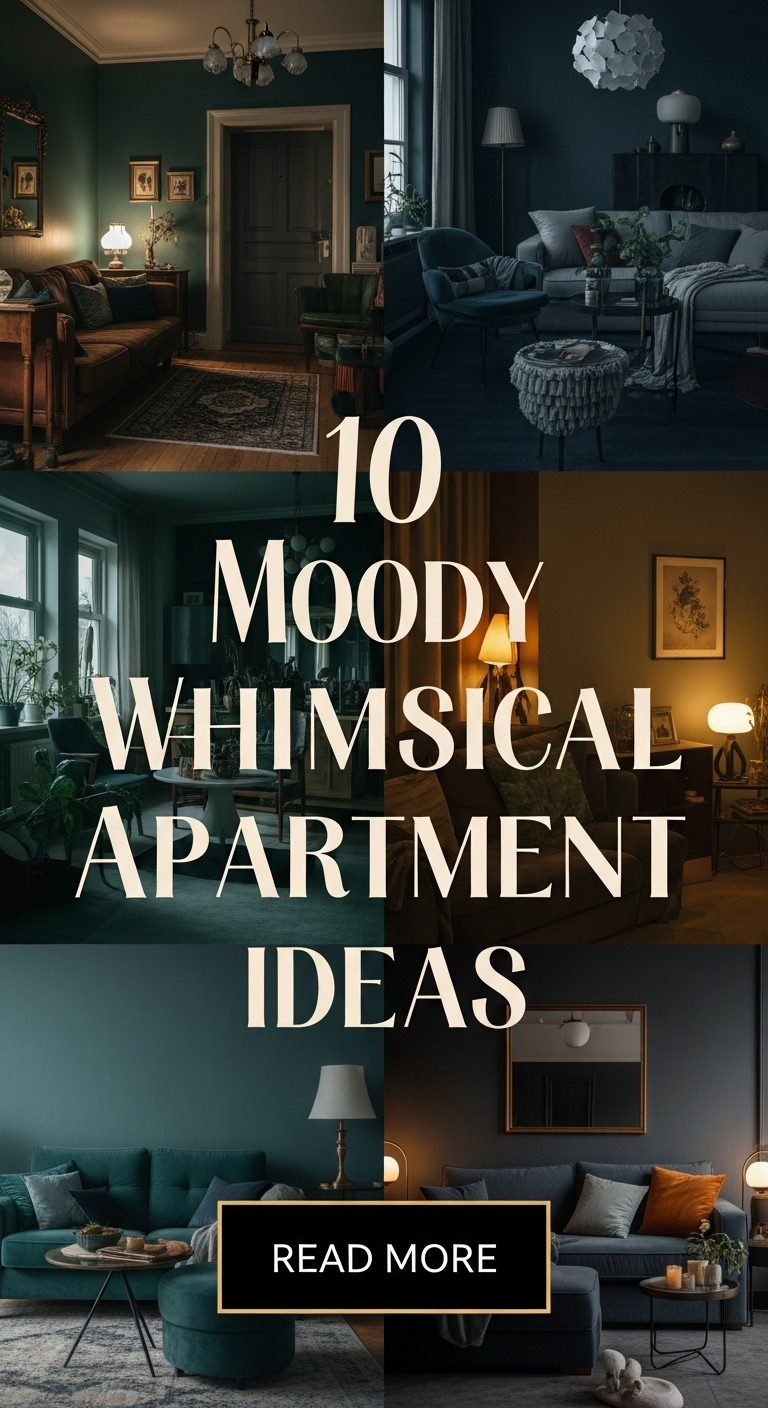
10 Moody Whimsical Apartment Ideas
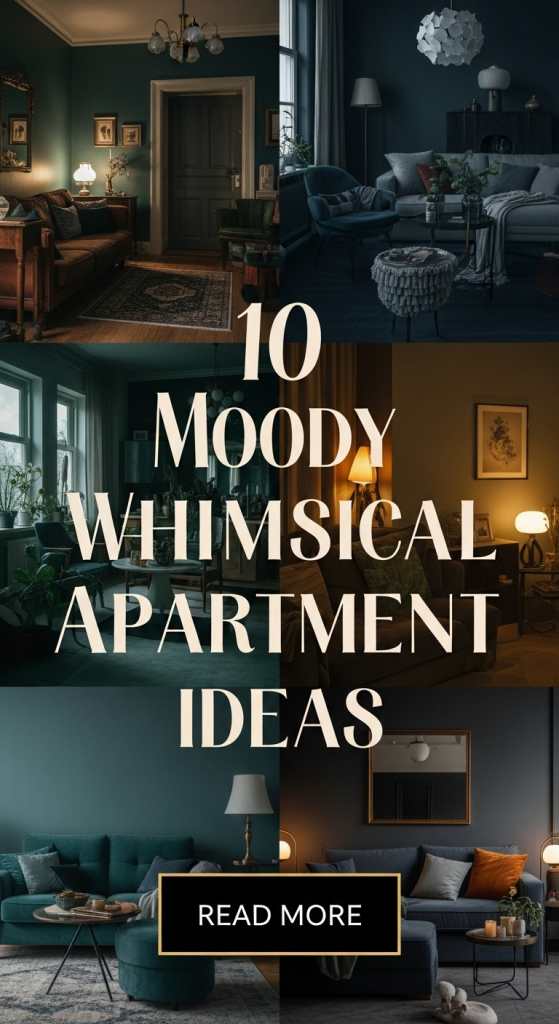
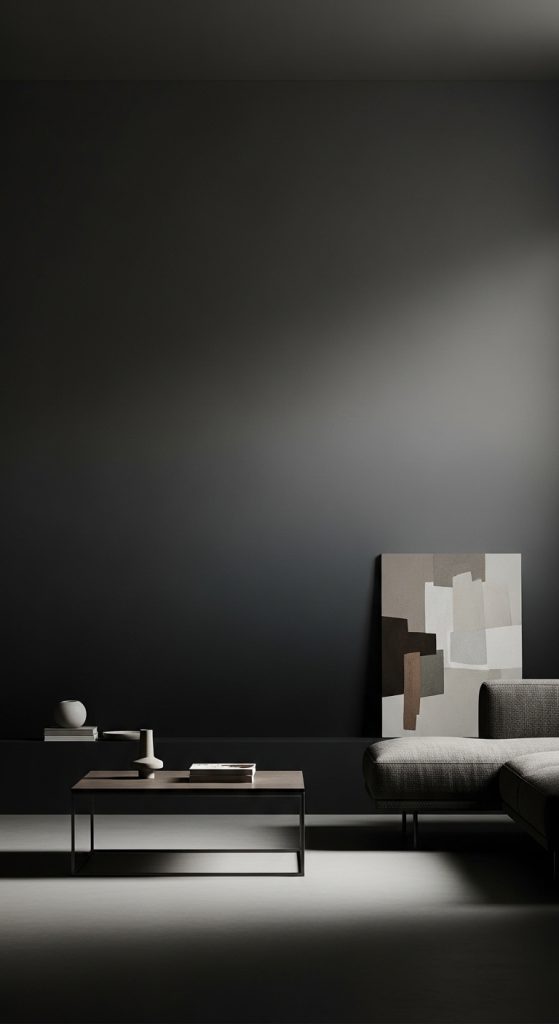
Moody whimsical apartment decor combines deep, atmospheric tones with playful and imaginative design elements to create a visually rich and balanced living space. This style blends darker color palettes such as charcoal, deep green, and muted plum with soft textures, layered lighting, and artistic accents. It is widely featured in Pinterest ideas because it offers a distinctive aesthetic that stands out while remaining functional and organized.
This article explains how to create a moody whimsical apartment using ten detailed DIY concepts. Each idea is structured as a clear tutorial with step-by-step guidance, making it accessible for beginners. The focus remains on combining modern design principles with creative ideas that enhance both visual appeal and usability.
This approach is useful because it allows individuals to transform small apartments into expressive environments without requiring complex techniques or expensive materials. It supports personalization while maintaining organization and balance. By following this guide, readers will learn how to develop a cohesive aesthetic that integrates lighting, texture, and structure into a unified creative project.
Why This Idea Is Trending or Useful
Moody whimsical apartment ideas are trending because they provide a unique alternative to bright minimalist interiors. This style emphasizes contrast, depth, and layered design, which creates a more immersive and visually engaging environment. Pinterest inspiration increasingly highlights darker tones combined with soft decorative elements, making this approach highly relevant in modern home decor.
The practical value of this style lies in its adaptability. It works effectively in small apartments by using lighting and texture to define space instead of relying on large furniture pieces. This makes it suitable for individuals seeking both functionality and aesthetic enhancement.
The DIY appeal is another key factor. These projects use accessible materials and simple methods, allowing beginners to participate without specialized skills. Step-by-step tutorials make it easy to follow each process and achieve consistent results.
This style also supports organization by encouraging intentional placement of decor elements. Each item contributes to the overall design without creating clutter. The combination of creative ideas and structured planning makes moody whimsical decor both practical and visually distinctive.
Materials and Preparation
Preparing for moody whimsical apartment DIY projects requires selecting materials that support both dark tones and soft textures. Common materials include matte paints in deep colors, fabric such as velvet or linen, wooden boards, string lights, metal accents, and decorative paper. These materials help achieve a layered and cohesive aesthetic.
Basic tools such as brushes, rollers, measuring tape, cutting tools, glue guns, and adhesive strips should be arranged before starting. A well-lit workspace is essential for accuracy, especially when working with darker shades that require careful application.
Planning is a critical step in this process. Measure walls, furniture, and available space to determine placement. Sketching layouts helps visualize how each element will interact within the apartment. This ensures that the design remains balanced and does not overwhelm the space.
Surface preparation is equally important. Clean and smooth all surfaces before applying paint or attaching materials. This improves durability and finish quality. Following a structured planning method ensures that each step of the DIY tutorial is completed efficiently and produces a polished result.
Idea 1: Dark Botanical Wall Panels
How to Create
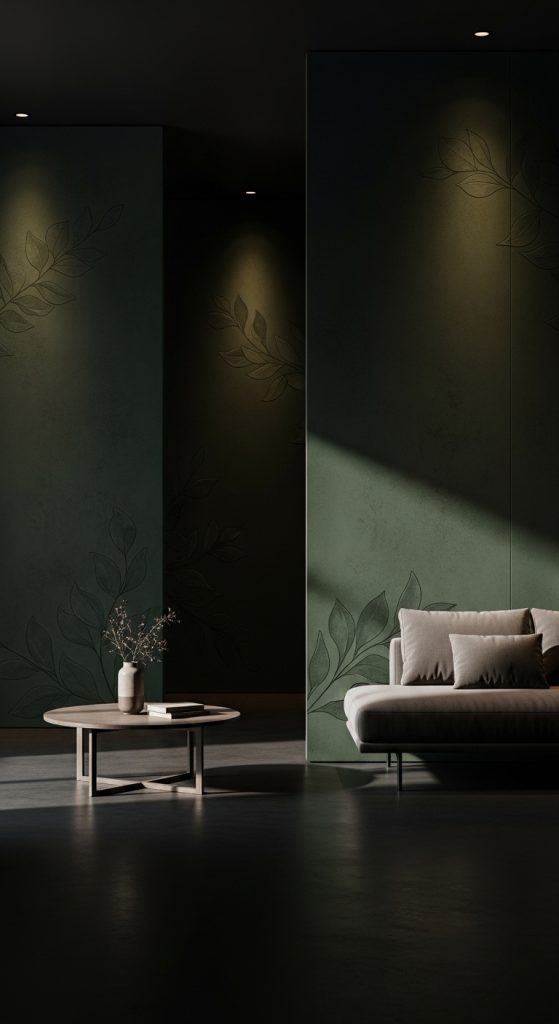
Dark botanical wall panels combine nature-inspired elements with moody color palettes to create depth and texture. This concept involves using deep green or charcoal backgrounds paired with subtle leaf patterns to produce a layered visual effect. The panels serve as a focal point while maintaining a minimalist style.
To create this design, begin by selecting panel boards and applying a matte base coat in a dark shade. Once dry, use stencils or freehand techniques to add botanical patterns in slightly lighter tones. Maintain consistency in spacing and scale to ensure balance.
Mount the panels evenly on the wall using adhesive strips or brackets. Ensure alignment to maintain a clean and organized appearance. This step-by-step process results in a refined decorative feature that enhances both aesthetic and structure.
Idea 2: Layered Ambient Lighting Setup
Step-by-Step Guide
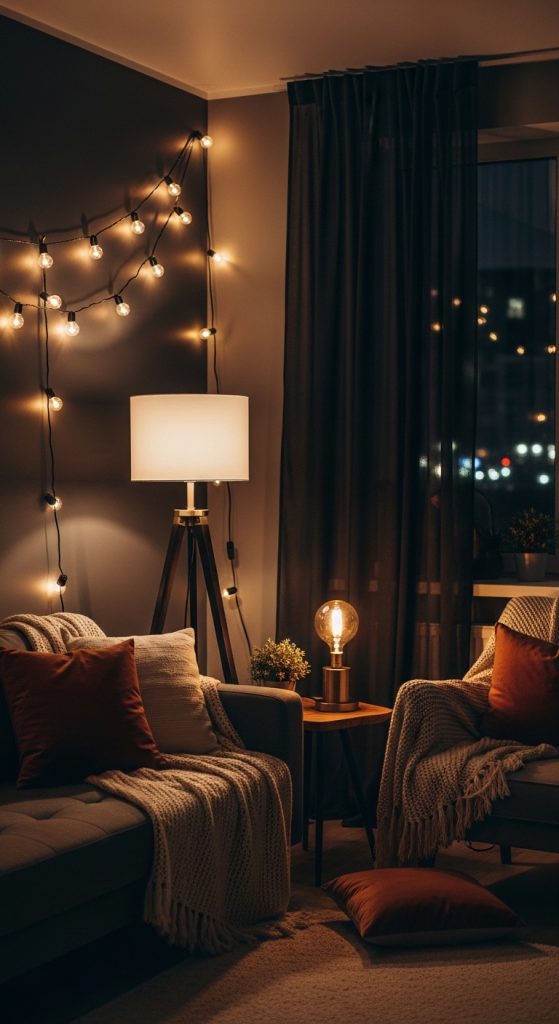
Layered ambient lighting is essential for achieving a moody whimsical atmosphere. This idea focuses on combining multiple light sources to create depth and warmth without overpowering the space.
Start by selecting warm-toned lights such as string lights, small lamps, and indirect lighting fixtures. Position lights at different heights to create layers. Place some near the floor and others at eye level to distribute illumination evenly.
Adjust brightness levels to maintain a soft glow. Avoid harsh lighting to preserve the intended mood. This setup enhances both functionality and aesthetic appeal, making it a practical addition to any apartment.
Idea 3: Velvet Texture Accent Corner
How to Make
A velvet texture accent corner introduces softness and contrast within a dark-toned environment. This idea uses fabric to create a tactile and visually rich space.
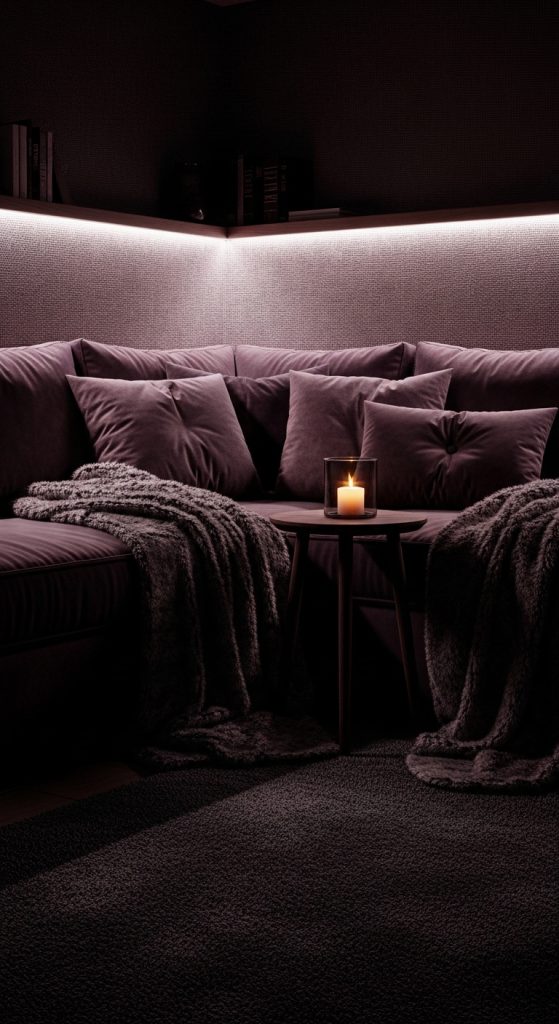
Select velvet or similar textured materials in deep shades. Apply them to cushions, wall panels, or seating areas. Arrange the elements in a defined corner to create a cohesive setup.
Ensure balance by combining textures with simpler surfaces. This prevents visual overload and maintains organization. The result is a comfortable and aesthetically consistent feature.
Idea 4: Floating Candle Display Shelves
Execution Process
Floating candle shelves provide both lighting and decorative value. This idea uses candles as focal elements within a structured display.
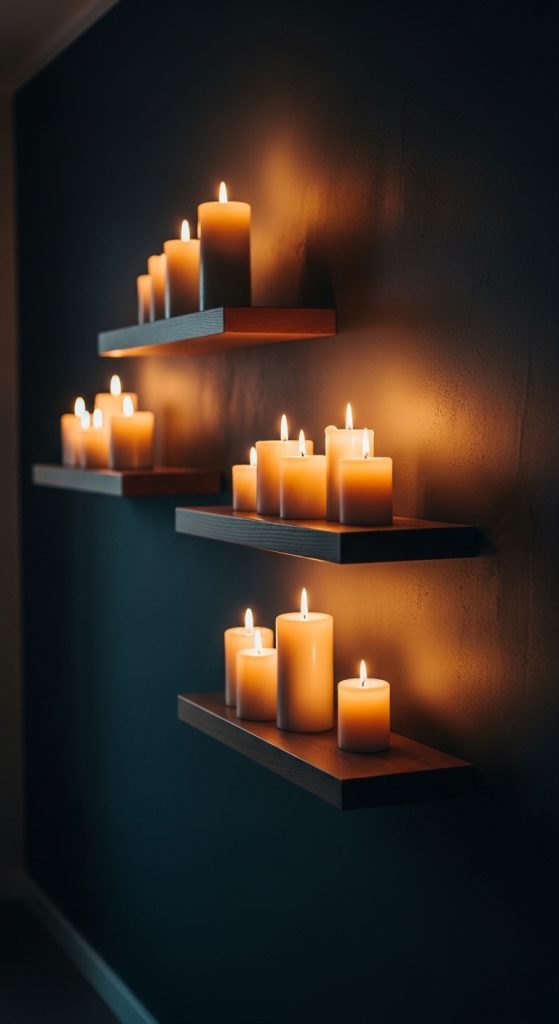
Install narrow shelves on the wall and arrange candles in varying heights. Use consistent spacing to maintain symmetry.
Ensure safety by placing candles securely and away from flammable materials. This project adds warmth and enhances the moody atmosphere.
Idea 5: Painted Gradient Feature Wall
How to Create
A gradient feature wall adds depth through color transitions. This idea uses blending techniques to create a smooth shift between dark shades.
Apply the darkest color at the base and gradually blend into lighter tones toward the top. Use a dry brush or sponge for seamless transitions.
Allow each layer to dry before adjustments. This method creates a visually engaging background that enhances the overall decor.
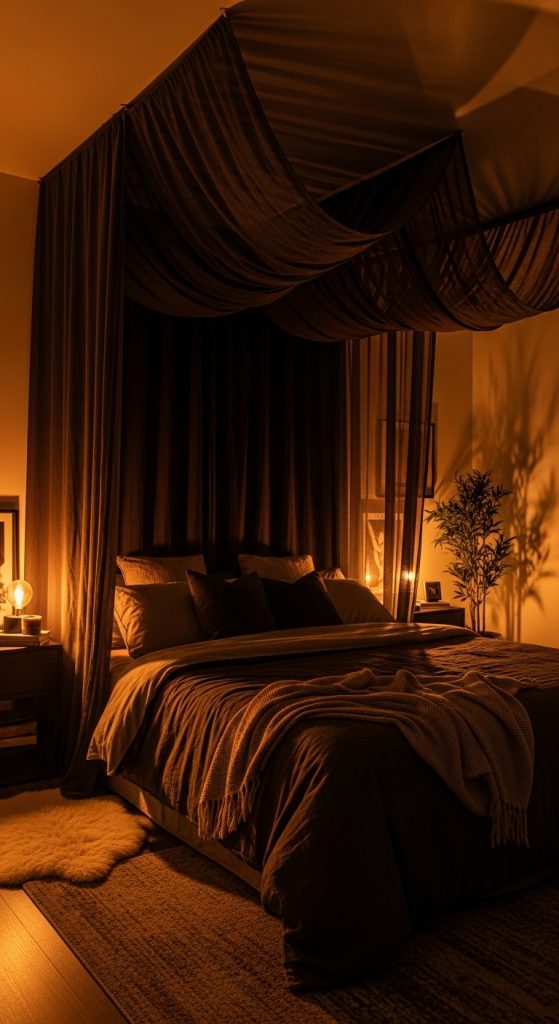
Idea 6: Hanging Fabric Canopy
Step-by-Step Guide
A hanging fabric canopy introduces softness and movement. This idea works well above seating or sleeping areas.
Attach lightweight fabric to ceiling hooks and drape it loosely. Use dark or muted tones to match the theme.
Adjust folds and spacing for balance. This setup enhances both comfort and visual appeal.
Idea 7: Artistic Mirror Placement
How to Make
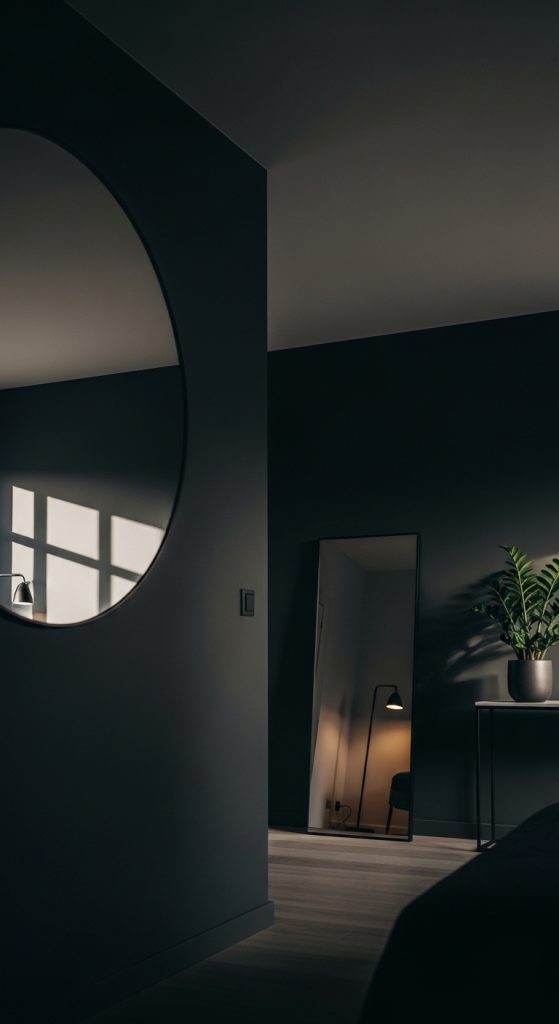
Strategic mirror placement enhances light reflection and depth. This idea uses mirrors as both functional and decorative elements.
Choose mirrors with simple frames and arrange them in a structured pattern. Position them to reflect light sources and expand visual space.
Ensure secure installation and alignment. This method improves both brightness and aesthetic balance.
Idea 8: Minimalist Dark Shelf Styling
Execution Process
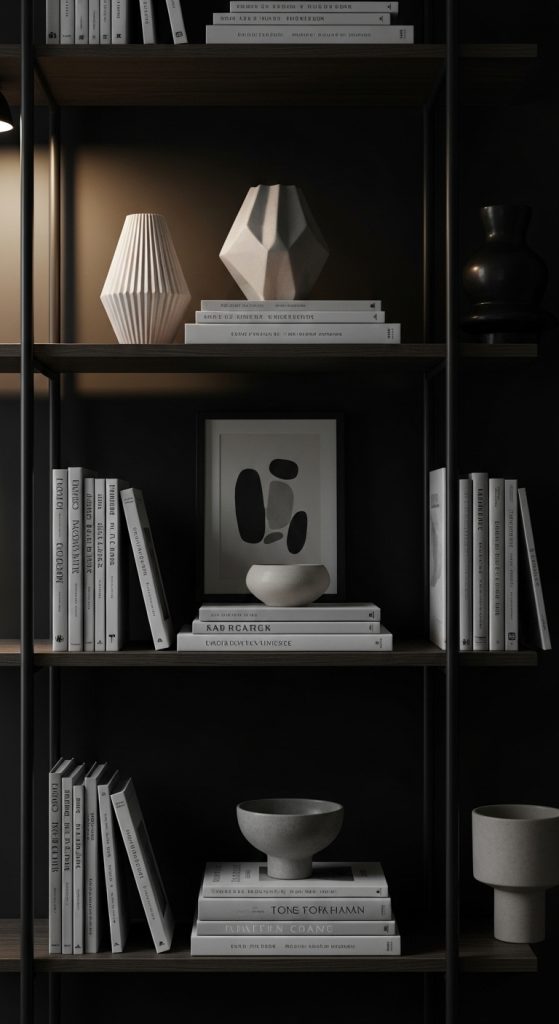
Dark shelf styling focuses on organizing items within a cohesive color palette. This idea emphasizes simplicity and structure.
Arrange books, decor, and small objects using consistent spacing. Maintain a limited color range to avoid clutter.
This approach enhances organization while contributing to the overall design.
Idea 9: Soft Rug Layering Technique
How to Create
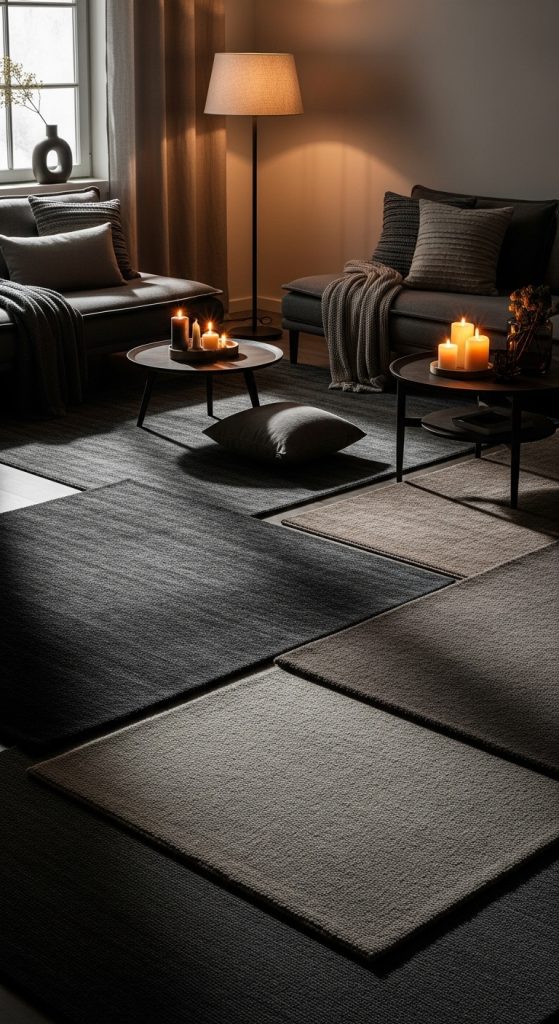
Layering rugs adds texture and warmth to the apartment. This idea combines different materials and shades for depth.
Place a larger neutral rug as the base and layer a smaller textured rug on top. Align them carefully to maintain balance.
This method improves comfort and visual interest.
Idea 10: Handmade Wall Art Frames
Step-by-Step Guide
Handmade wall art frames provide personalization and creative expression. This idea uses simple materials to create cohesive artwork.
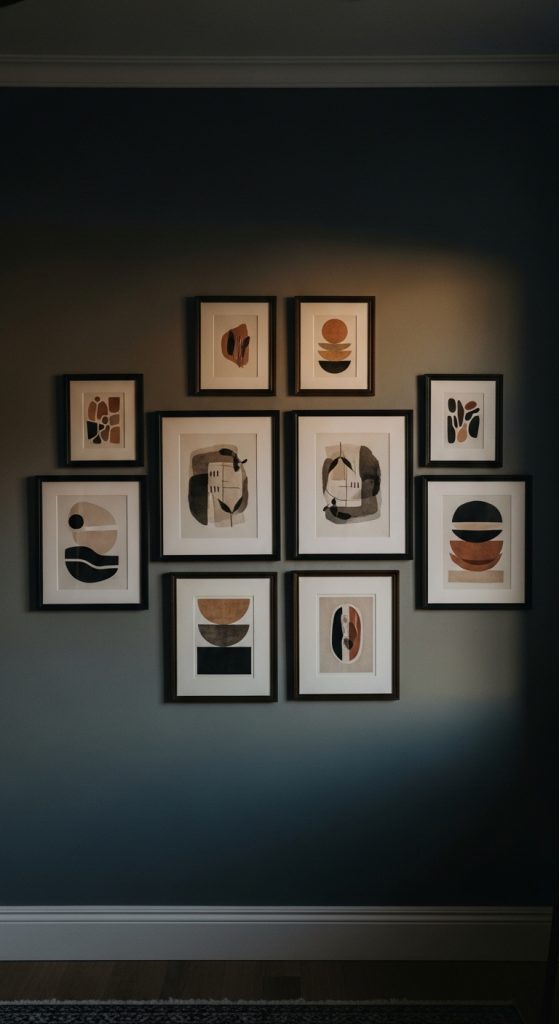
Prepare frames and fill them with dark-toned prints or abstract designs. Arrange them evenly on the wall.
Ensure consistent spacing and alignment. This project adds character and completes the decor.
Common Beginner Mistakes and How to Avoid Them
A common mistake in moody whimsical decor is overusing dark tones without balancing them with light or texture. This can make the space feel heavy and reduce visual clarity. To avoid this, incorporate layered lighting and contrasting materials such as soft fabrics or reflective surfaces. Another frequent issue is poor planning, which leads to uneven placement and cluttered arrangements. Measuring spaces and sketching layouts before starting ensures better organization.
Using inconsistent color palettes can also disrupt the overall aesthetic. Stick to a defined range of shades to maintain cohesion. Skipping preparation steps such as cleaning surfaces or applying primer can result in poor finishes and reduced durability.
Rushing through projects often leads to mistakes in alignment and execution. Allow sufficient time for each step, especially when working with paint or adhesive materials. Careful planning and execution improve both functionality and visual appeal.
Practical Tips for Better Results
Working with proper lighting conditions improves accuracy when applying dark colors. Keep tools and materials organized to maintain efficiency. Use painter’s tape and measuring tools to achieve clean lines and symmetry.
Test color combinations on small areas before applying them fully. This ensures consistency with the overall design. Combine textures such as fabric, wood, and metal to create depth without clutter.
Focus on functional placement of decor elements. Each item should contribute to both organization and aesthetic value. This approach ensures a balanced and practical result.
Styling, Presentation, or Organization Ideas
Arrange decor elements in layers to create depth. Use vertical space effectively to maintain floor area. Combine soft lighting with dark surfaces to highlight key features.
Group items in structured arrangements to maintain organization. Avoid overcrowding by limiting the number of decorative elements.
Use consistent styling across different areas to create a cohesive environment. This improves both visual flow and usability.
Budget or Time Planning
Set a clear budget before starting each project. Choose materials that provide durability without exceeding cost limits. Reuse existing items whenever possible to reduce expenses.
Divide projects into smaller steps to manage time effectively. Allocate time for preparation, execution, and finishing.
Planning ahead ensures efficient use of both time and resources while maintaining consistent progress.
Creative Expansion and Advanced Inspiration
Combine multiple ideas to create more complex designs, such as integrating lighting with wall panels or combining fabric textures with shelving. Experiment with layering techniques and mixed materials to enhance depth.
Explore variations in color gradients and patterns to expand creative possibilities. Advanced setups can include modular designs that allow flexibility and adjustments over time.
These creative ideas support continuous improvement while maintaining the moody whimsical aesthetic.