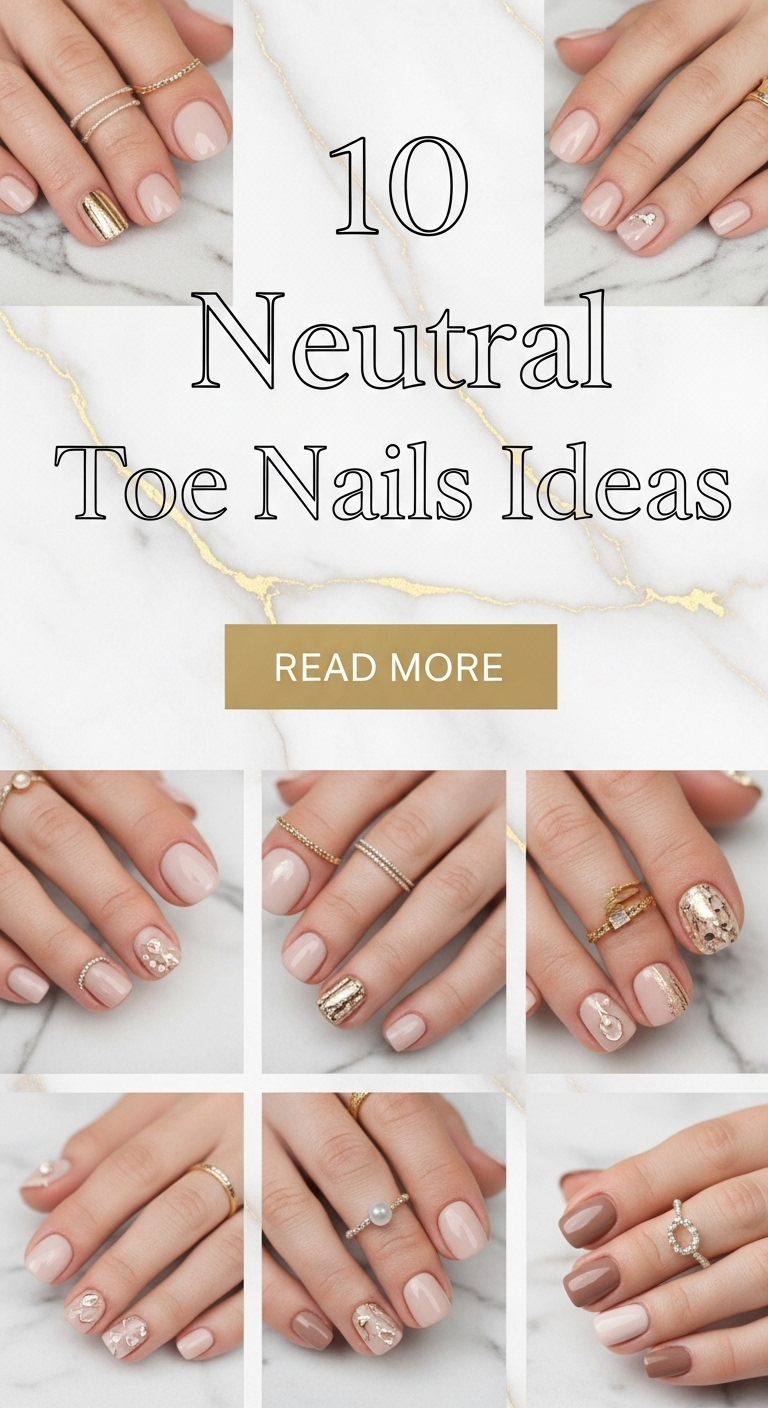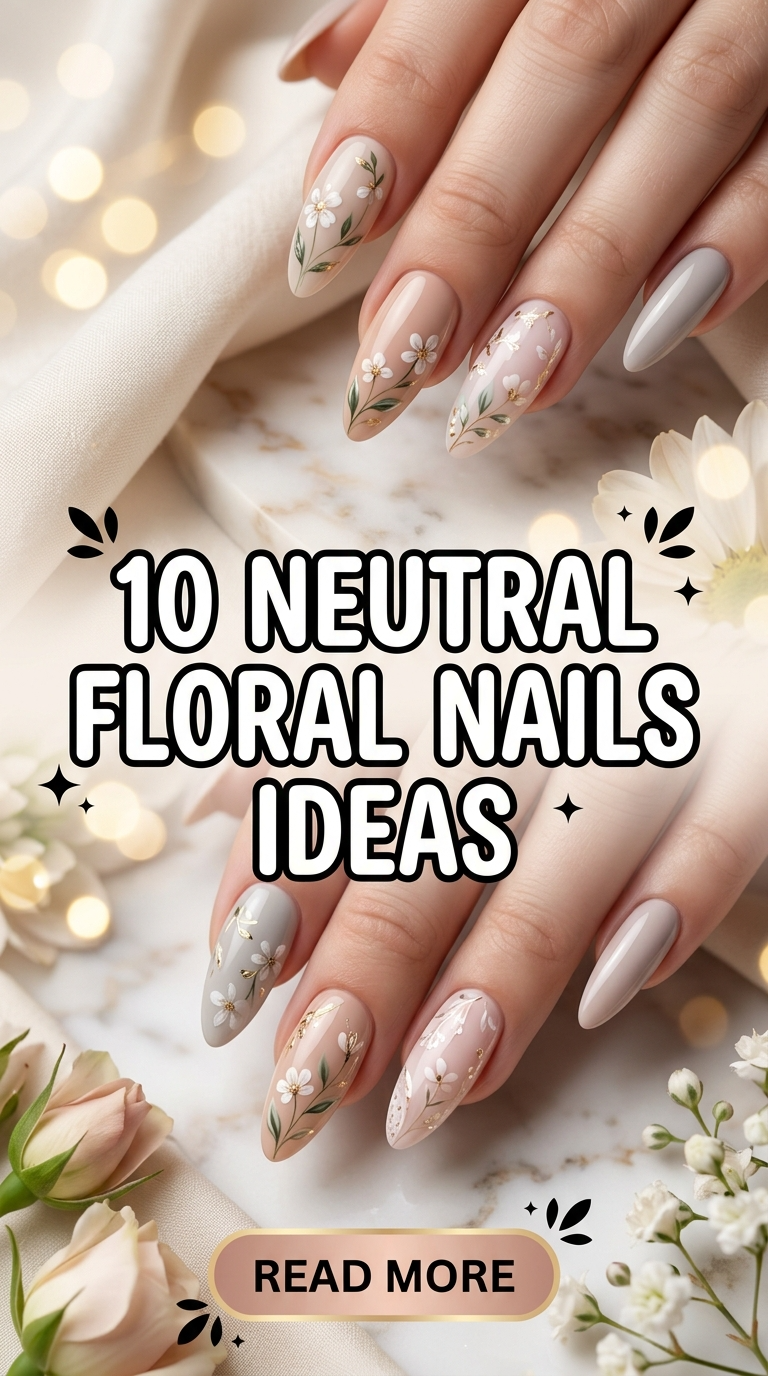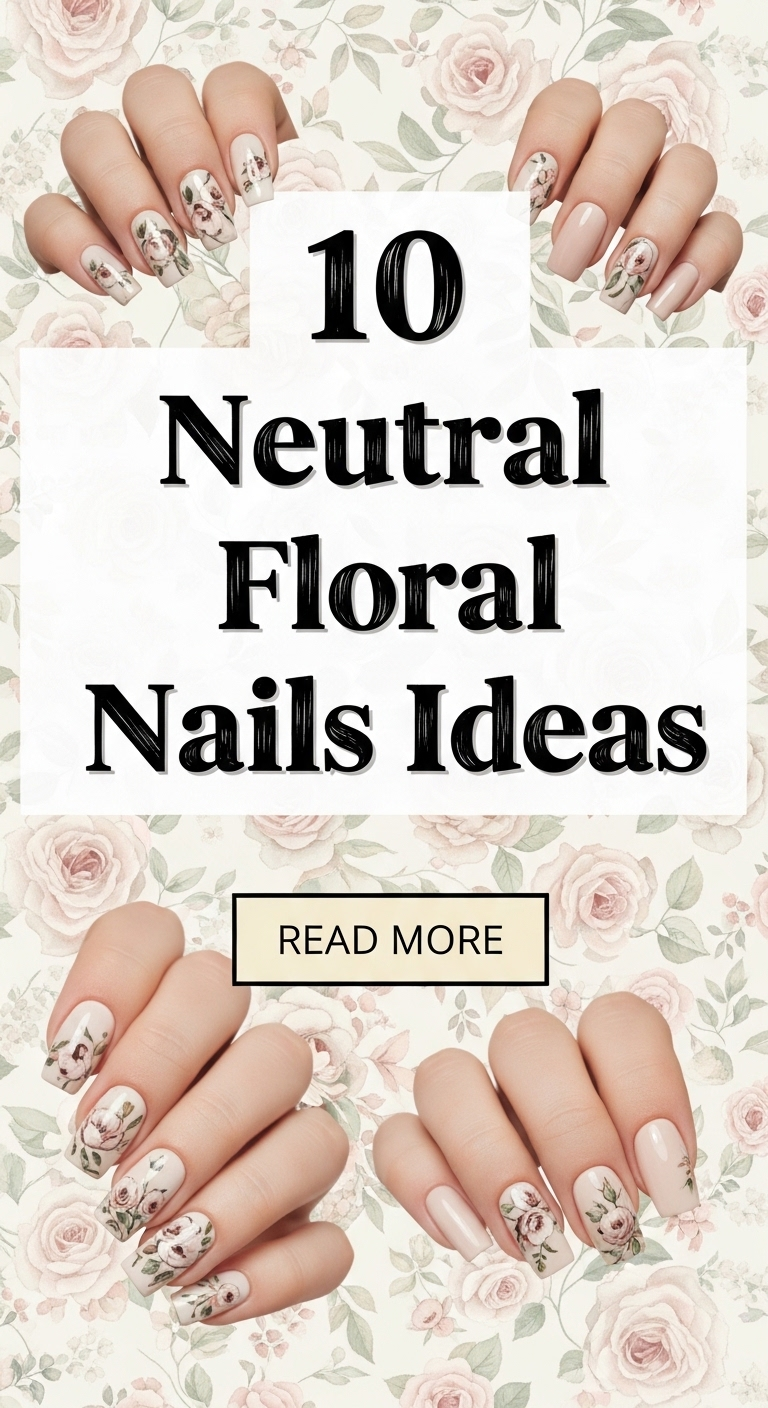
10 Neutral Floral Nails Ideas

Neutral floral nails ideas are widely shared across Pinterest ideas because they combine soft color palettes with detailed decorative elements. This style focuses on using neutral tones such as beige, nude, soft pink, and light taupe as a base, while adding floral designs to create a balanced and refined aesthetic. The combination results in a manicure that is visually appealing without being overly bold, making it suitable for everyday wear as well as special occasions. Floral nail art introduces natural patterns that enhance the overall design while maintaining subtlety.
This article provides a complete tutorial-style guide to creating neutral floral nail designs through ten structured ideas. Readers will learn how to prepare materials, select color combinations, and apply floral details step by step. Each idea offers a practical and beginner friendly method that can be adapted to different nail shapes and lengths. The goal is to combine creative ideas with clear execution so that each design can be completed with precision. These techniques support a clean and aesthetic finish aligned with modern minimalist style and current trending ideas.
Why This Idea Is Trending or Useful
Neutral floral nails remain popular because they align with modern design preferences that emphasize simplicity and natural aesthetics. Pinterest inspiration often highlights styles that balance creativity with practicality, and this approach meets those requirements. Neutral tones create a clean base that complements various outfits and occasions, while floral patterns add visual interest without overwhelming the design. This combination makes the style versatile and widely applicable.
The method is useful because it allows flexibility in both color selection and pattern design. Floral elements can be adjusted in size, placement, and detail, making the process accessible for beginners working on DIY projects. Neutral colors are also forgiving, as small variations in application are less noticeable compared to bold tones. This reduces the risk of visible mistakes. Additionally, the style supports long-term wear, as neutral shades grow out more naturally. The combination of adaptability, ease of execution, and aesthetic appeal explains why neutral floral nails continue to appear in trending ideas and serve as a reliable source of creative inspiration.
Materials and Preparation
Creating neutral floral nails requires proper preparation and the correct materials to achieve clean and consistent results. Essential materials include a base coat, neutral nail polishes in various shades, a top coat, fine nail art brushes, dotting tools, nail file, buffer, cuticle pusher, and nail cleanser. These tools allow precise application and detailed design work. Selecting a range of neutral tones ensures flexibility in creating different combinations.
Preparation begins with cleaning and shaping the nails. Use a file to achieve the desired shape and a buffer to smooth the surface. Push back cuticles to create a clean base for application. Apply a base coat to protect the nails and improve polish adherence. Planning the floral design before starting ensures better organization and placement. Decide whether the flowers will be minimal or detailed and determine their position on each nail. Proper preparation supports a structured workflow and reduces the likelihood of errors, making the process efficient and beginner friendly.
Idea 1: Soft Nude Base with Minimal Floral Accents
How to Create
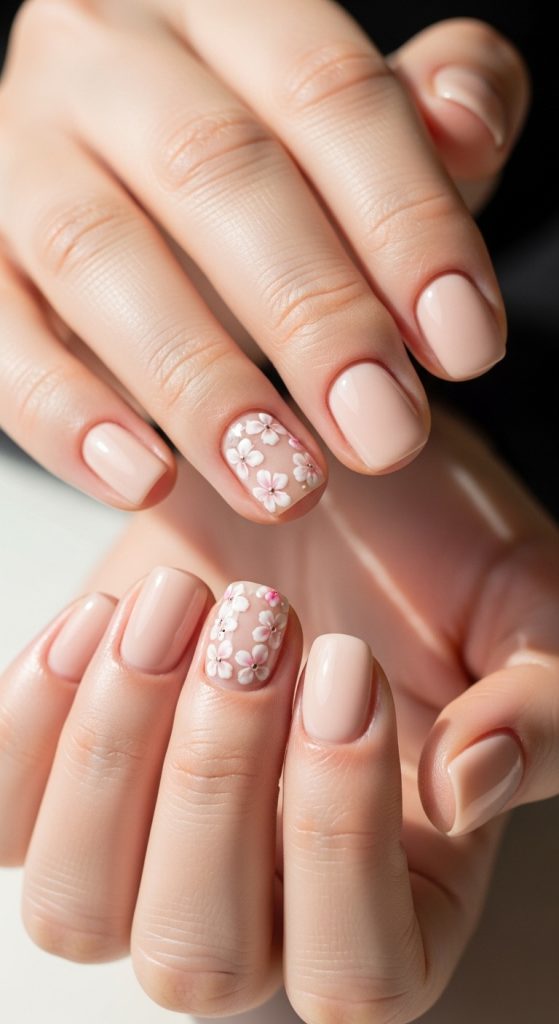
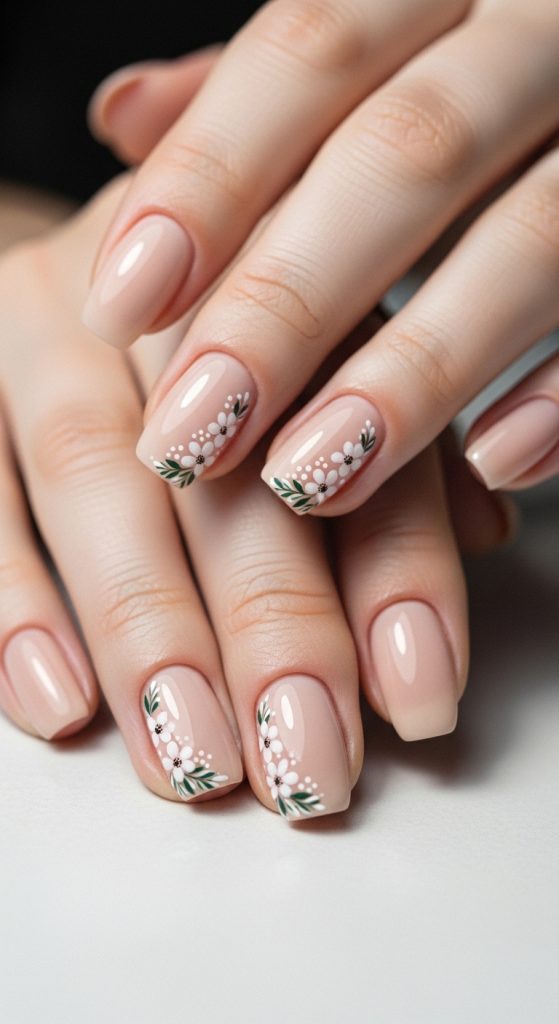
This design focuses on a soft nude base combined with small floral accents placed strategically on one or two nails. The goal is to maintain a clean and minimalist aesthetic while introducing a subtle decorative element. The neutral base ensures that the flowers remain the focal point without overwhelming the overall look. This approach aligns with modern design principles that emphasize simplicity and balance.
To create this look, apply a nude polish evenly across all nails and allow it to dry completely. Using a fine brush or dotting tool, create small flower shapes on selected nails by placing dots in a circular pattern. Add a contrasting center dot to complete the floral design. Keep the size of the flowers small to maintain subtlety. Allow the design to dry before applying a top coat to seal the artwork. This step by step method ensures a clean and refined finish.
Idea 2: Beige Matte Floral Nails
Step-by-Step Guide
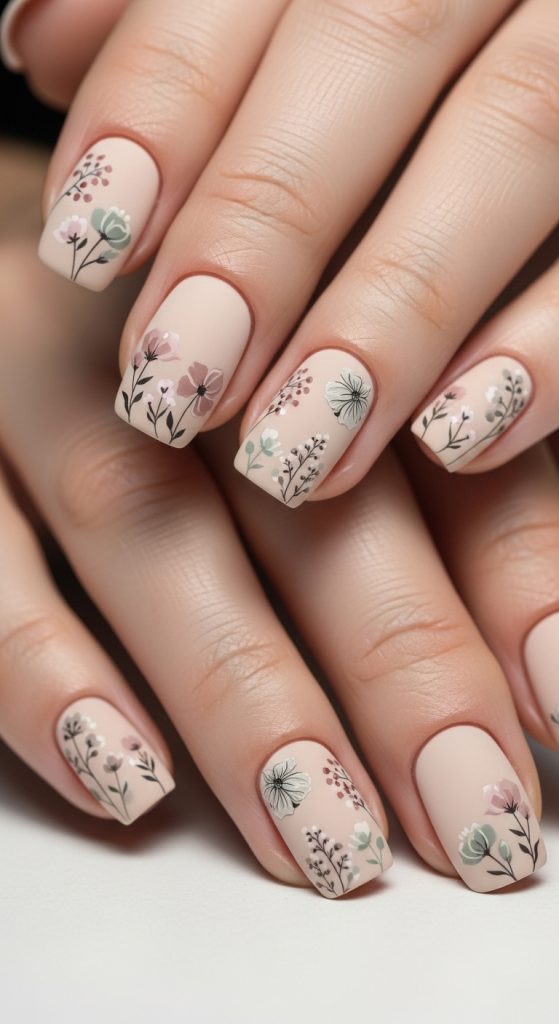
Beige matte floral nails combine a soft neutral base with a non-glossy finish, creating a smooth and modern appearance. The matte texture enhances the visibility of the floral design without adding shine. This style is suitable for those seeking a contemporary and understated look.
Apply a beige polish evenly across all nails and allow it to dry. Add a matte top coat to achieve the desired finish. Once dry, use a fine brush to paint small floral patterns in a slightly darker or lighter shade. Keep the designs simple and evenly spaced. Seal the design with a thin layer of matte top coat if needed. This method creates a soft and modern aesthetic.
Idea 3: Neutral Ombre with Floral Detail
How to Make
This idea combines a gradient effect with floral accents, creating a layered and dynamic design. The ombre base transitions between two neutral tones, providing a soft background for the floral elements.
Create an ombre effect by blending two neutral polishes using a sponge. Apply the gradient to each nail and allow it to dry. Add small floral designs using a fine brush, focusing on one side of the nail. Seal with a top coat. This method creates depth and visual interest.
Idea 4: Minimalist Line Floral Nails
Execution Process
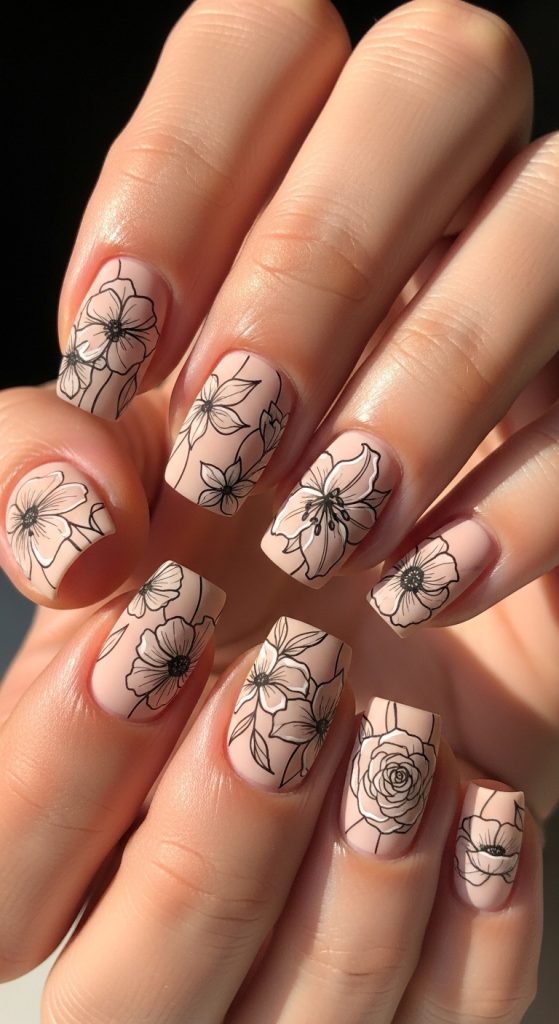
This design uses simple line art to create floral patterns, resulting in a clean and modern look. The focus is on precision and minimal detail.
Apply a neutral base color and allow it to dry. Use a fine brush to draw thin floral outlines. Keep the design minimal and evenly spaced. Seal with a top coat. This method creates a refined appearance.
Idea 5: Soft Pink Neutral Floral Nails
How to Create
Soft pink tones provide a gentle and warm base for floral designs. This style enhances the natural appearance of the nails.
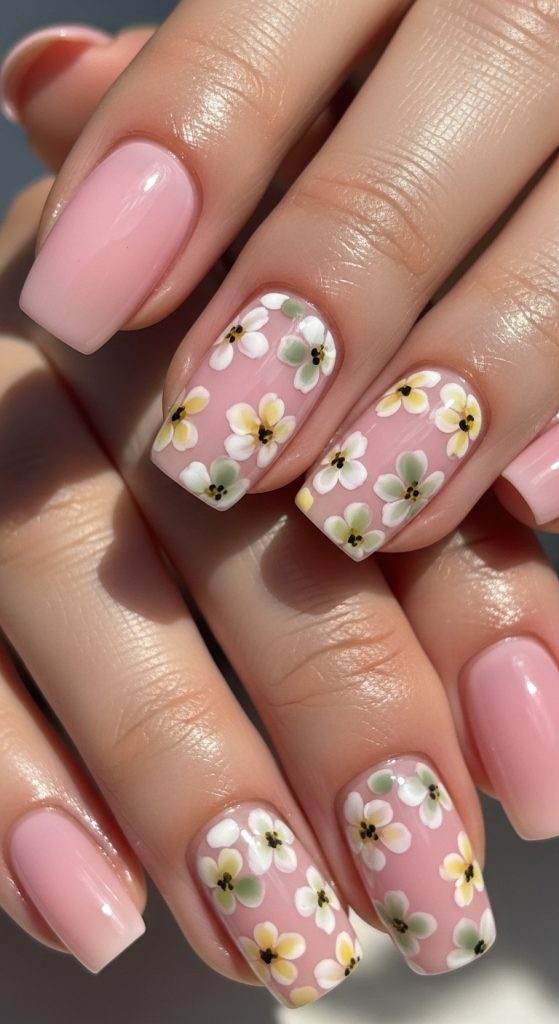
Apply a soft pink polish and allow it to dry. Add small floral designs using a slightly darker shade. Seal with a top coat. This method creates a delicate look.
Idea 6: Neutral French Tip with Floral Accent
Setup Method
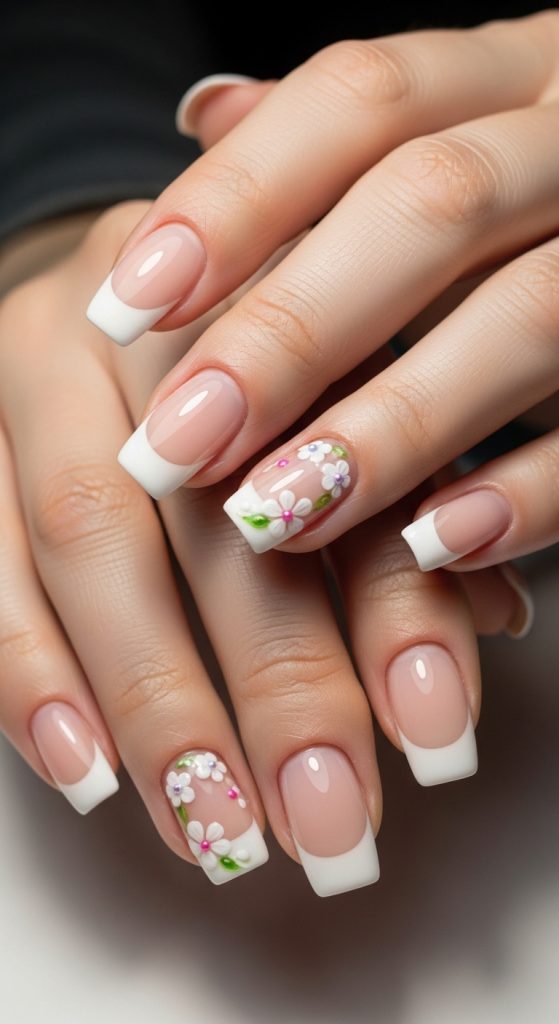
This style combines a classic French tip with floral detailing for added interest. The neutral tones maintain simplicity.
Create a French tip using a neutral shade. Add small floral designs near the cuticle or tip. Seal with a top coat. This method creates a balanced design.
Idea 7: Taupe Base with White Floral Design
How to Make
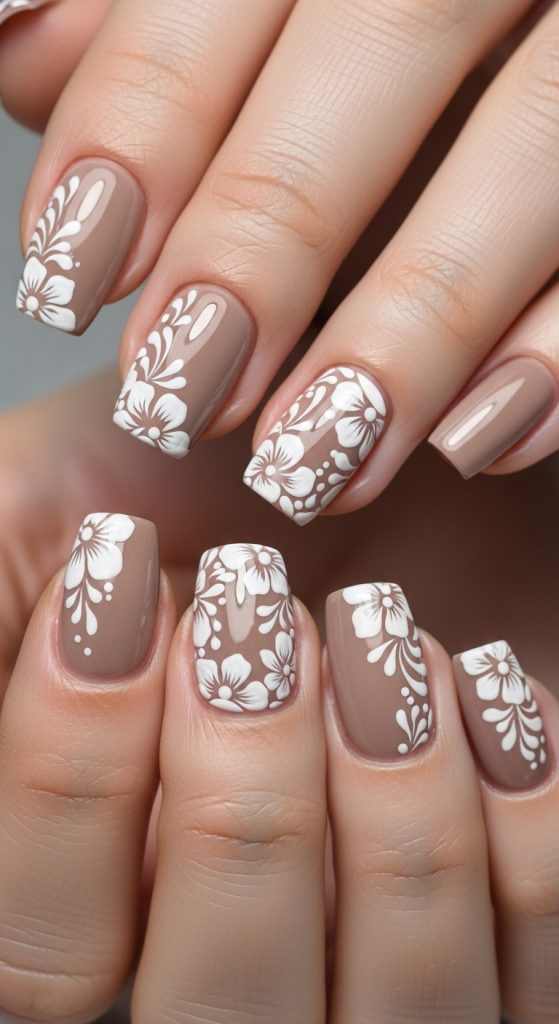
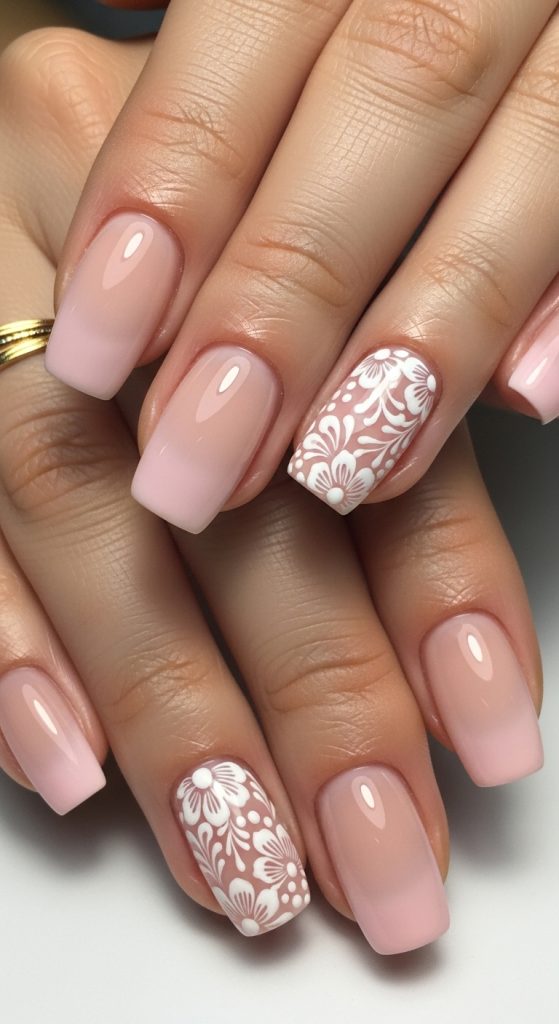
Taupe provides a deeper neutral base, while white floral designs create contrast. This combination enhances visibility.
Apply taupe polish and allow it to dry. Use white polish to create floral patterns. Seal with a top coat. This method creates a structured look.
Idea 8: Neutral Glitter Floral Nails
Step-by-Step Guide
This idea adds subtle glitter to a neutral base, enhancing the overall design without overpowering it.
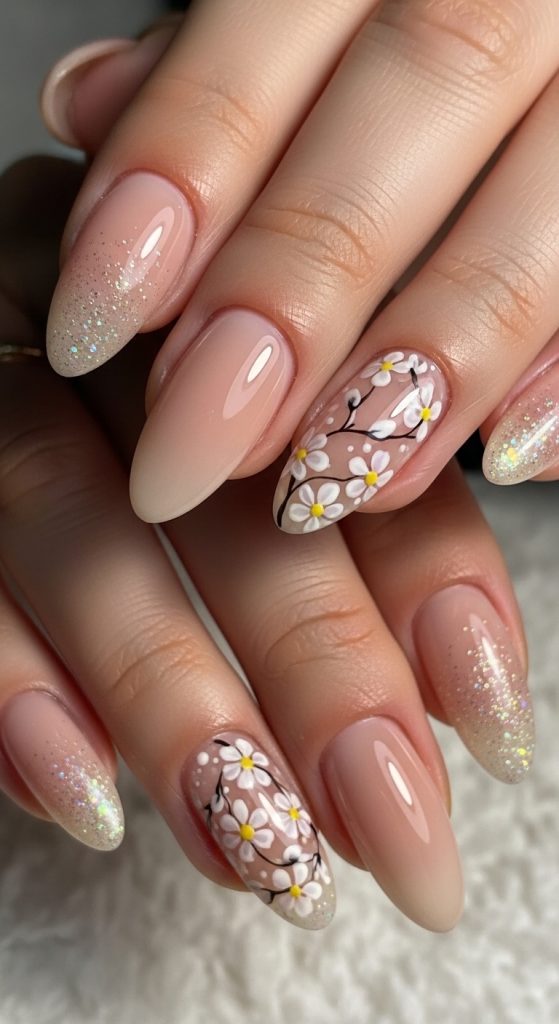
Apply a neutral base and add a light layer of glitter. Create floral designs using a fine brush. Seal with a top coat. This method creates a soft sparkle effect.
Idea 9: Minimal Floral Corner Design
How to Create
This design places floral patterns in one corner of the nail, creating a clean and organized layout.
Apply a neutral base and allow it to dry. Add floral designs to one corner using a fine brush. Seal with a top coat. This method creates a focused design.
Idea 10: Abstract Neutral Floral Nails
Execution Process
Abstract floral designs use simplified shapes and patterns to create a modern look. This approach emphasizes creativity.
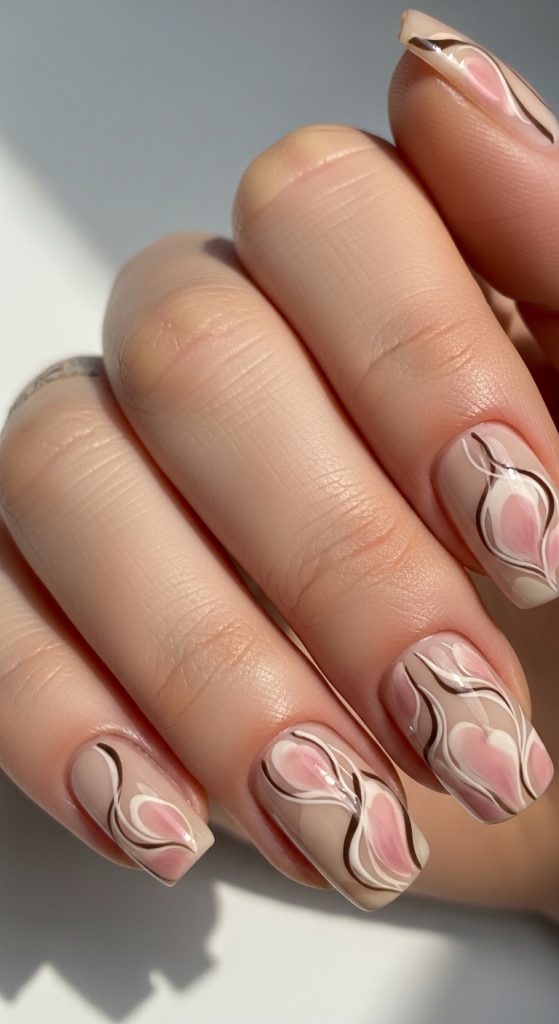
Apply a neutral base and allow it to dry. Use a brush to create abstract floral shapes. Seal with a top coat. This method creates a unique design.
Common Beginner Mistakes and How to Avoid Them
A common mistake is overcrowding the design with too many floral elements, which reduces clarity. Limiting the number of flowers maintains balance. Another issue is uneven application, which affects the overall finish. Using proper tools ensures precision. Skipping preparation steps can lead to poor adhesion. Proper planning helps avoid these problems.
Practical Tips for Better Results
Using thin layers of polish improves control and prevents smudging. Allowing each layer to dry fully ensures a clean finish. Practicing floral designs on a surface before applying them improves accuracy. Using quality tools enhances precision.
Styling, Presentation, or Organization Ideas
Keeping nail shapes consistent enhances presentation. Coordinating colors across nails creates a cohesive look. Organizing tools before starting improves workflow. Minimal designs maintain a clean aesthetic.
Budget or Time Planning
Planning designs in advance reduces time spent during application. Using essential materials helps manage costs. Completing the design in one session improves efficiency. Maintaining tools ensures long-term use.
Creative Expansion and Advanced Inspiration
Advanced ideas include combining floral designs with geometric patterns or layered textures. Experimenting with color intensity creates variation. Adjusting placement based on nail shape enhances the final result. These creative ideas support continuous exploration.