
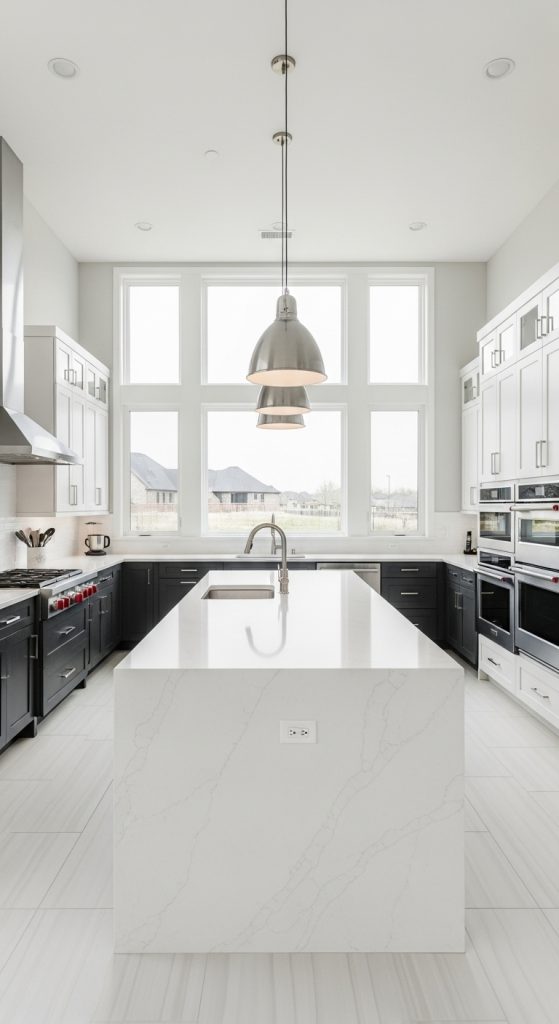
Two-tone kitchen cabinets have become one of the most influential trends in modern kitchen remodeling. This approach involves using two different colors or finishes for upper and lower cabinets, or mixing cabinetry with natural wood elements. The purpose of two-tone cabinets is to break visual monotony while adding depth, dimension, and balance to the kitchen. This design works exceptionally well in both small and large kitchens, offering flexibility for different layouts and styles.
Explanation
The idea behind two-tone cabinetry is visual contrast without chaos. Typically, lighter colors are used on upper cabinets to keep the space open and airy, while darker or richer tones ground the lower cabinets. This design can also help highlight architectural features such as islands or tall pantry units. Two-tone cabinets suit modern, transitional, and even farmhouse kitchens when executed thoughtfully.
Step-by-Step How-To
- Choose a dominant neutral color for visual balance
- Select a complementary second color or wood tone
- Decide cabinet placement (uppers vs. lowers or island contrast)
- Test color samples in different lighting conditions
- Install cabinets starting with the primary color
- Add hardware that complements both tones
Materials Used
- Upper and lower cabinet units
- Cabinet paint or wood veneer
- Primer and sealant
- Cabinet hardware
- Measuring tools
- Installation tools
Idea 2: Waterfall Kitchen Island
Introduction
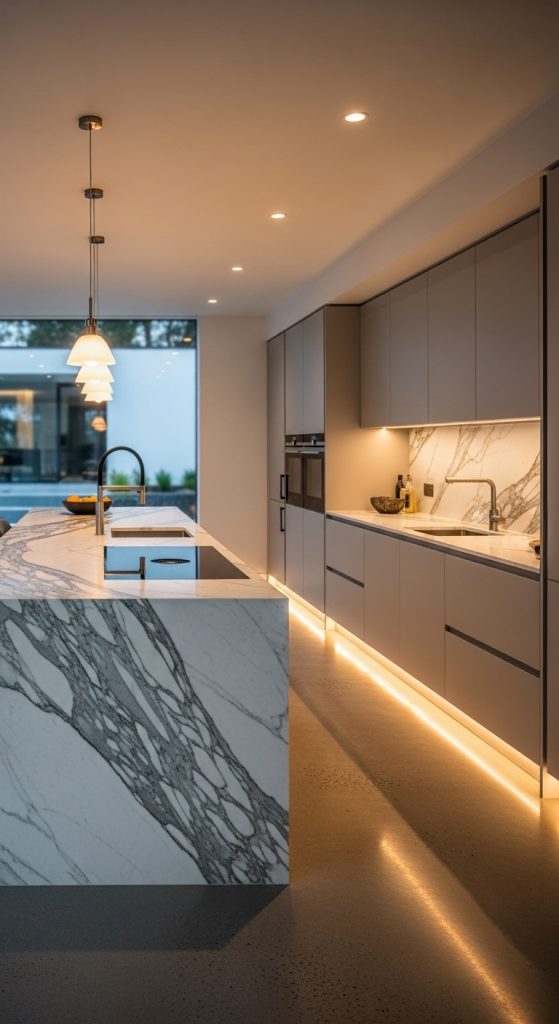
A waterfall kitchen island instantly elevates the appearance of any kitchen, creating a luxurious and cohesive focal point. This design extends countertop material down the sides of the island, producing a continuous “waterfall” effect. Beyond aesthetics, waterfall islands provide durability and structure while enhancing modern design appeal.
Explanation
Waterfall islands are typically made from stone materials like quartz or marble. The seamless flow of material gives the kitchen a polished, high-end feel and works especially well in open-concept layouts. This idea is ideal for homeowners who want a bold centerpiece that remains functional.

Step-by-Step How-To
- Measure island dimensions accurately
- Select durable stone material
- Ensure slab veining alignment
- Reinforce island structure
- Install countertop surface
- Attach side panels with precision
Materials Used
- Quartz or marble slabs
- Island base cabinetry
- Adhesive and reinforcement brackets
- Cutting and polishing tools
- Sealant
Idea 3: Open Shelving Kitchen Concept
Introduction
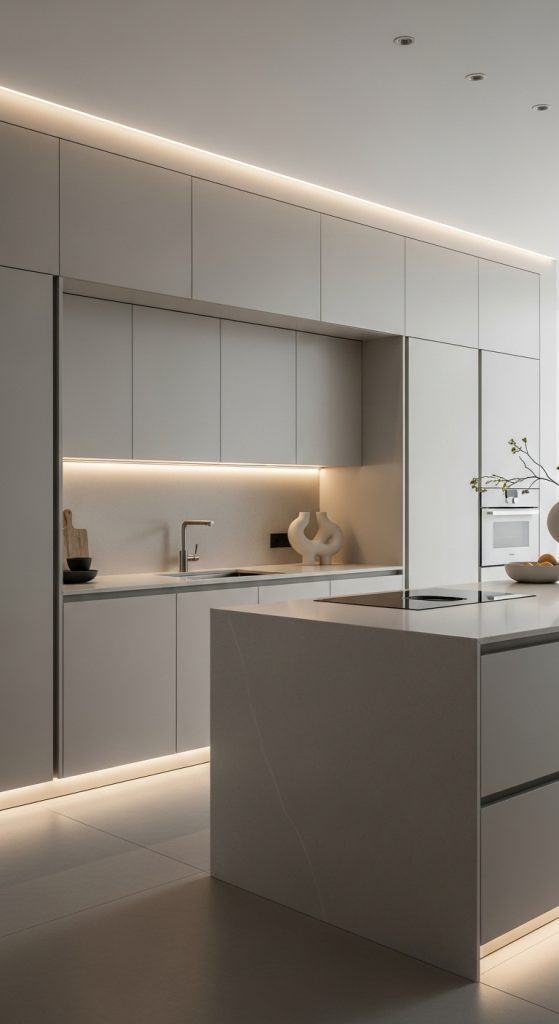
Open shelving has reshaped modern kitchen aesthetics by introducing a lighter, more approachable look. This remodel idea replaces some upper cabinets with open shelves, creating space for display, accessibility, and visual breathing room. It is especially popular in Pinterest-inspired kitchens due to its styled, curated appearance.
Explanation
Open shelving allows homeowners to showcase dishware, glassware, and decorative items while keeping frequently used items within reach. It works best when balanced with closed storage to avoid clutter.
Step-by-Step How-To
- Identify wall areas suitable for shelving
- Choose durable shelf material
- Secure wall studs
- Install brackets or floating supports
- Style shelves intentionally
Materials Used
- Wooden or metal shelves
- Wall anchors and brackets
- Drill and level
- Decorative kitchen items
Idea 4: Hidden Walk-In Pantry
Introduction
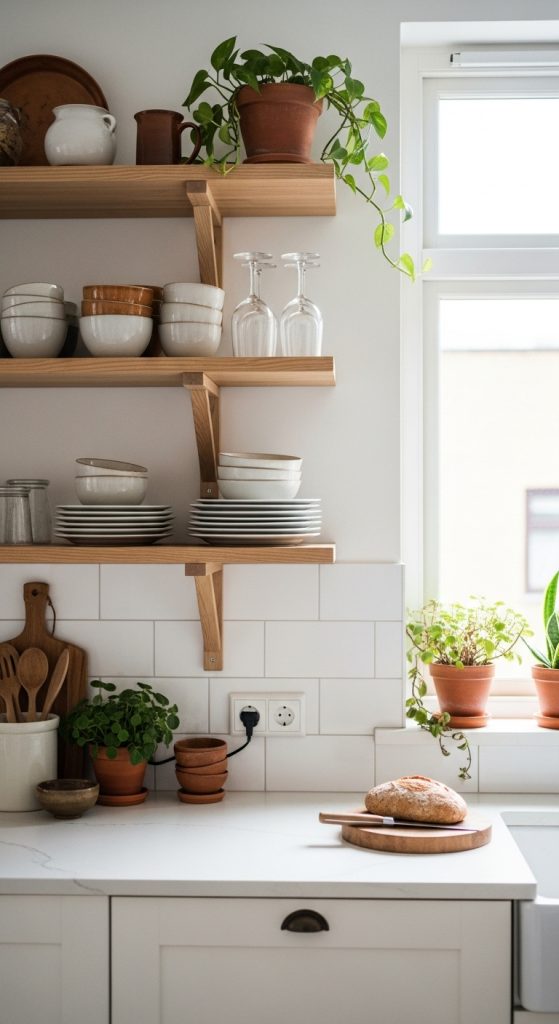
Hidden walk-in pantries offer an elegant solution to storage without disrupting kitchen design flow. Concealed behind cabinetry-style doors, these pantries maintain a clean aesthetic while providing ample storage space.
Explanation
This idea focuses on functionality without visual clutter. Hidden pantries are ideal for homeowners who value organization but prefer a minimalist appearance.

Step-by-Step How-To
- Plan pantry layout
- Match pantry door with cabinetry
- Install shelving systems
- Add interior lighting
- Organize pantry zones
Materials Used
- Cabinet-matching doors
- Shelving units
- LED lighting
- Storage containers
Idea 5: Matte Black Kitchen Hardware
Introduction
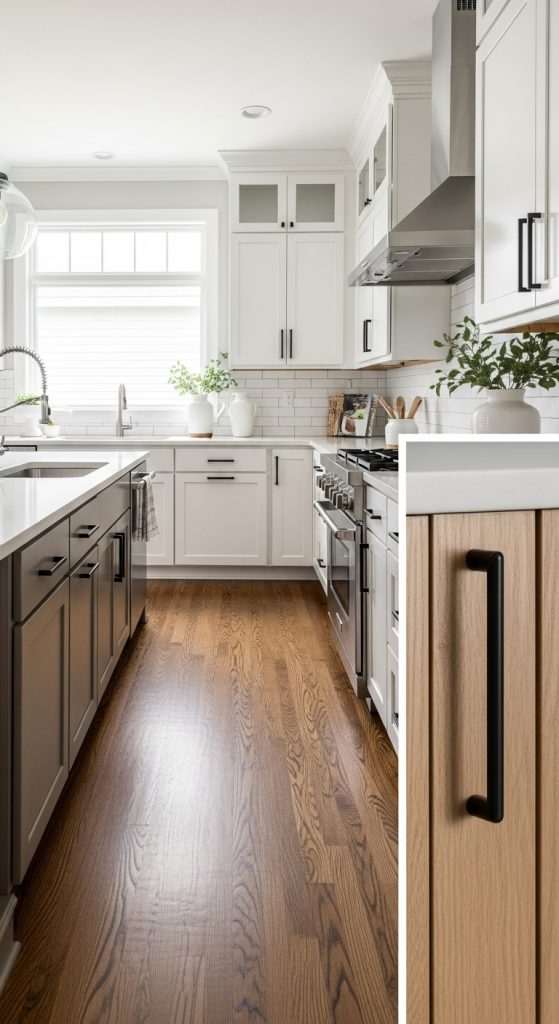
Matte black hardware introduces contrast and sophistication without overwhelming the space. It pairs beautifully with neutral kitchens and adds a modern edge to traditional layouts.
Explanation
This design element is subtle yet impactful, offering durability and visual cohesion across cabinets and drawers.
Step-by-Step How-To
- Select consistent hardware style
- Measure hole placements
- Remove old hardware
- Install new pieces
- Check alignment
Materials Used
- Matte black handles and knobs
- Measuring tape
- Screwdriver
- Cabinet filler (if needed)
Idea 6: Smart Kitchen Appliances Integration
Introduction
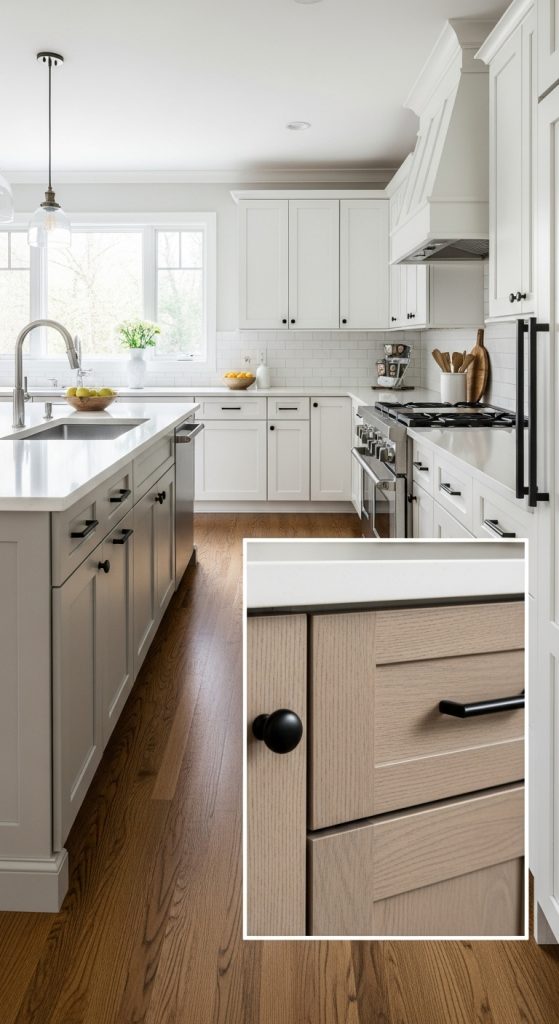
Smart appliances redefine kitchen efficiency by integrating technology into everyday tasks. From smart refrigerators to touchless faucets, this remodel idea enhances convenience and modern living.
Explanation
Smart kitchens prioritize automation, energy efficiency, and user-friendly interfaces, making them ideal for contemporary households.
Step-by-Step How-To
- Identify smart appliance needs
- Check electrical and Wi-Fi compatibility
- Install appliances professionally
- Sync with mobile apps
- Test functionality
Materials Used
- Smart appliances
- Electrical upgrades
- Internet connectivity tools
- Installation manuals
Idea 7: Ceiling-Height Kitchen Cabinets
Introduction
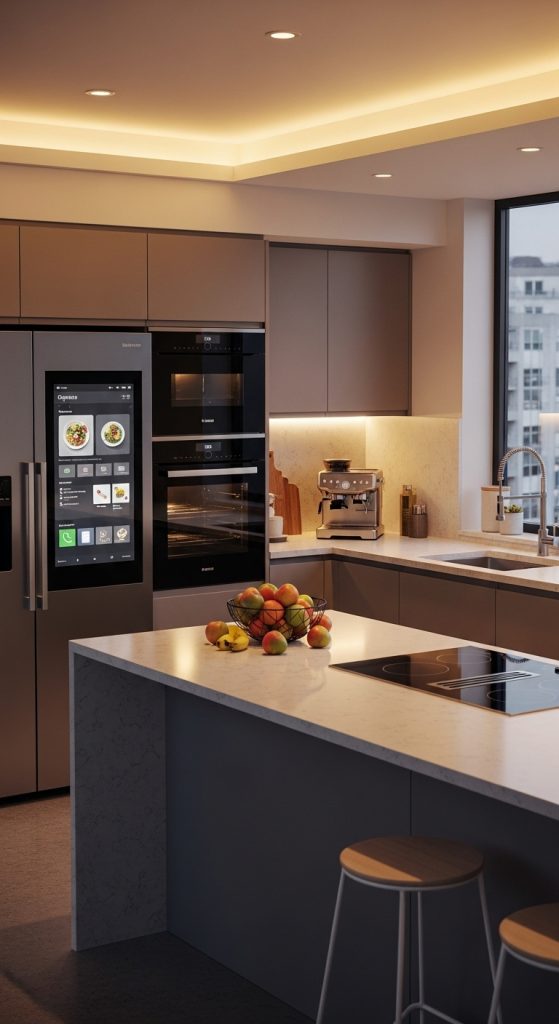
Extending cabinets to the ceiling creates a seamless, high-end look while maximizing storage. This idea eliminates wasted vertical space and enhances kitchen proportions.
Explanation
Ceiling-height cabinets visually elongate the kitchen and reduce dust accumulation on cabinet tops.
Step-by-Step How-To
- Measure ceiling height
- Design custom cabinet sizes
- Install lower cabinets first
- Secure upper cabinets
- Finish with crown molding
Materials Used
- Custom cabinets
- Mounting hardware
- Crown molding
- Measuring tools
Idea 8: Neutral Color Kitchen Palette
Introduction
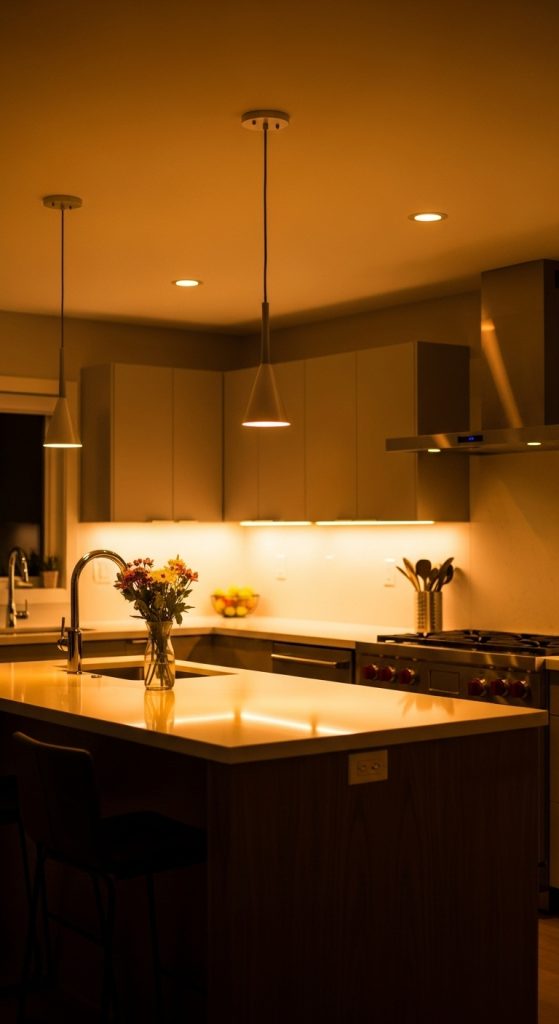
Neutral kitchens provide timeless elegance and flexibility. Soft tones such as beige, greige, and cream create warmth while remaining adaptable to future updates.
Explanation
Neutral palettes enhance natural light and create a calming cooking environment.

Step-by-Step How-To
- Select primary neutral tone
- Balance with textures
- Paint walls and cabinetry
- Coordinate countertops
- Add subtle accents
Materials Used
- Paint and primer
- Brushes and rollers
- Countertop samples
- Accent materials
Idea 9: Integrated Kitchen Lighting Layers
Introduction
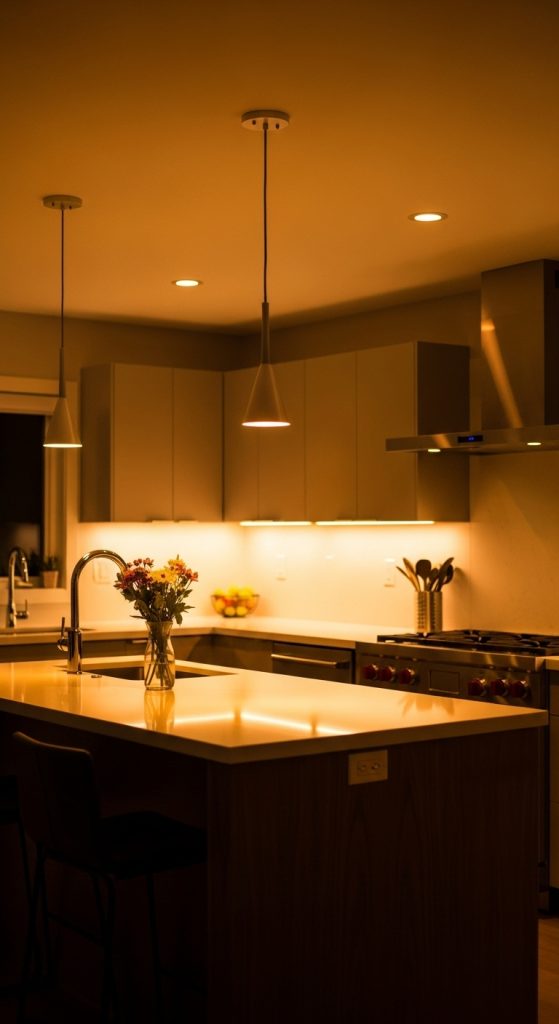
Layered lighting improves both functionality and ambiance in the kitchen. This remodel idea combines task, ambient, and accent lighting strategically.
Explanation
Proper lighting design enhances safety, efficiency, and visual appeal.
Step-by-Step How-To
- Identify lighting zones
- Install recessed lighting
- Add under-cabinet lights
- Include accent fixtures
- Test brightness levels
Materials Used
- LED lights
- Wiring components
- Switches and dimmers
- Installation tools
Idea 10: Quartz Kitchen Countertops
Introduction
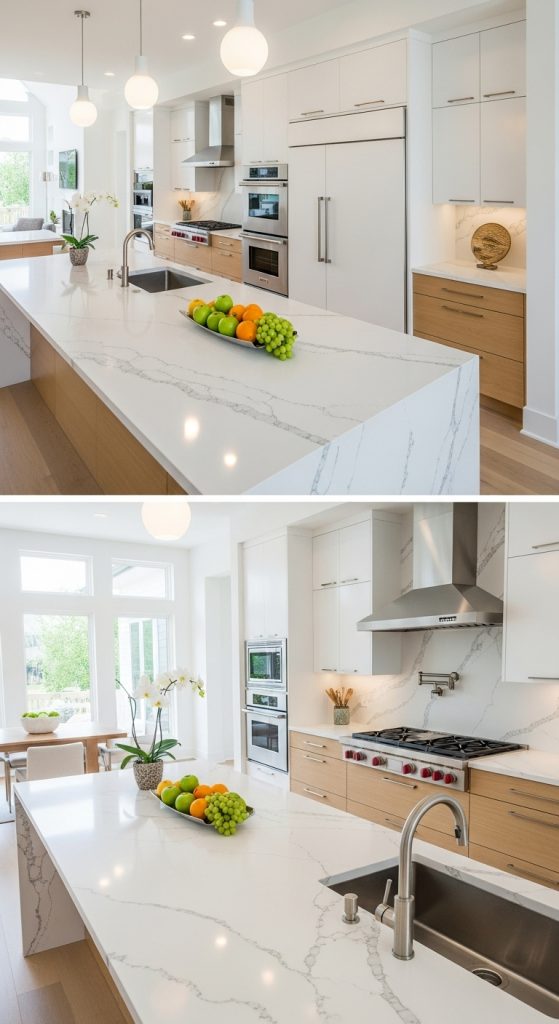
Quartz countertops are a top choice for modern kitchen remodels due to their durability and low maintenance. They offer the look of natural stone without the upkeep.
Explanation
Quartz is non-porous, stain-resistant, and available in a wide variety of designs.

Step-by-Step How-To
- Measure countertop area
- Choose quartz design
- Remove old countertops
- Install quartz slabs
- Seal edges if required
Materials Used
- Quartz slabs
- Adhesive
- Support brackets
- Installation tools
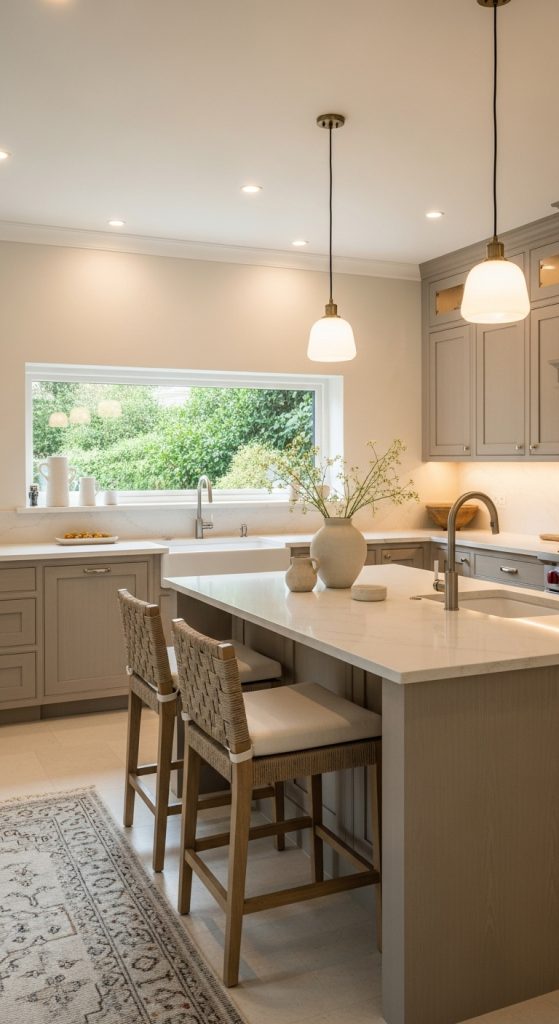
Built-in appliance panels are a defining feature of modern, high-end kitchen remodels. Instead of appliances standing out visually, this approach integrates them directly into cabinetry, creating a cohesive and uninterrupted design. Refrigerators, dishwashers, and even microwaves can be concealed behind cabinet panels that match the rest of the kitchen. This design idea is especially popular among homeowners who prefer minimalist, clutter-free spaces.
Explanation
The purpose of appliance paneling is visual continuity. When appliances blend into cabinetry, the kitchen feels more spacious, intentional, and refined. This remodel idea works particularly well in open-concept homes where the kitchen is visible from living or dining areas. Panel-ready appliances are specifically designed to accommodate custom cabinet fronts without compromising performance.
Step-by-Step How-To
- Identify which appliances will be panel-ready
- Measure appliance dimensions precisely
- Select cabinet panels matching kitchen cabinetry
- Reinforce cabinet structures for appliance weight
- Install appliances according to manufacturer guidelines
- Attach panels and align hardware
Materials Used
- Panel-ready appliances
- Custom cabinet panels
- Mounting brackets
- Installation hardware
- Alignment tools
Idea 12: Statement Kitchen Backsplash Design
Introduction
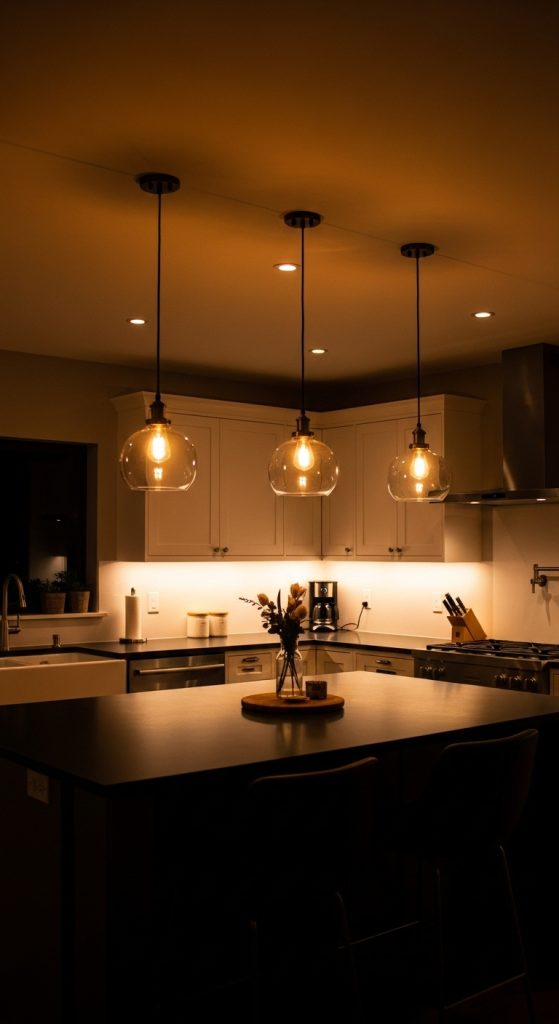
A statement backsplash transforms the kitchen from functional to unforgettable. Rather than blending into the background, this remodel idea uses bold textures, patterns, or materials to create a focal point. Whether extending to the ceiling or framing key areas like the stove, statement backsplashes are a Pinterest favorite due to their dramatic visual impact.

Explanation
This idea focuses on contrast and personality. Materials such as marble slabs, hand-glazed tiles, or geometric designs add character while protecting walls from moisture and stains. Statement backsplashes allow homeowners to experiment with design without overwhelming the entire kitchen.
Step-by-Step How-To
- Choose backsplash focal area
- Select bold material or pattern
- Measure and cut materials precisely
- Prepare wall surface
- Install backsplash evenly
- Seal grout and edges
Materials Used
- Tile or slab backsplash material
- Tile adhesive
- Grout and sealant
- Cutting tools
- Level and spacers
Idea 13: Curved Kitchen Island Design
Introduction
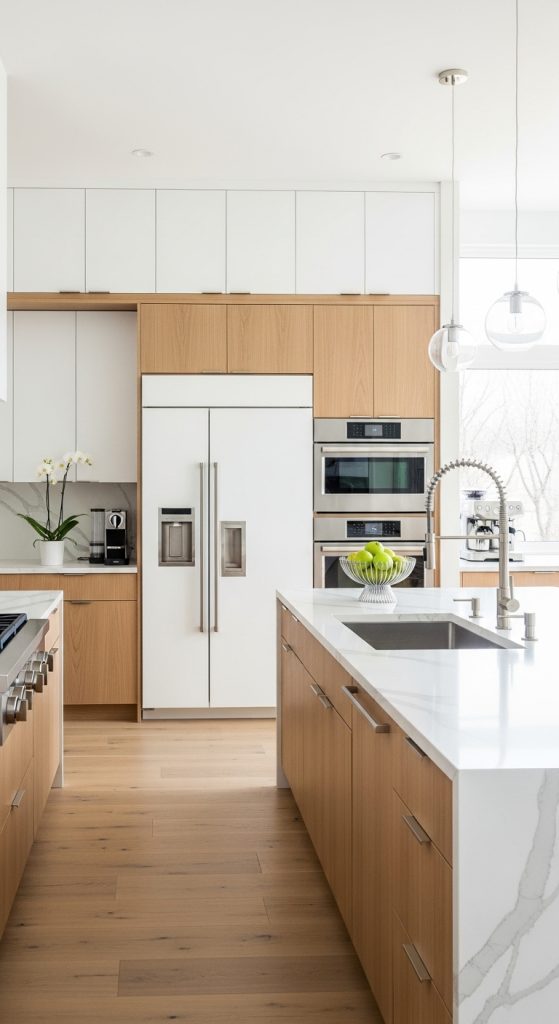
Curved kitchen islands introduce softness and flow into modern kitchen layouts. Unlike sharp-edged islands, curved designs create a welcoming, organic feel that enhances movement and accessibility. This remodel idea has gained popularity due to its ability to balance contemporary aesthetics with comfort.
Explanation
Curved islands work well in both large and compact kitchens by improving circulation. They are particularly beneficial in family-friendly spaces, reducing sharp corners while offering additional seating and storage options.
Step-by-Step How-To
- Assess kitchen layout and traffic flow
- Design curved island dimensions
- Choose flexible countertop materials
- Build reinforced curved base
- Install countertop carefully
- Add seating or storage features
Materials Used
- Curved cabinetry framework
- Quartz or solid surface countertop
- Reinforcement supports
- Construction adhesives
- Finishing tools
Idea 14: Handle-Less Cabinetry System
Introduction
Handle-less cabinets define sleek, modern kitchen design. By eliminating visible hardware, this remodel idea emphasizes clean lines and uninterrupted surfaces. It is a go-to choice for homeowners seeking a contemporary, minimalist kitchen aesthetic.

Explanation
Handle-less systems use push-to-open mechanisms or recessed channels to maintain functionality without traditional handles. This design enhances visual simplicity while improving ease of cleaning.

Step-by-Step How-To
- Choose push-to-open or recessed style
- Measure cabinet door alignment
- Install opening mechanisms
- Adjust tension and responsiveness
- Test functionality across cabinets
Materials Used
- Handle-less cabinet doors
- Push-to-open mechanisms
- Installation hardware
- Alignment tools
Idea 15: Oversized Kitchen Pendant Lighting
Introduction
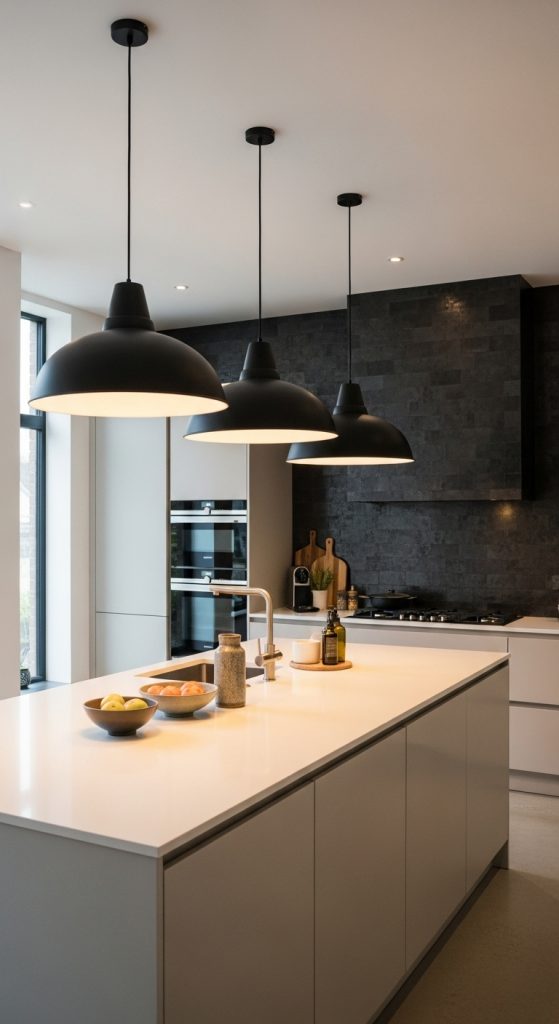
Oversized pendant lighting serves both functional and decorative purposes in kitchen remodels. These fixtures draw attention while providing focused illumination over islands or dining areas. Pinterest-inspired kitchens often feature bold pendant lighting as a statement element.
Explanation
This idea enhances vertical space and creates visual balance. Oversized pendants work best when paired with neutral kitchens, allowing lighting to become the centerpiece without overwhelming the design.
Step-by-Step How-To
- Determine lighting focal point
- Choose pendant size and style
- Measure hanging height
- Install electrical wiring safely
- Mount pendants securely
Materials Used
- Oversized pendant fixtures
- Electrical wiring
- Ceiling mounts
- Measuring tape
Idea 16: Textured Cabinet Fronts
Introduction
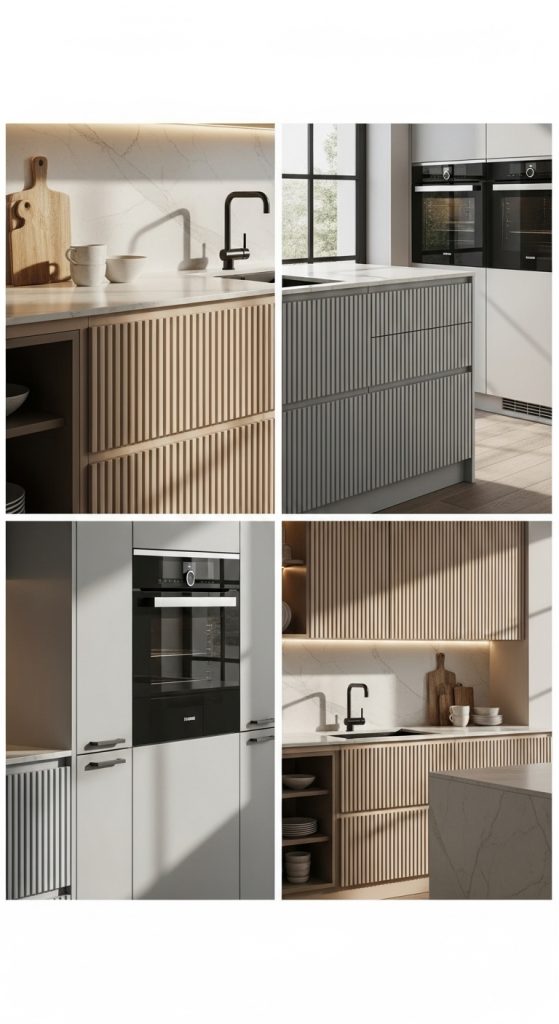
Textured cabinet fronts introduce subtle depth and sophistication into kitchen design. Instead of flat surfaces, this remodel idea uses fluted, ribbed, or paneled cabinet doors to create visual interest without bold colors.


Explanation
Textured cabinetry adds dimension while maintaining a neutral palette. It is ideal for homeowners who want a unique kitchen without excessive ornamentation.
Step-by-Step How-To
- Select texture style
- Match texture with overall design
- Order or customize cabinet fronts
- Install cabinets carefully
- Finish with minimal hardware
Materials Used
- Textured cabinet doors
- Mounting hinges
- Installation tools
- Finish sealants
Idea 17: Mixed Metal Kitchen Finishes
Introduction
Mixed metal finishes add curated elegance to kitchen remodels. Instead of sticking to a single metal, this idea combines finishes such as brass, black, and chrome for a layered, designer-inspired look.
Explanation
When done correctly, mixed metals add warmth and contrast. The key is consistency and intentional placement rather than random selection.
Step-by-Step How-To
- Choose primary metal finish
- Select secondary accent metals
- Assign finishes to fixtures logically
- Install hardware consistently
- Balance metals visually
Materials Used
- Mixed metal hardware
- Light fixtures
- Faucets
- Installation tools
Idea 18: Integrated Kitchen Seating Solutions
Introduction
Integrated seating transforms the kitchen into a multifunctional living space. This remodel idea incorporates seating directly into islands or breakfast nooks, encouraging casual dining and social interaction.

Explanation
Built-in seating maximizes space efficiency while enhancing comfort. It works especially well in family homes and open layouts.
Step-by-Step How-To
- Identify seating area
- Design seating dimensions
- Build reinforced seating base
- Add cushions or upholstery
- Ensure comfort and safety
Materials Used
- Wood framing
- Cushions or upholstery
- Reinforcement hardware
- Finishing materials
Idea 19: Hidden Kitchen Storage Solutions
Introduction
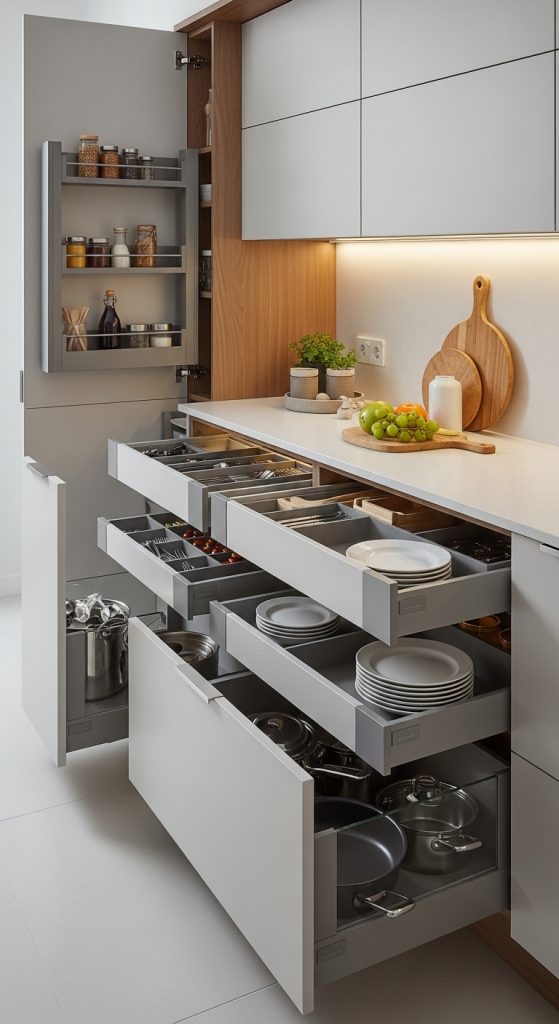
Hidden storage is essential for maintaining a clutter-free kitchen. This remodel idea focuses on maximizing storage through pull-outs, concealed drawers, and smart cabinet interiors.
Explanation
Efficient storage design improves usability and keeps countertops clean. Hidden solutions are ideal for small and large kitchens alike.
Step-by-Step How-To
- Analyze storage needs
- Choose pull-out systems
- Install drawer organizers
- Maximize corner spaces
- Test accessibility
Materials Used
- Pull-out storage systems
- Drawer organizers
- Cabinet inserts
- Installation hardware
Idea 20: Indoor-Outdoor Kitchen Connection
Introduction
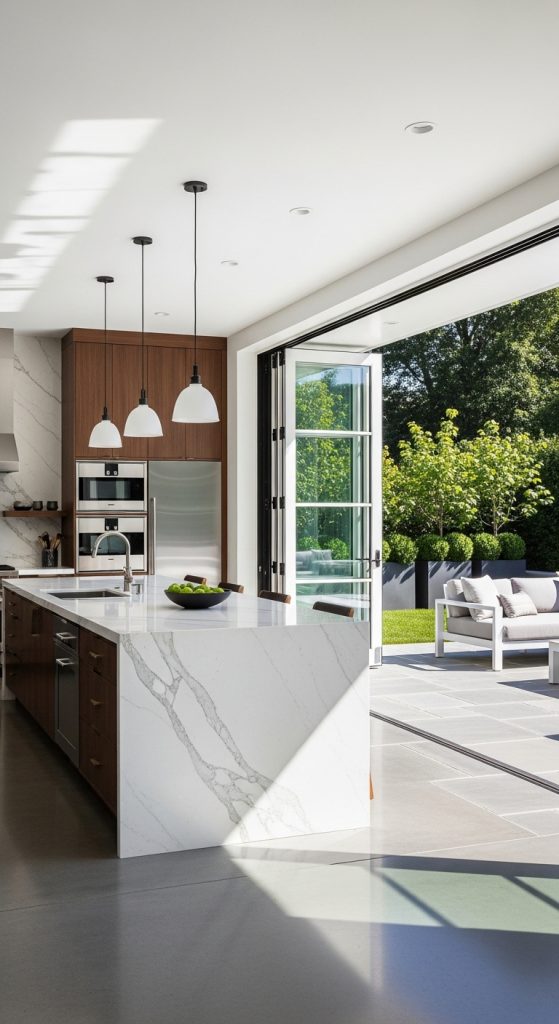
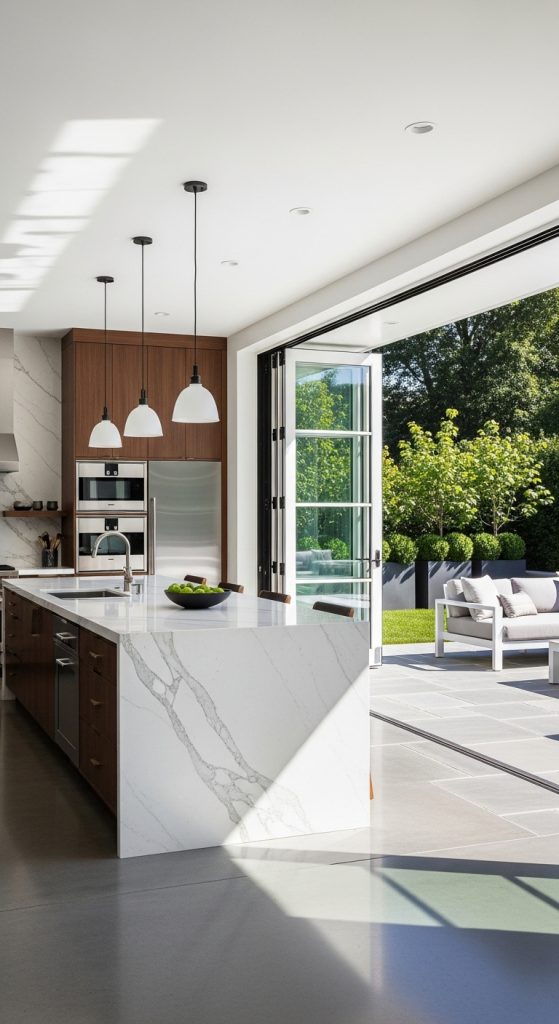
Connecting the kitchen to outdoor spaces enhances natural light, ventilation, and lifestyle flexibility. This remodel idea uses large doors or windows to create seamless transitions between indoor and outdoor areas.

Explanation
Indoor-outdoor kitchens are ideal for entertaining and modern living. They visually expand the kitchen and create a strong connection with nature.
Step-by-Step How-To
- Assess structural feasibility
- Choose door or window system
- Reinforce openings
- Install glass panels
- Weatherproof transitions
Materials Used
- Sliding or folding glass doors
- Structural supports
- Weatherproof seals
- Installation tools