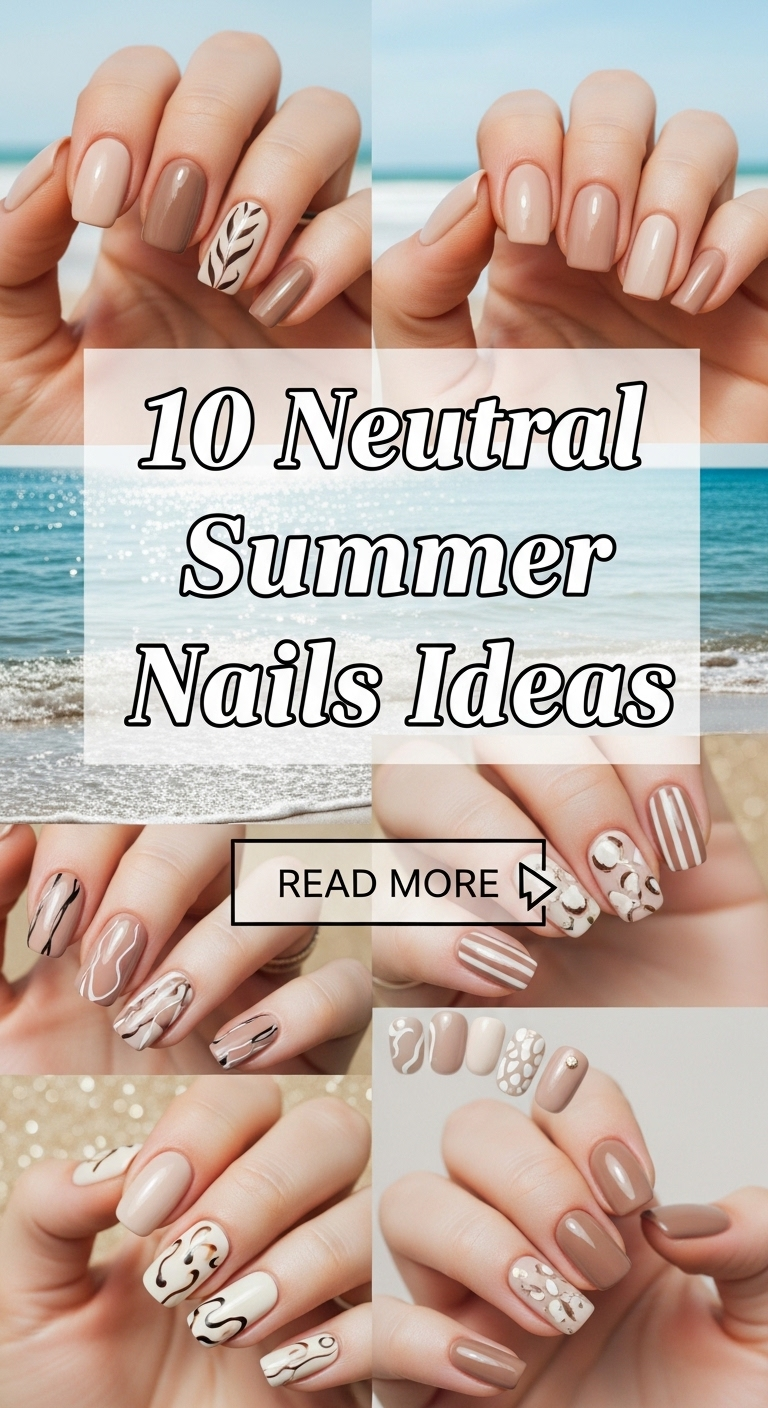
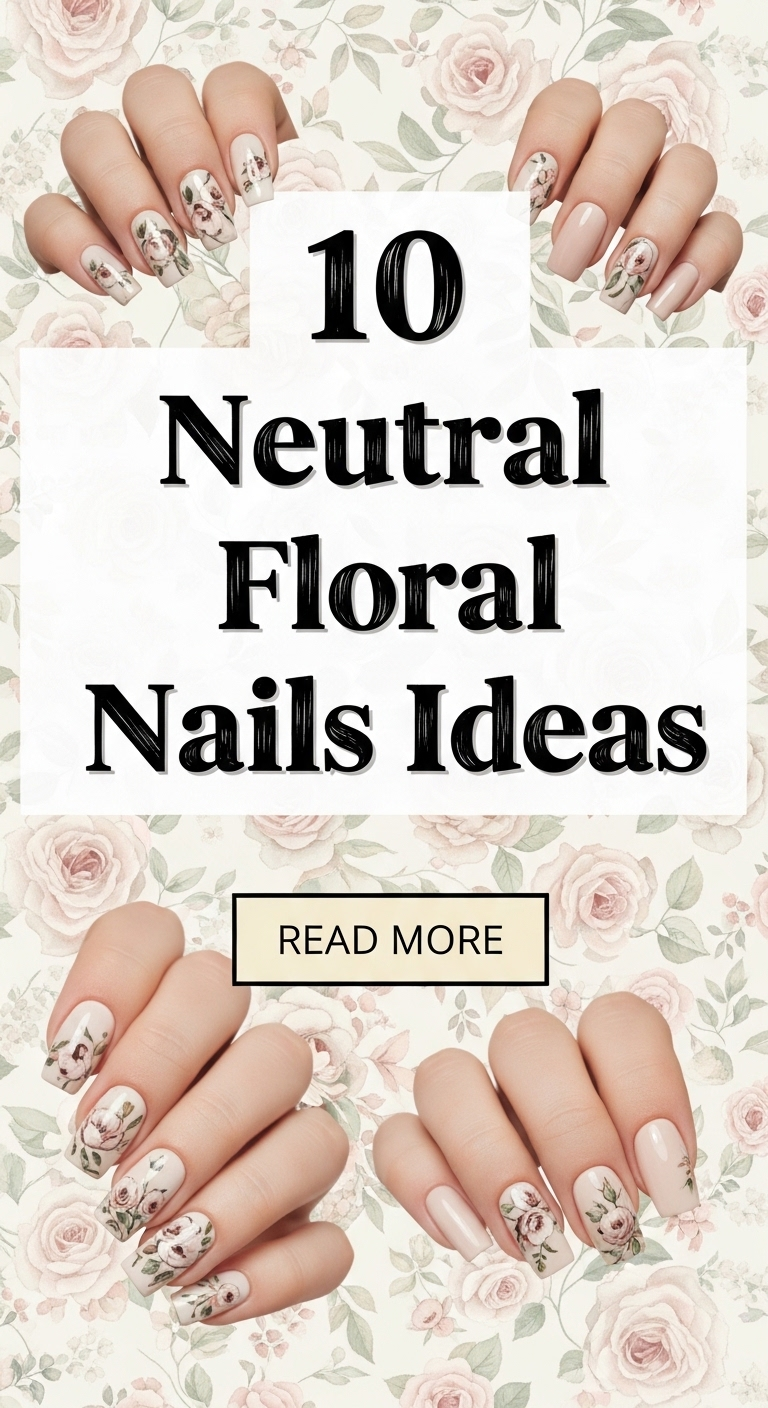
10 neutral floral nails ideas
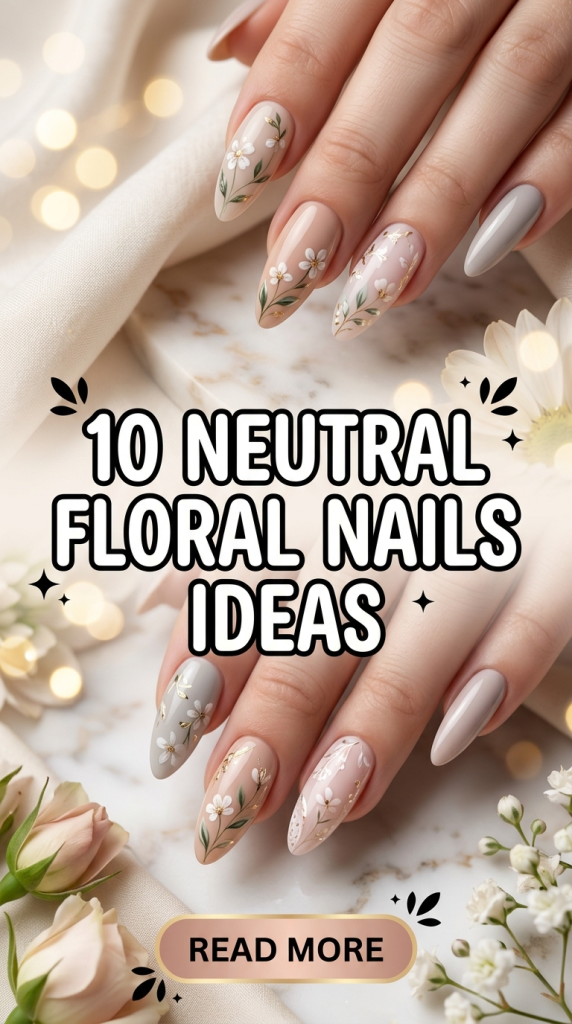
Neutral floral nails combine soft color palettes with delicate botanical patterns to create a balanced and versatile nail design. This style is widely featured in Pinterest ideas because it offers a clean, elegant appearance while remaining adaptable to different occasions. Neutral tones such as beige, nude, soft pink, and cream provide a subtle base that allows floral details to stand out without overwhelming the design. This article presents a complete tutorial on how to create neutral floral nail designs using practical methods and accessible materials. Readers will learn step by step techniques for applying base colors, designing floral elements, and maintaining consistency across different nail shapes. These ideas are useful for both beginners and individuals seeking creative project inspiration for DIY nail styling. The focus remains on realistic and easy project execution, ensuring that each design can be achieved with proper planning and simple tools. Neutral floral nails support aesthetic presentation while maintaining a modern and minimalist style.
Why This Idea Is Trending or Useful
Neutral floral nails are trending due to their strong alignment with minimalist style and modern design preferences seen across Pinterest inspiration boards. These designs offer practical value because they are suitable for everyday wear while still maintaining a decorative element. The use of neutral colors makes them adaptable to different outfits and occasions, reducing the need for frequent changes. This flexibility supports budget ideas and efficient organization in personal styling routines. The DIY appeal is also significant, as many of these designs can be created at home using simple materials and basic techniques. Floral patterns introduce creativity without requiring complex tools, making them accessible for beginners. Additionally, neutral tones photograph well, which contributes to their popularity in social media and creative projects. This combination of aesthetic appeal, practicality, and ease of execution makes neutral floral nails a consistent and useful trend in nail design.
Materials and Preparation
Preparing for neutral floral nail designs requires organizing essential materials and ensuring proper nail care. Common materials include a neutral base polish, fine nail art brushes, dotting tools, and a clear top coat for sealing the design. Additional tools such as nail files, buffers, and cuticle pushers help prepare the nail surface for smooth application. Begin by cleaning and shaping the nails to create a consistent base. Buff the surface lightly to remove uneven texture and improve polish adhesion. Apply a base coat to protect the natural nail and provide a stable foundation. Planning involves selecting a color palette within neutral tones and deciding on floral patterns such as daisies, small blossoms, or abstract petals. Ensure that tools are clean and organized before starting. This preparation step is essential for achieving a clean and professional result. Proper planning and organization improve efficiency and help maintain consistency throughout the design process.
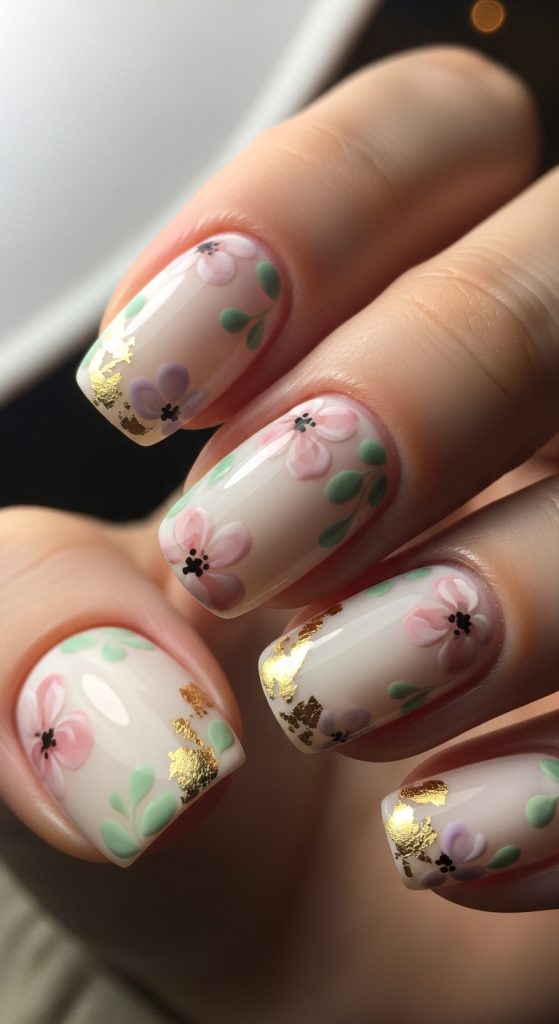
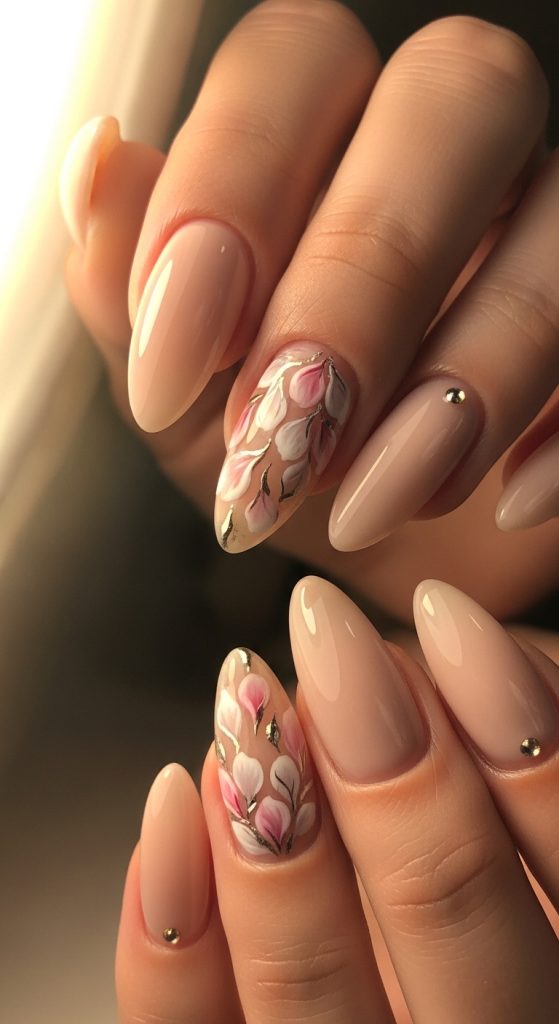
Idea 1: Beige Base with White Floral Details
How to Create
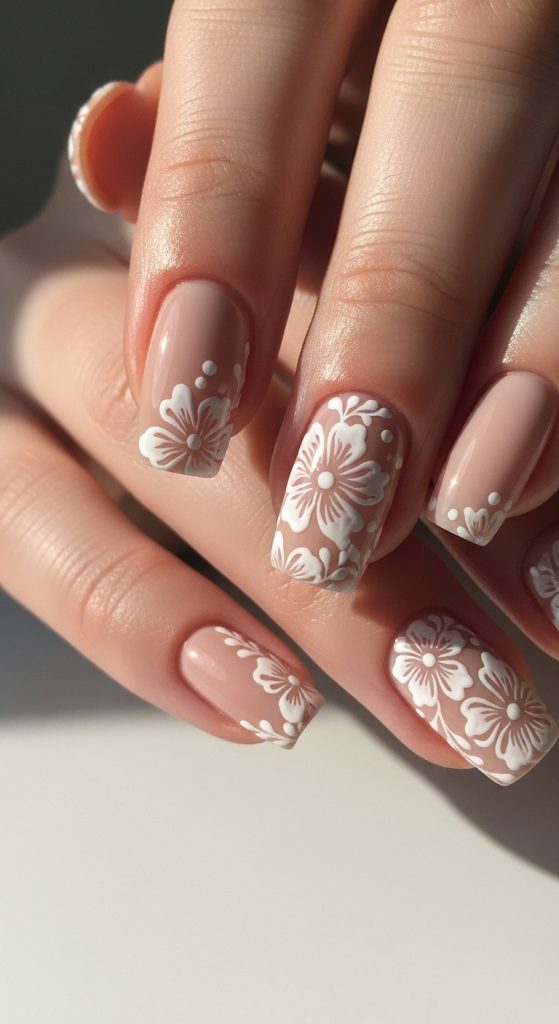
This design uses a soft beige base combined with small white floral patterns to create a clean and balanced look. The beige tone provides a neutral background that allows the floral elements to remain subtle yet visible. This approach aligns with minimalist style and supports a refined aesthetic. The floral details are typically small and evenly spaced, ensuring that the design does not become overcrowded. This idea works well for both short and long nails and is suitable for everyday wear. The simplicity of the design makes it beginner friendly while still offering creative expression through pattern placement and spacing.
To create this design step by step, start by applying a beige base coat evenly across all nails and allow it to dry completely. Use a fine brush or dotting tool to create small white petals, forming simple flower shapes. Add a tiny dot in the center of each flower using a slightly darker or contrasting neutral shade. Keep spacing consistent to maintain balance. Finish with a clear top coat to seal the design and add shine. This easy project requires minimal materials and delivers a polished, modern result.
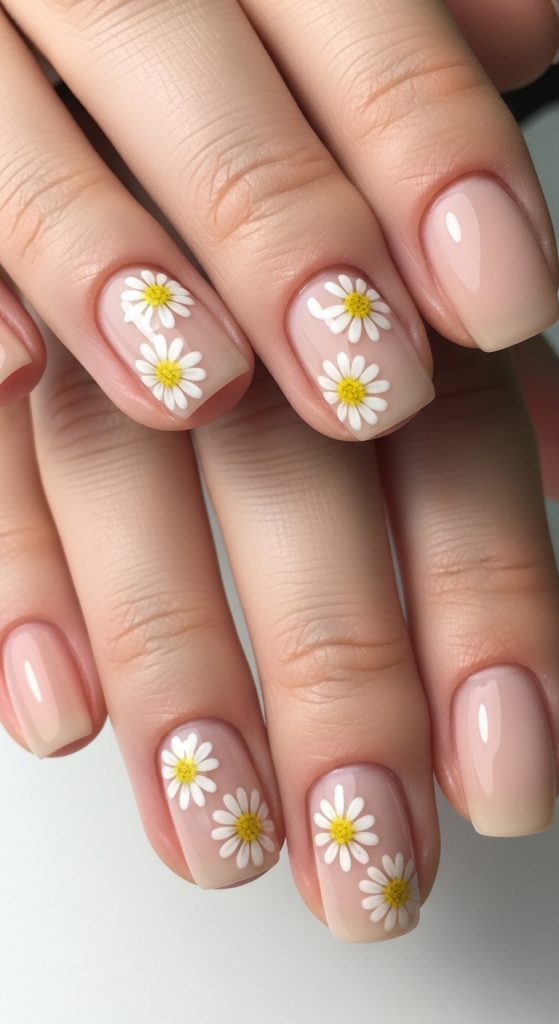
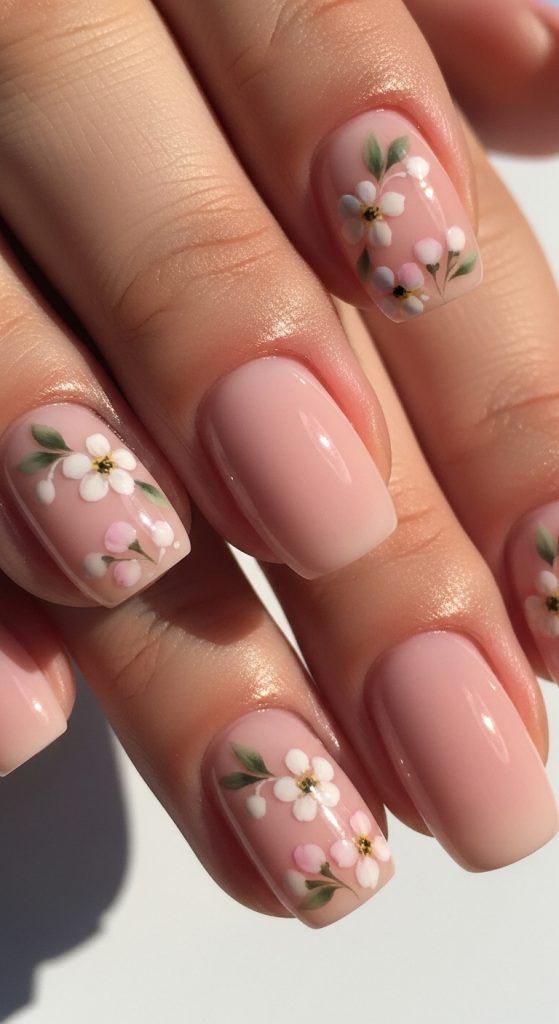
Idea 2: Nude Nails with Daisy Accents
How to Create
This design features a nude base with small daisy patterns, offering a fresh and natural appearance. The nude color enhances the simplicity of the design, while the daisy accents introduce a recognizable floral element. This combination supports aesthetic consistency and aligns with trending ideas in nail design. The flowers are typically placed on one or two accent nails, allowing the overall look to remain balanced.
To achieve this look, apply a nude base coat and allow it to dry. Use a dotting tool to create white petals in a circular pattern, forming daisies. Add a small yellow or soft beige dot in the center. Limit the number of floral accents to avoid overcrowding. Seal the design with a top coat. This step-by-step method ensures a clean and organized finish.
Idea 3: Matte Neutral Nails with Floral Art
How to Create
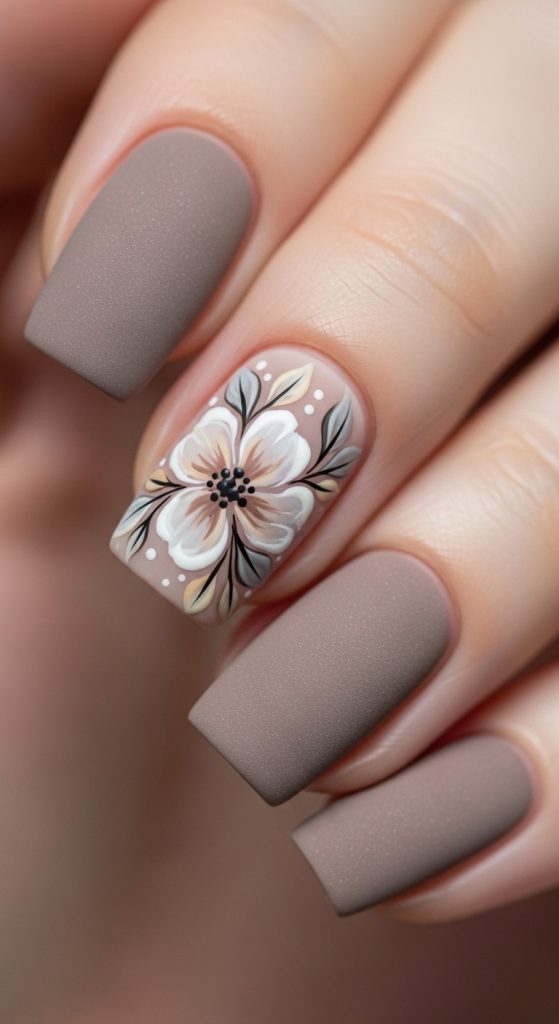
This idea focuses on combining matte finishes with floral designs to create a modern and textured look. Matte surfaces reduce shine and emphasize the details of the floral patterns.
To create this design, apply a neutral polish and finish with a matte top coat. Use a fine brush to paint floral details in slightly contrasting tones. Keep designs simple and evenly spaced.
Idea 4: French Tip with Floral Detail
How to Create
This design updates the classic French tip by adding small floral elements along the tip line. It maintains structure while introducing decoration.
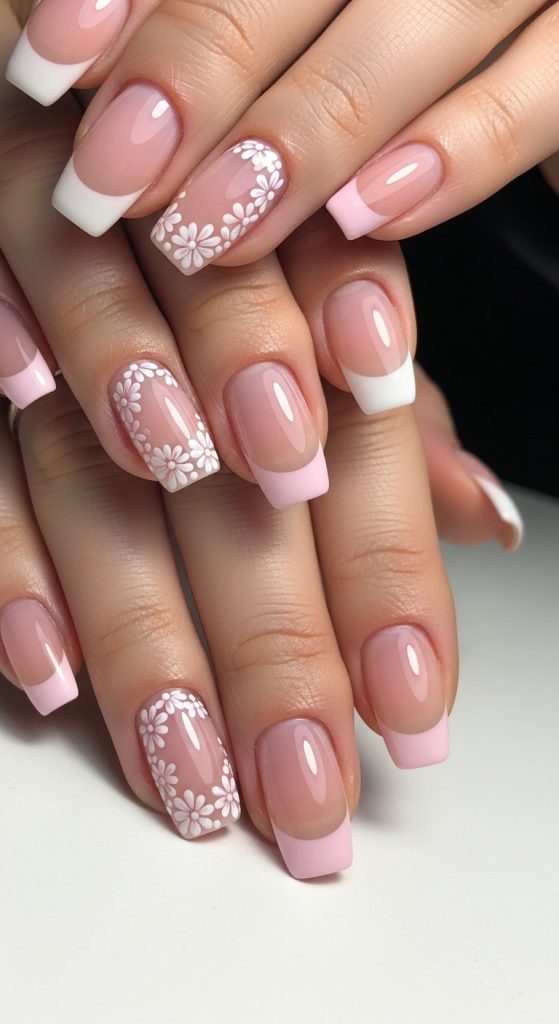
Apply a sheer base and create a soft white tip. Add small floral accents along the tip using a fine brush. Seal with a top coat.
Idea 5: Cream Nails with Subtle Floral Patterns
How to Create
Cream tones create a soft base for delicate floral designs. This idea focuses on subtlety and balance.
Apply a cream base and add small floral patterns using light neutral tones. Keep spacing consistent and finish with a glossy top coat.
Idea 6: Soft Pink Neutral Floral Nails
How to Create
Soft pink tones provide warmth while maintaining neutrality. Floral designs enhance the overall aesthetic.
Apply a soft pink base and create small floral patterns using white or beige tones. Seal with a top coat.
Idea 7: Neutral Ombre with Floral Accent
How to Create
This design combines gradient effects with floral accents for added depth.
Create an ombre base using neutral shades. Add floral details to one accent nail. Seal with a top coat.
Idea 8: Minimal Line Floral Design
How to Create
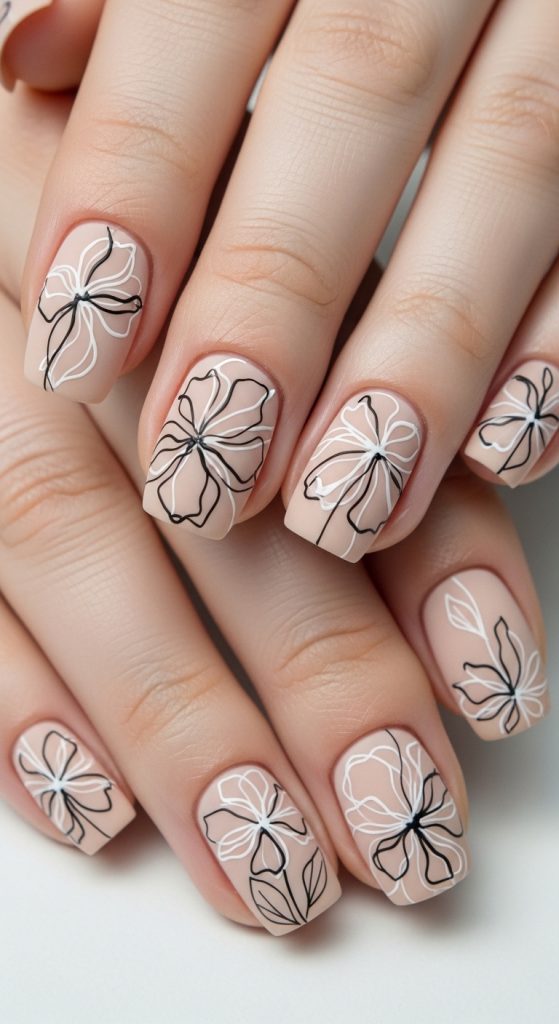
This idea uses fine lines to create abstract floral patterns. It focuses on simplicity and precision.
Apply a neutral base and use a thin brush to draw floral outlines. Keep lines clean and minimal.
Idea 9: Almond Shape Floral Nails
How to Create
Almond-shaped nails enhance the elegance of floral designs. This idea focuses on shape and detail.
Shape nails into an almond form and apply a neutral base. Add floral patterns and seal with a top coat.
Idea 10: Transparent Nude Floral Layers
How to Create
This design uses sheer layers to create a soft and airy floral effect.
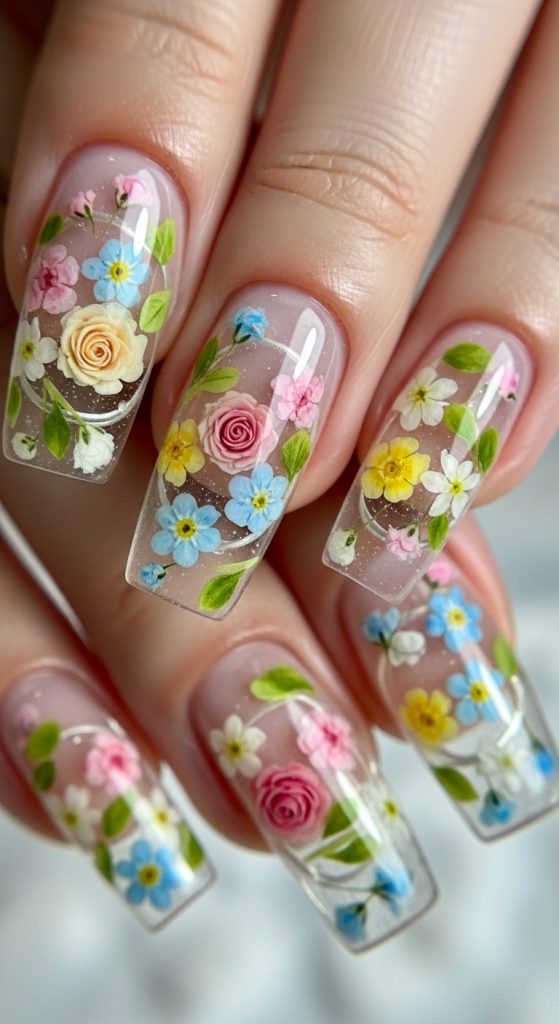
Apply a transparent nude base and layer floral designs gradually. Seal with a glossy top coat.
Common Beginner Mistakes and How to Avoid Them
A common mistake is applying thick layers of polish, which can lead to uneven surfaces and longer drying times. Thin, even layers improve results. Overcrowding designs can reduce clarity, so spacing should be planned carefully. Using unclean tools may affect precision, so tools must be cleaned before use. Skipping preparation steps can lead to poor adhesion, so proper nail care is essential.
Practical Tips for Better Results
Use high-quality brushes for precise detailing. Practice floral patterns on a surface before applying them to nails. Maintain consistent color tones for a cohesive design. Allow each layer to dry fully before adding details.
Styling, Presentation, or Organization Ideas
Present nails against neutral backgrounds to enhance visibility. Use consistent lighting for photography. Organize tools and materials before starting to improve workflow.
Budget or Time Planning
Use existing materials to reduce costs. Plan designs in advance to save time. Work on one hand at a time for better control.
Creative Expansion and Advanced Inspiration
Experiment with combining textures such as matte and glossy finishes. Introduce subtle metallic accents while maintaining neutrality. Explore different floral patterns to expand creative possibilities.