10 Teen Boy Gaming Bedroom Ideas
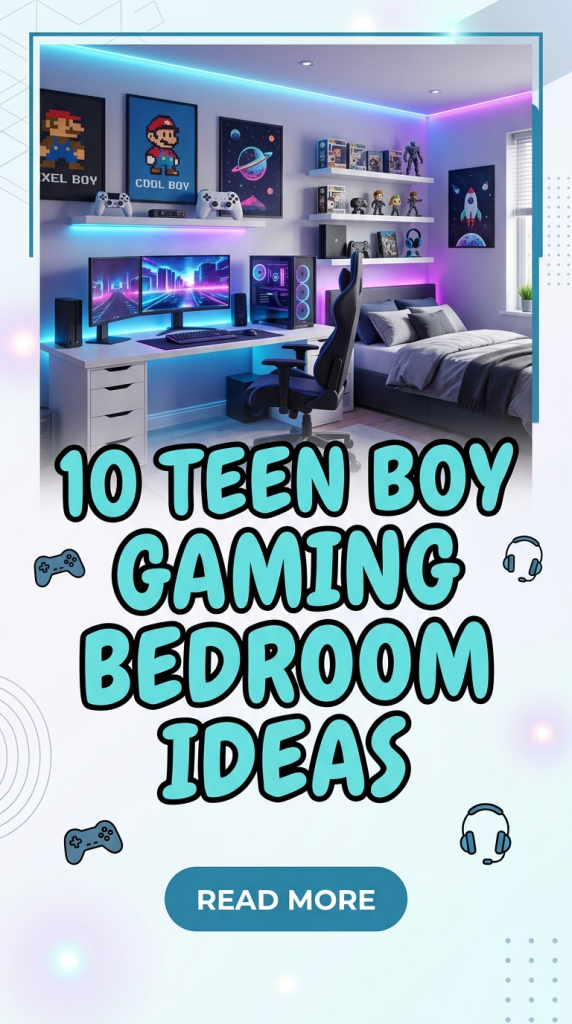
Designing a gaming bedroom for a teen boy requires careful planning that combines comfort, functionality, and visual appeal. This type of space is not only used for gaming but also for studying, relaxing, and socializing. A well-designed setup can improve focus, reduce clutter, and create an engaging environment that reflects personal interests. Pinterest ideas for gaming bedrooms often highlight creative layouts, smart lighting, and efficient organization systems that maximize available space.
This article explains how to build a complete gaming bedroom using practical DIY approaches and beginner friendly methods. It covers essential materials, preparation steps, and ten detailed creative ideas that can be implemented step by step. Each idea focuses on modern design, minimalist style, and aesthetic balance without requiring complex tools or expensive materials. Readers will learn how to transform an ordinary bedroom into a functional gaming zone that supports both productivity and entertainment. The goal is to provide actionable inspiration that can be adapted to different room sizes and budgets while maintaining a clean and organized setup.
Why This Idea Is Trending or Useful
Gaming bedroom setups have become a popular category in home decor because they combine technology with personal expression. Teenagers are increasingly looking for spaces that reflect their interests, and gaming provides a strong visual and functional theme. Pinterest inspiration often showcases clean layouts, LED lighting, and ergonomic setups that create a visually engaging environment while remaining practical. These designs are trending because they balance aesthetics with usability.
Another reason for popularity is accessibility. Many gaming bedroom ideas can be completed as easy DIY projects using affordable materials. This makes them suitable for beginners who want to create a customized setup without professional assistance. Organization is also a key factor. A well-arranged gaming room reduces distractions and improves focus, especially for students who use the same space for studying. Modern design principles such as minimalism and smart storage help maintain a clutter-free environment. These setups are useful because they combine comfort, technology, and creativity in a single cohesive space that supports daily routines.
Materials and Preparation
Before starting a gaming bedroom project, it is important to gather the right materials and plan the layout carefully. Basic materials include a sturdy desk, an ergonomic chair, cable management tools, LED light strips, shelves, and storage units. Additional decorative elements such as wall panels, posters, and rugs can enhance the overall aesthetic. Tools like a screwdriver, measuring tape, and adhesive mounts are commonly required for installation and setup.
Planning is a critical step in ensuring a smooth execution process. Begin by measuring the room and identifying the best location for the gaming desk. Consider natural light, wall space, and power outlets when deciding placement. Create a simple layout plan that includes zones for gaming, storage, and relaxation. Preparation also involves organizing cables and clearing unnecessary items to create a clean starting point. Budget planning is equally important. Determine which elements are essential and which can be added later. This structured approach ensures that the project remains manageable and efficient while achieving a polished final result.
Idea 1: LED Wall Panel Gaming Setup
How to Create

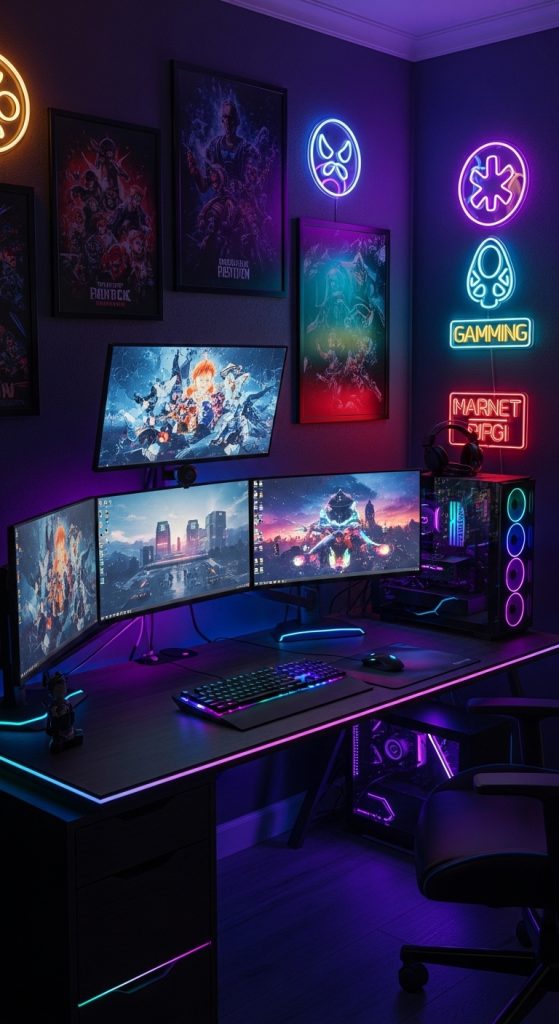
This idea focuses on creating a visually striking gaming wall using LED panels. The concept involves arranging light panels or strips in geometric patterns behind the gaming desk to create a dynamic background. This design enhances the aesthetic appeal of the room while providing soft ambient lighting that reduces eye strain. LED panels can be configured in different shapes such as hexagons or linear patterns, allowing flexibility in design. The goal is to create a focal point that draws attention without overwhelming the space.
To implement this setup, start by cleaning the wall surface and marking the layout using a pencil. Attach LED panels or strips according to the planned pattern using adhesive backing or mounting clips. Connect the panels to a power source and test the lighting before finalizing placement. Adjust brightness and color settings to match the overall room theme. Ensure cables are hidden using cable organizers to maintain a clean look. This step by step process creates a modern and immersive gaming environment using simple materials.
Idea 2: Minimalist Desk Gaming Station
How to Create

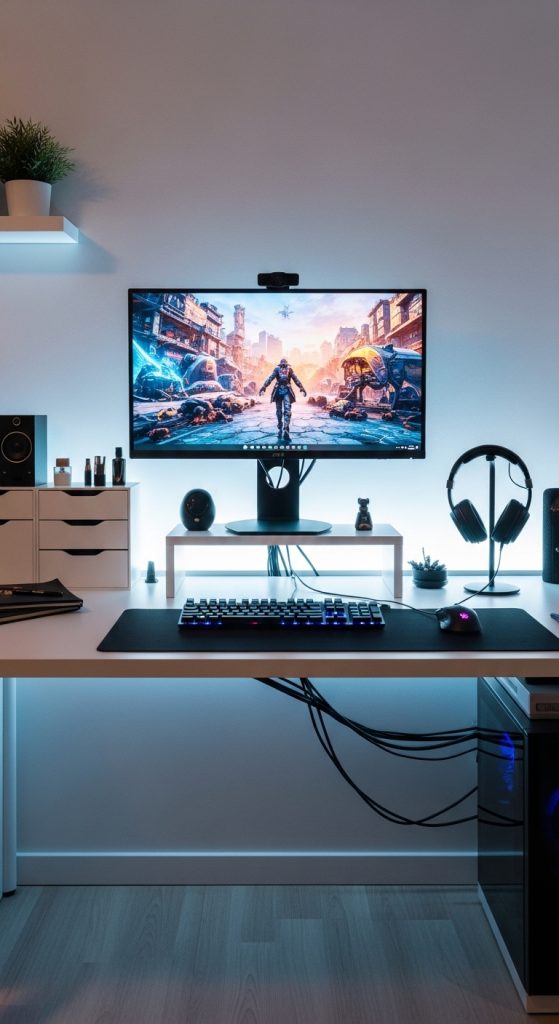
A minimalist gaming desk focuses on simplicity, functionality, and organization. This design removes unnecessary elements and highlights essential components such as the monitor, keyboard, and lighting. The goal is to create a clean workspace that improves focus and reduces distractions. Neutral colors and simple furniture contribute to a modern design that fits easily into most rooms. This approach is ideal for small spaces where efficiency is important.
To create this setup, choose a compact desk with built-in storage or drawers. Arrange gaming equipment neatly, keeping only essential items on the surface. Use cable management clips to hide wires and maintain a tidy appearance. Add a small desk lamp or LED strip for subtle lighting. Organize accessories such as headphones and controllers using hooks or stands. This easy project emphasizes organization and practicality while maintaining a sleek aesthetic that is beginner friendly.
Idea 3: Dual Monitor Gaming Workspace
Step-by-Step Guide

A dual monitor setup enhances functionality by providing additional screen space for gaming, streaming, or multitasking. This design is practical for teens who use their setup for both entertainment and study. The concept involves positioning two monitors side by side or in a stacked configuration to optimize viewing angles. This arrangement improves efficiency and creates a professional-looking gaming station.
To build this setup, start by selecting a desk that can support two monitors. Install a monitor stand or wall mount to save space and improve ergonomics. Align the screens at eye level to reduce neck strain. Connect both monitors to the computer and adjust display settings for seamless use. Organize cables behind the desk using clips or sleeves. Add subtle lighting to enhance the visual appeal. This setup provides a balanced combination of productivity and gaming functionality.
Idea 4: Gaming Bed and Lounge Zone
How to Make

This idea integrates a gaming space with a comfortable lounge area. The concept involves creating a relaxing zone near the bed where the user can play games casually or watch content. Soft textures, cushions, and low lighting contribute to a cozy atmosphere. This setup is suitable for smaller rooms where space needs to serve multiple purposes.
To create this zone, position the bed near a wall with access to a power outlet. Add a small table or stand for devices. Use soft lighting such as LED strips under the bed or along the wall. Arrange cushions and blankets to create a comfortable seating area. Ensure cables are safely managed to avoid clutter. This setup provides a versatile space for both relaxation and entertainment.
Idea 5: Wall-Mounted Gaming Storage
Execution Process

Wall-mounted storage focuses on maximizing vertical space for organization. This idea involves installing shelves or pegboards to store gaming accessories, books, and decorative items. The design keeps the floor area clear while maintaining easy access to frequently used items.
To implement this, install shelves at appropriate heights using wall anchors. Arrange items neatly, grouping similar objects together. Use labeled containers or baskets for smaller accessories. Keep heavier items on lower shelves for safety. This approach improves organization and enhances the overall aesthetic of the room.
Idea 6: RGB Lighting Ceiling Design
How to Create

Ceiling lighting adds depth and ambiance to a gaming room. This idea uses RGB LED strips along the ceiling edges to create indirect lighting. The effect enhances the room’s atmosphere without being too bright.
To create this design, attach LED strips along the perimeter of the ceiling using adhesive backing. Connect the strips to a controller for color adjustments. Choose colors that complement the room’s theme. Hide wires along corners for a clean finish. This simple project creates a modern and immersive lighting effect.
Idea 7: Compact Corner Gaming Setup

Setup Method
A corner gaming setup is ideal for small rooms. This design utilizes unused corner space to create an efficient gaming station. It maximizes available space while maintaining functionality.
To set up, place a corner desk or standard desk in the corner. Position the monitor and equipment neatly. Use wall shelves above the desk for storage. Keep cables organized and minimize clutter. This layout ensures efficient use of space while maintaining a clean design.
Idea 8: Themed Gaming Wall Decor
How to Create
Themed decor adds personality to the gaming room. This idea involves using posters, decals, or artwork related to favorite games. The design enhances visual appeal while reflecting personal interests.
To implement, select a theme and choose matching decor elements. Arrange items symmetrically on the wall for balance. Use frames or adhesive mounts for easy installation. Keep the design consistent to avoid visual clutter. This approach creates a personalized and engaging environment.
Idea 9: Cable-Free Clean Setup
Step-by-Step Guide
A cable-free setup focuses on organization and cleanliness. Visible wires can make a room look cluttered and unorganized. This idea aims to hide cables and create a streamlined appearance.
To achieve this, use cable sleeves, clips, and under-desk trays. Route cables along edges and behind furniture. Label cables for easy identification. Keep power strips hidden but accessible. This method improves both aesthetics and functionality.
Idea 10: Multi-Functional Gaming Desk
How to Make
A multi-functional desk supports gaming, studying, and storage in one unit. This design is practical for teens who need a versatile workspace. It combines drawers, shelves, and a spacious surface.
To create this setup, choose a desk with built-in storage. Organize items based on usage. Keep gaming equipment separate from study materials. Use organizers for small items. Maintain a clean layout to support productivity. This design ensures efficient use of space and resources.
Common Beginner Mistakes and How to Avoid Them
One common mistake is overcrowding the space with too many decorative elements. This reduces functionality and creates visual clutter. Another issue is poor cable management, which affects both safety and appearance. Beginners often ignore lighting balance, resulting in either overly bright or insufficient illumination. To avoid these problems, focus on simplicity and organization. Plan the layout before starting and prioritize essential elements. Use proper tools and follow installation steps carefully. Maintaining a balance between aesthetics and practicality ensures a successful outcome.
Practical Tips for Better Results
For improved results, measure all spaces accurately before purchasing furniture or materials. Use adjustable lighting to adapt to different activities. Keep frequently used items within easy reach and store less-used items away. Regularly clean and reorganize the setup to maintain its appearance. Choose neutral colors for larger elements and add color through lighting or decor. These tips help create a functional and visually appealing gaming environment.
Styling, Presentation, or Organization Ideas
Styling plays a key role in enhancing the overall look of a gaming bedroom. Use consistent color themes to create a cohesive design. Arrange items symmetrically for visual balance. Incorporate textures such as rugs or cushions to add depth. Keep surfaces clean and avoid overcrowding. Organized spaces not only look better but also improve usability. Presentation should focus on simplicity and clarity.
Budget or Time Planning
Effective planning helps complete the project efficiently. Start with essential items such as a desk and chair, then gradually add decorative elements. Set a realistic budget and prioritize high-impact changes. Allocate time for each step to avoid rushing. DIY projects can be completed over several days to ensure quality. This approach makes the process manageable and cost-effective.
Creative Expansion and Advanced Inspiration
Once the basic setup is complete, additional enhancements can be added. Consider soundproofing panels for improved acoustics. Add smart lighting systems for advanced control. Experiment with different layouts to find the most efficient arrangement. Incorporate custom-built elements such as shelves or desks for a unique touch. These advanced ideas allow continuous improvement and personalization of the gaming space.