
10 pool bathroom ideas
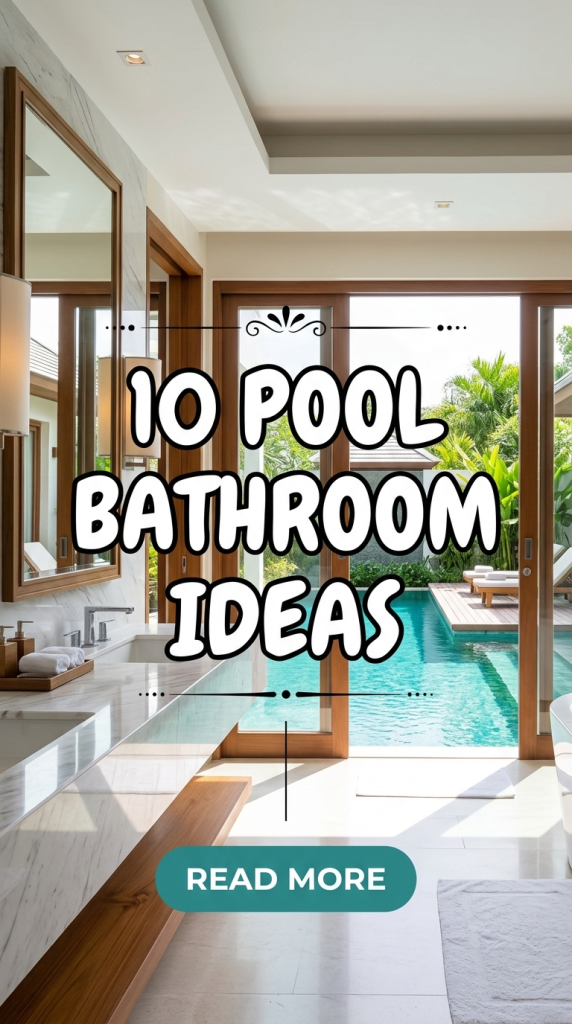
A well-designed pool bathroom improves comfort, hygiene, and organization in outdoor living spaces. Many homes with swimming pools include a dedicated bathroom nearby so swimmers can rinse, change clothes, and dry off without entering the main house. On Pinterest, pool bathroom inspiration has become increasingly popular because homeowners want functional spaces that also reflect attractive outdoor design.
A pool bathroom must handle water, humidity, and frequent use while remaining easy to clean and visually organized. Practical layouts, durable materials, and thoughtful storage solutions allow this type of bathroom to function efficiently in a high-moisture environment.
This article explores ten practical pool bathroom ideas designed for real-world use. Each concept focuses on simple design strategies that combine functionality with attractive outdoor-inspired decoration. Readers will learn how to plan layouts, select durable materials, and build beginner friendly improvements using step by step methods. These Pinterest ideas provide inspiration for creative projects that can be completed gradually or incorporated during a larger renovation. The goal is to create a pool bathroom that supports quick showering, organized storage, and convenient access from outdoor areas while maintaining a clean and modern design.
Why This Idea Is Trending or Useful
Pool bathrooms are frequently shared as Pinterest ideas because they improve convenience and cleanliness in homes with swimming pools. When swimmers can rinse and change near the pool area, less water and debris enter the main house. This simple feature reduces cleaning effort and protects interior flooring from moisture damage. As outdoor entertainment spaces become more common, many homeowners view a pool bathroom as a practical extension of outdoor living areas.
These bathrooms also align with modern design trends that focus on functionality and efficient organization. A well-planned pool bathroom can include shower stations, towel storage, hooks for swimwear, and quick access sinks. These features help keep the pool area organized while supporting daily use by multiple people.
The DIY appeal of pool bathroom improvements is another reason the topic appears frequently in Pinterest inspiration boards. Many design upgrades, such as installing storage shelves or adding decorative tiles, can be completed as beginner friendly projects. With the right materials and planning, homeowners can gradually upgrade a pool bathroom while maintaining a consistent aesthetic. These creative ideas combine practical use with attractive home decor, making them a popular topic in outdoor design planning.
Materials and Preparation
Preparation is essential when designing or upgrading a pool bathroom because the space experiences high levels of moisture and frequent foot traffic. Materials must be selected for durability and water resistance. Common materials include ceramic tiles, stone flooring, waterproof paint, stainless steel fixtures, plastic storage containers, and treated wood shelving. These materials resist humidity and simplify cleaning after heavy pool use.
Basic tools often include measuring tape, level tools, tile adhesive, grout, waterproof sealant, screwdrivers, and drill equipment for installing shelves or hooks. Preparation begins with evaluating the available space and determining the primary functions of the bathroom. Some pool bathrooms focus mainly on shower use, while others include changing areas and storage features.
Planning should also consider ventilation and drainage to prevent humidity buildup. Proper airflow reduces mold growth and keeps the space comfortable. It is helpful to sketch a simple layout showing the shower, sink, towel storage, and entry points from the pool area. Choosing neutral color palettes and durable surfaces helps maintain a clean appearance over time. Careful preparation ensures the creative project proceeds smoothly and results in a practical bathroom that supports regular outdoor activity.
MAIN IDEAS SECTION
Idea 1: Outdoor Walk-In Pool Shower
How to Create
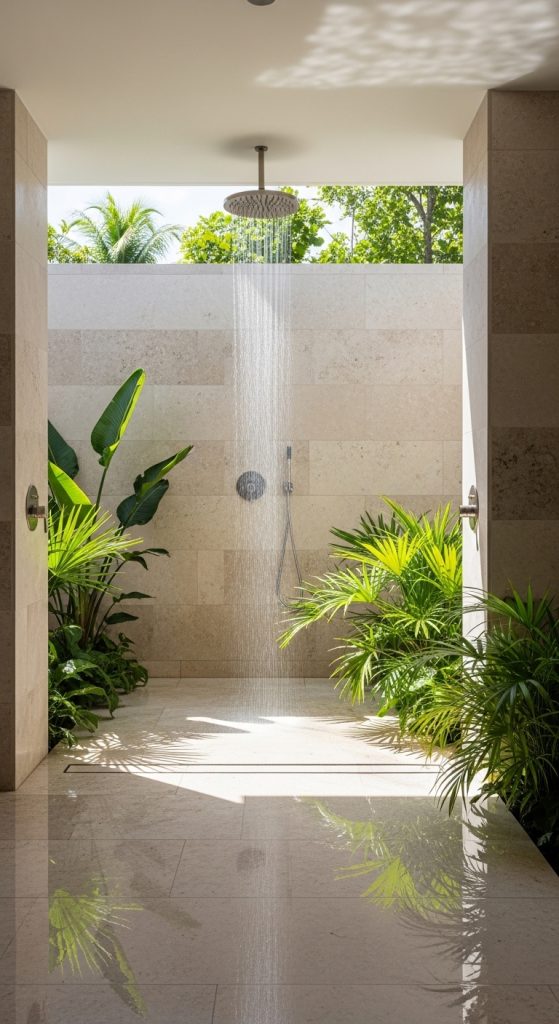
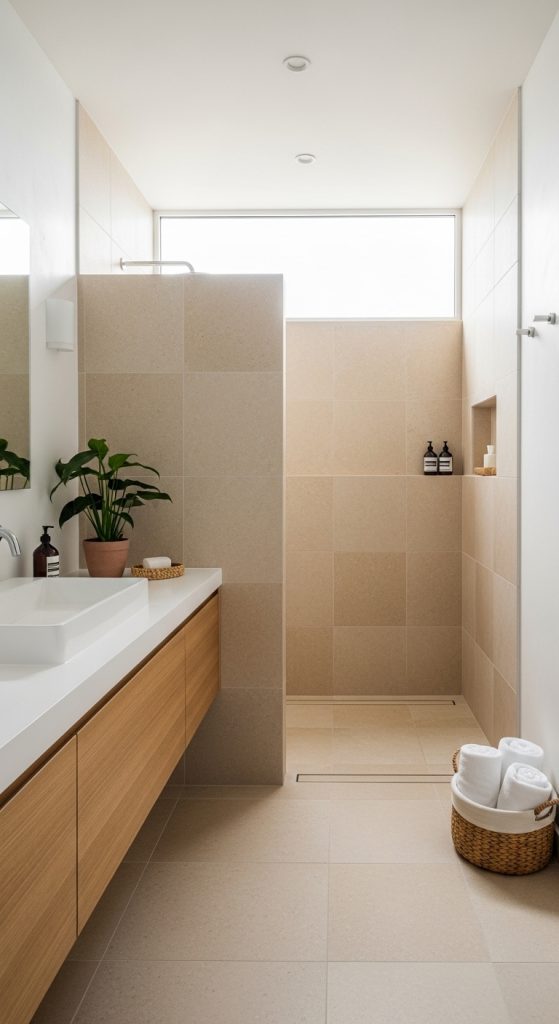
An outdoor walk-in shower is one of the most practical pool bathroom features because it allows swimmers to rinse off immediately after leaving the pool. This design focuses on simplicity and accessibility while maintaining a clean aesthetic. The walk-in layout removes barriers such as shower doors, which helps prevent water buildup and simplifies cleaning. Many pool bathrooms use open shower areas with tiled walls and slightly sloped floors to direct water toward a central drain.
Natural materials often appear in this design because they blend well with outdoor environments. Stone tiles, textured ceramic surfaces, and neutral color palettes support a calm aesthetic while remaining durable. Pinterest inspiration often highlights walk-in showers surrounded by minimal decoration so the space feels open and functional.
The walk-in shower design also supports easy maintenance. Without complex fixtures or enclosed doors, the area can be rinsed and cleaned quickly. This makes the layout particularly suitable for high-traffic pool environments where multiple users may enter the shower area throughout the day.
To create the walk-in shower, begin by preparing the floor with a waterproof base layer and installing a drainage system. The floor should slope slightly toward the drain to prevent standing water. Ceramic or stone tiles can then be installed across the floor and walls using tile adhesive and spacers to maintain even alignment.
After the tiles set, grout fills the gaps and waterproof sealant protects the surface. Install a wall-mounted shower fixture at a comfortable height and ensure plumbing connections are secure.
Adding simple wall hooks or shelves nearby allows swimmers to store towels or toiletries. This step by step setup produces a durable shower space that improves convenience for anyone using the pool area.
Idea 2: Built-In Towel Storage Wall
How to Make
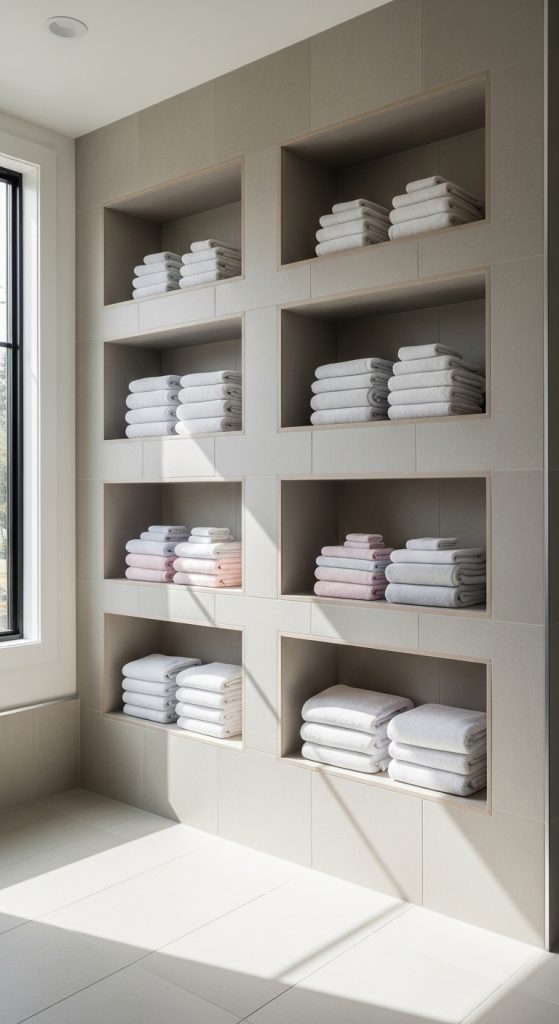
Efficient towel storage is essential in any pool bathroom because swimmers frequently require dry towels after leaving the water. A built-in towel storage wall creates an organized system that keeps towels accessible while maintaining a clean appearance. This feature often consists of open shelves, cubby compartments, or recessed storage units installed directly into the wall.
Built-in storage reduces clutter because towels remain contained in designated spaces rather than stacked on countertops. This organization method also improves airflow around towels, helping them dry faster after use. Pinterest home decor inspiration frequently highlights wall-mounted towel storage because it saves floor space while contributing to a minimalist style.
The design can include multiple compartments so family members or guests have separate storage areas. Neutral color palettes and simple shelving structures maintain visual balance while supporting daily functionality.
To build a towel storage wall, begin by measuring the available wall space and planning the layout of shelves or cubbies. Install moisture-resistant backing boards to support the structure. Wooden or composite shelves can then be attached securely using wall anchors or framing supports.
After installation, apply waterproof sealant or protective paint to prevent moisture damage. The compartments can then be stocked with folded towels arranged by size or color.
This step by step process creates a durable organization system that keeps the pool bathroom tidy and ensures towels remain easy to access.
Idea 3: Non-Slip Pool Bathroom Flooring
Step-by-Step Guide
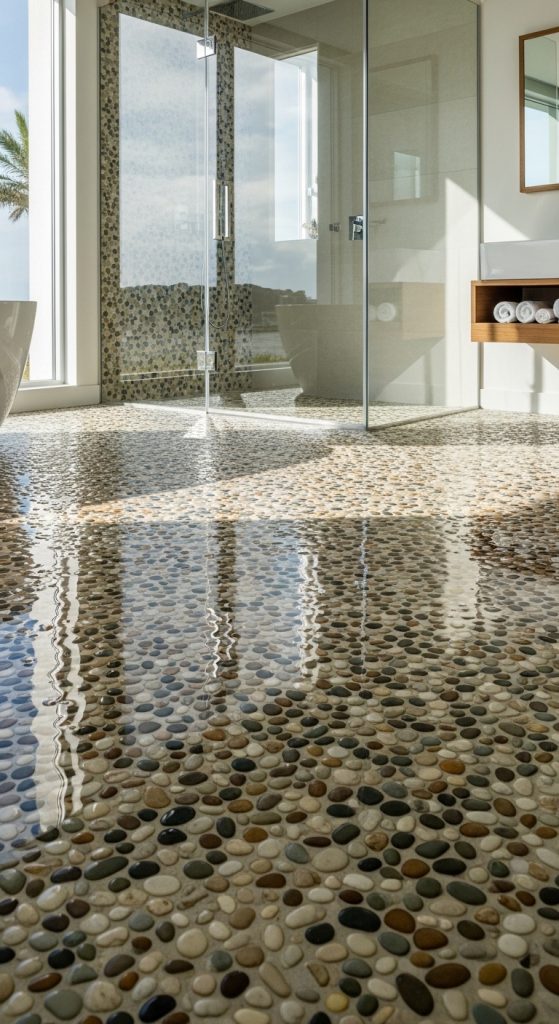
Non-slip flooring is a critical safety feature in pool bathrooms because wet surfaces increase the risk of slipping. Textured tiles, rubber-backed flooring, or stone surfaces with natural grip help maintain traction when water is present. This design focuses on practical safety while maintaining visual consistency with the surrounding bathroom decor.
Pinterest ideas often highlight textured ceramic or pebble tile flooring because these materials combine durability with slip resistance. Neutral tones such as gray, beige, or sand colors work well in pool bathrooms because they resemble natural outdoor environments.
Using a consistent tile pattern across the floor helps maintain visual organization. The textured surface also improves drainage because small grooves allow water to move toward floor drains.
To install non-slip flooring, start by preparing the subfloor and ensuring it is level and clean. Apply adhesive mortar evenly before placing the tiles. Maintain consistent spacing using tile spacers to ensure the pattern remains aligned.
After installation, grout fills the gaps between tiles and secures them in place. A waterproof sealant protects the floor from moisture damage and simplifies cleaning.
This step by step installation produces a safe and durable floor surface suitable for frequent pool traffic.
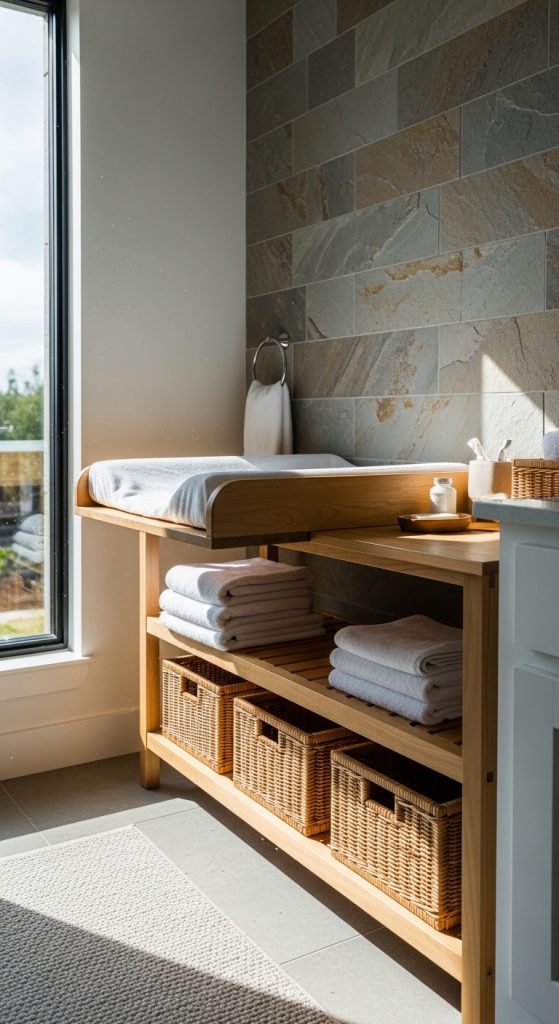
Idea 4: Poolside Changing Bench
Setup Method
A changing bench provides a comfortable space for swimmers to sit while changing clothes or drying off. This feature improves convenience while also supporting organization within the bathroom. Benches often appear in Pinterest pool bathroom inspiration because they create a functional transition between wet and dry areas.
Benches can be constructed from treated wood, stone slabs, or waterproof composite materials. The structure should remain stable and resistant to humidity. A simple rectangular bench with clean lines supports a modern design style while maintaining durability.
The seating area also provides space for placing towels or bags temporarily. When combined with nearby hooks or storage shelves, the bench becomes part of a well-organized bathroom layout.
To install a changing bench, begin by selecting a location that does not block movement through the bathroom. Measure the available space and construct a bench frame using moisture-resistant materials.
Secure the frame to the wall or floor if additional stability is needed. Attach the seating surface and seal the material with waterproof coating.
This simple setup method creates a practical seating area that improves comfort for anyone using the pool bathroom.
Idea 5: Wall Hooks for Swimwear
Execution Process
Swimwear storage is an important part of pool bathroom organization. Wall hooks provide a simple solution that allows wet swimsuits to hang and dry properly. Hooks are frequently featured in Pinterest organization ideas because they maximize vertical space and prevent clutter.
Hooks can be arranged in rows or staggered patterns depending on the available wall space. Durable materials such as stainless steel or coated metal resist corrosion in humid environments.
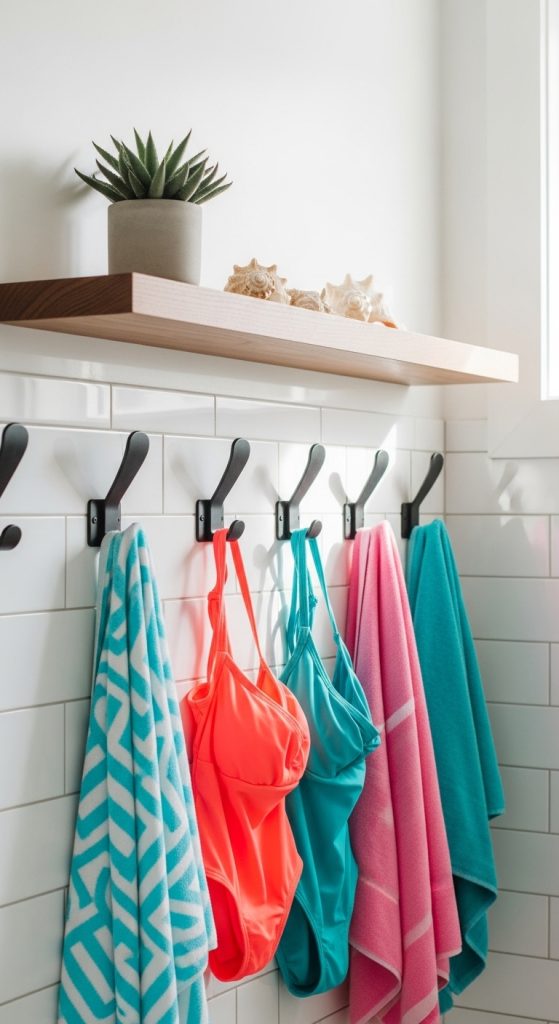
Assigning specific hooks for towels, swimwear, and bags helps maintain order and prevents items from being left on the floor.
To install wall hooks, measure the desired spacing and mark the wall with a level to ensure alignment. Drill pilot holes and attach the hooks using wall anchors or screws.
Position the hooks at varying heights so both children and adults can reach them easily.
This step by step process creates a simple organization system that improves cleanliness in the pool bathroom.
Idea 6: Ventilated Bathroom Windows
How to Create
Proper ventilation is essential in pool bathrooms because humidity levels remain high. Windows improve airflow and allow natural light to enter the space. Natural lighting also reduces the need for artificial lighting during daytime use.
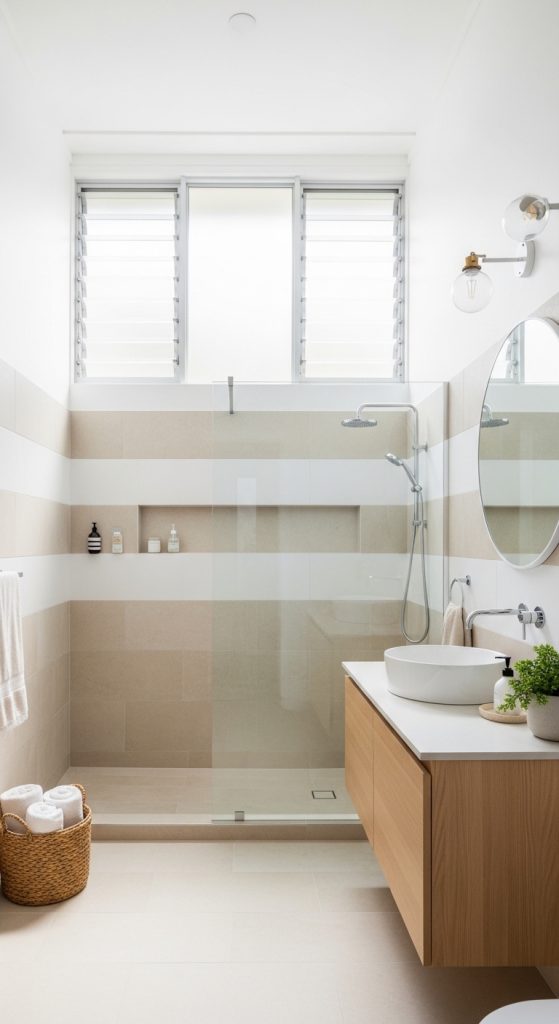
Large windows or ventilation panels are often featured in Pinterest pool bathroom inspiration because they connect indoor spaces with outdoor environments. Frosted glass or high placement helps maintain privacy while still allowing sunlight to enter.
Installation begins by selecting a window style that supports airflow while preventing water intrusion. Place the window above eye level or near the ceiling for privacy.
Seal the window frame with waterproof materials to prevent leaks. Proper ventilation keeps the bathroom dry and comfortable.
Idea 7: Outdoor Access Pool Bathroom Door
How to Make
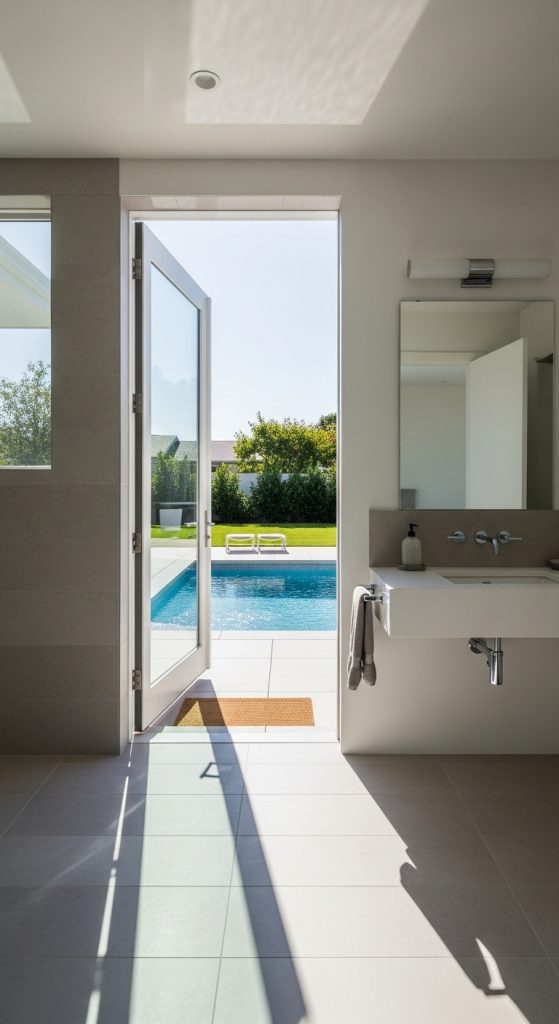
Direct outdoor access improves the functionality of a pool bathroom by allowing swimmers to enter without walking through the house. This layout supports efficient traffic flow between the pool and the bathroom.
Choose a durable door designed for outdoor conditions. Materials such as treated wood or composite panels resist humidity and weather exposure.
Install the door with proper sealing around the frame to prevent water intrusion. The outdoor entrance simplifies bathroom access for pool users.
Idea 8: Compact Sink Station
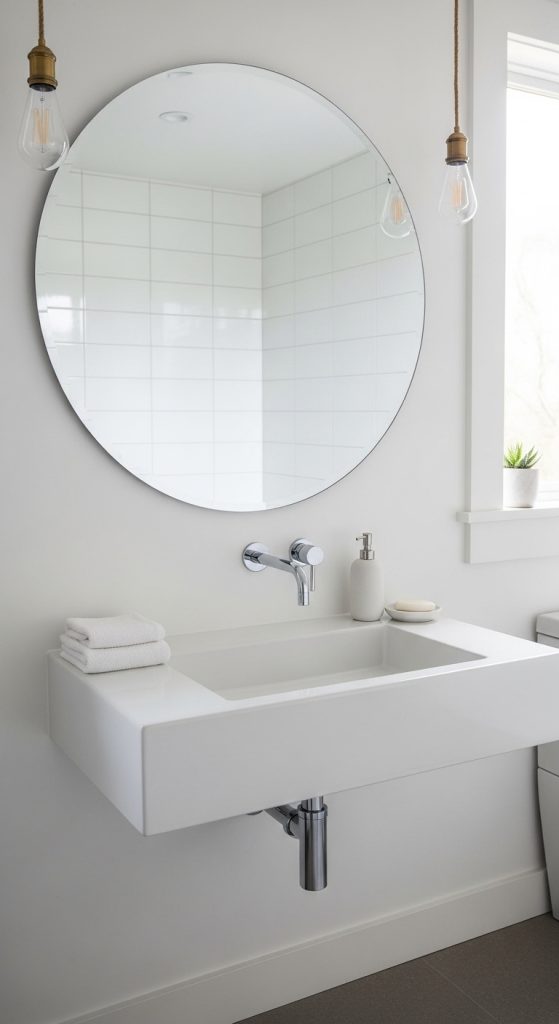
Step-by-Step Guide
A compact sink station provides a place for quick handwashing and brushing teeth without occupying excessive space. Wall-mounted sinks work well in pool bathrooms because they leave floor space open for movement.
To install the sink station, mount the sink bracket securely to the wall and connect plumbing lines. Install a simple faucet and ensure proper drainage.
The result is a small but functional washing area that complements the overall bathroom layout.
Idea 9: Waterproof Storage Cabinets
Execution Process
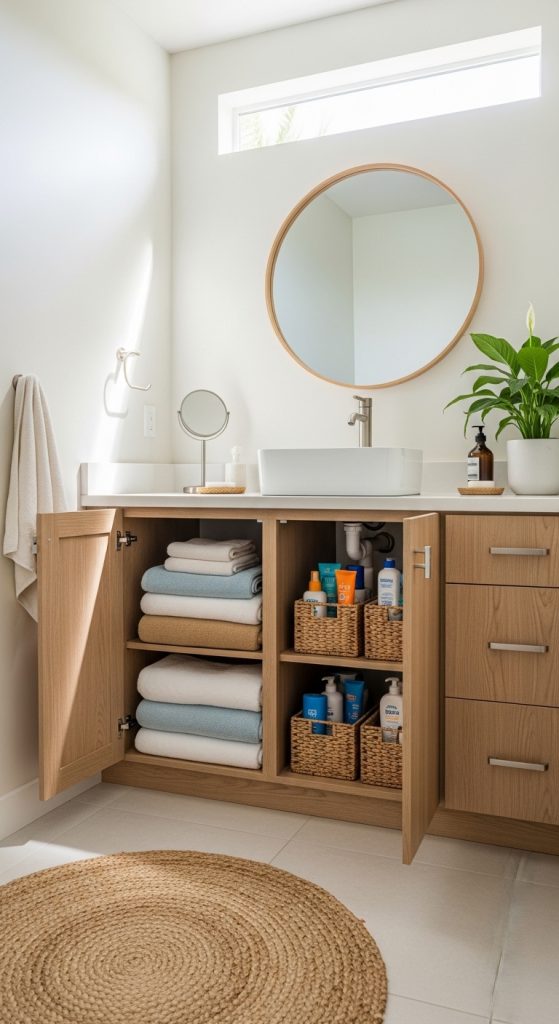
Waterproof cabinets help store toiletries, sunscreen, and cleaning supplies. Closed storage prevents clutter while protecting items from moisture.
Install cabinets above floor level to prevent water damage. Use moisture-resistant materials and sealed surfaces for durability.
Organize items inside using labeled containers to maintain order.
Idea 10: Neutral Pool Bathroom Color Palette
How to Create
A neutral color palette creates a calm and clean environment suitable for a high-traffic pool bathroom. Colors such as sand, light gray, and soft white reflect natural outdoor elements and help the space appear larger.
To implement this design, apply waterproof paint on walls and choose tiles in neutral shades. Maintain consistent color tones across surfaces.
This approach ensures the bathroom remains visually balanced while supporting practical use.
Common Beginner Mistakes and How to Avoid Them
Many pool bathroom projects fail due to poor waterproofing. All surfaces must be sealed properly to prevent moisture damage. Another common issue is inadequate storage, which leads to cluttered countertops and floors. Planning dedicated storage areas for towels and swimwear improves organization.
Practical Tips for Better Results
Use moisture-resistant materials and maintain good ventilation. Install non-slip flooring and ensure proper drainage. These improvements enhance safety and durability.
Styling, Presentation, or Organization Ideas
Keep decoration simple and functional. Use baskets, hooks, and shelves to maintain organization. Neutral color palettes and natural textures help maintain a cohesive aesthetic.
Budget or Time Planning
Pool bathroom improvements can be completed gradually. Start with essential upgrades such as flooring and storage before adding decorative elements.
Creative Expansion and Advanced Inspiration
Advanced designs may include outdoor shower areas, stone accent walls, or integrated seating. These creative ideas expand the functionality and visual appeal of the pool bathroom while maintaining a practical layout.