
10 Backyard Golf Ideas

Backyard golf setups have become a practical way to combine recreation, skill development, and outdoor design within a limited space. These Pinterest ideas focus on creating functional practice areas that are adaptable to different yard sizes and layouts. A well-designed backyard golf space allows consistent practice without requiring access to a full course. It also contributes to home decor by adding structured and purposeful outdoor elements.
This article explains how to build and organize backyard golf features using DIY methods and accessible materials. Readers will learn step by step approaches to designing putting greens, chipping zones, and creative practice layouts that suit both beginners and experienced players. Each idea focuses on clear execution, efficient planning, and realistic construction methods. The goal is to provide a complete guide that transforms unused outdoor areas into organized and engaging golf practice environments while maintaining a clean and aesthetic design.
Why This Idea Is Trending or Useful
Backyard golf projects are gaining attention in Pinterest ideas because they combine recreation with efficient use of space. Many homeowners are focusing on creating functional outdoor environments that serve both leisure and skill-building purposes. Golf practice areas meet this demand by offering a structured activity that can be customized according to available space and personal goals.
These projects also align with DIY trends, where individuals prefer building their own setups instead of relying on external facilities. Backyard golf features can be created using simple materials, making them suitable for budget ideas. Their flexibility allows adjustments in size, layout, and difficulty level, ensuring accessibility for beginners.
Another key factor is design relevance. A well-planned golf area integrates seamlessly into backyard organization, enhancing the overall aesthetic. Minimalist layouts, clean edges, and natural materials contribute to modern design preferences. These features make backyard golf setups both practical and visually appealing, increasing their popularity as a creative project.
Materials and Preparation
Creating a backyard golf setup requires careful planning and selection of appropriate materials. Common materials include artificial turf, natural grass patches, sand, wooden boards, PVC pipes, nets, and golf cups. Tools such as measuring tape, shovel, level, and cutting tools are essential for accurate construction.
Preparation begins with evaluating the available space. Identify flat areas or sections that can be leveled easily. Define the purpose of the setup, whether it is for putting, chipping, or full swing practice. Mark the layout clearly to ensure proper organization before starting construction.
Ground preparation is important for stability. Remove debris and level the surface to create a consistent base. For turf installations, add a layer of compacted sand or soil to improve durability. Planning drainage is also necessary to prevent water accumulation. Careful preparation ensures that the project remains functional, long-lasting, and easy to maintain.
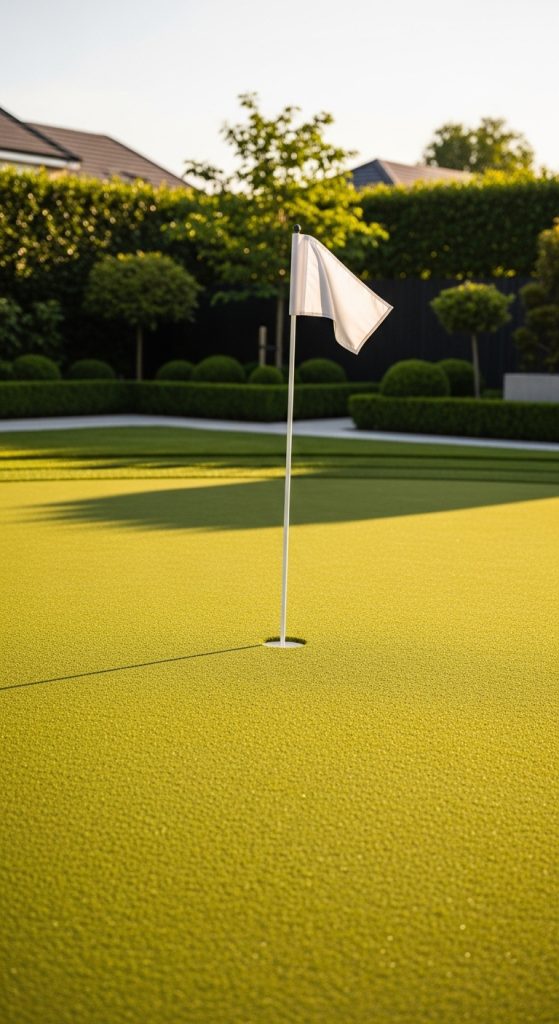
Idea 1: Simple Backyard Putting Green
How to Create
A simple backyard putting green is one of the most practical golf setups for beginners. This design focuses on creating a smooth and even surface that allows consistent ball movement. The concept involves using artificial turf or well-maintained grass to simulate a real putting green. This setup is compact and can be adapted to different yard sizes, making it a beginner friendly option.
To build this green, start by selecting a flat area and removing any uneven soil or debris. Level the surface carefully using a shovel and leveling tool. Add a compacted base layer of sand to ensure stability. Lay artificial turf over the base and secure it tightly to prevent shifting. Cut holes for golf cups and position them strategically to create variation in practice. Ensure proper alignment and smooth edges to maintain consistent ball roll. This step by step process results in a functional and easy project suitable for daily practice.
Idea 2: Backyard Chipping Zone
Step-by-Step Guide
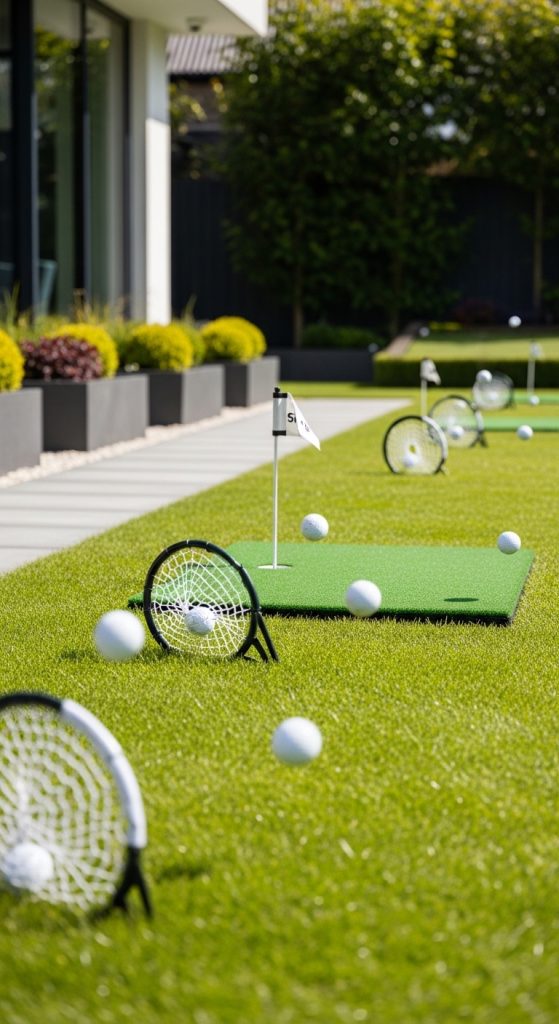
A backyard chipping zone is designed to improve short-distance accuracy and control. This setup includes a defined hitting area and multiple target zones to simulate real-game scenarios. It focuses on repetition and precision, making it a valuable addition to any backyard golf layout.
To create this zone, designate a small section of the yard and level the ground. Install a hitting mat or use natural grass for the striking area. Place targets such as buckets, hoops, or marked zones at varying distances. Use lightweight materials to define boundaries and ensure safety. Adjust target placement regularly to increase difficulty. This setup encourages consistent practice while maintaining a structured and organized environment.
Idea 3: Mini Golf Course Layout
How to Make
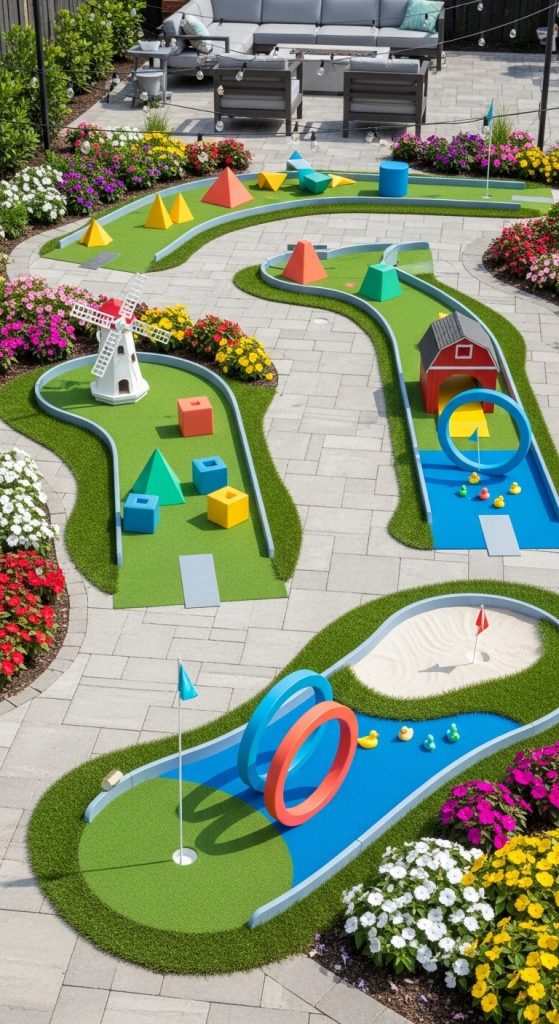
A mini golf course layout transforms a backyard into an interactive and engaging practice space. This design includes multiple holes with different obstacles and pathways. It combines recreation with skill development, making it suitable for both individuals and groups.
To build this course, plan a layout with several small sections connected by pathways. Use materials such as wood, plastic barriers, or stones to create obstacles. Install turf or smooth surfaces for each hole. Design each section with unique challenges such as curves or slopes. Secure all elements to maintain stability. This setup requires careful planning but offers a creative and enjoyable golfing experience.
Idea 4: Portable Putting Mat Setup
Execution Process
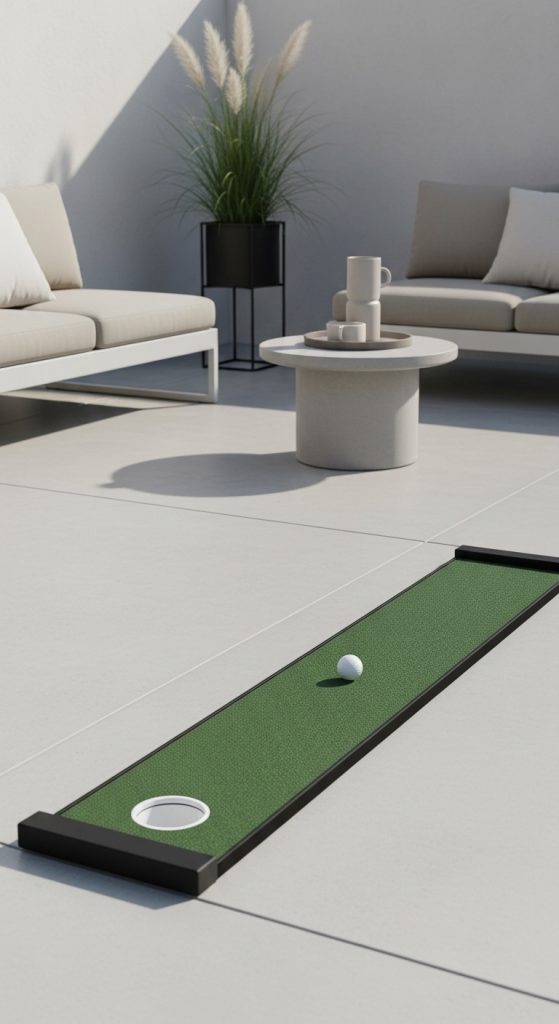
A portable putting mat setup provides flexibility and convenience for backyard practice. This idea focuses on mobility, allowing the setup to be moved or stored when not in use. It is ideal for small spaces or temporary installations.
To create this setup, use a high-quality putting mat placed on a flat surface. Add a portable golf cup and alignment guides to improve accuracy. Ensure the surface beneath the mat is level to maintain consistency. This setup requires minimal materials and can be assembled quickly. It offers a practical solution for those seeking an easy project with minimal construction effort.
Idea 5: Sand Bunker Practice Area
How to Create
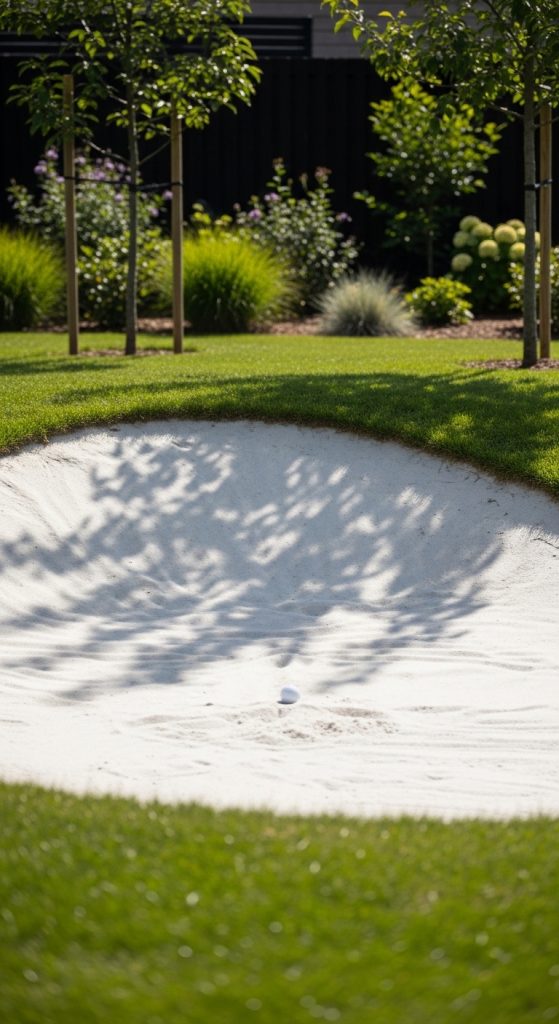
A sand bunker practice area simulates real golf course conditions, focusing on improving bunker shots. This design adds variety to backyard golf setups by introducing different textures and challenges.
To build this feature, dig a shallow rectangular area and line it with a protective layer. Fill the space with clean sand and level it evenly. Define the edges using wooden boards or stones. Ensure proper drainage to prevent water accumulation. This setup requires regular maintenance but provides valuable practice opportunities for improving technique.
Idea 6: Target Practice Wall
Setup Method
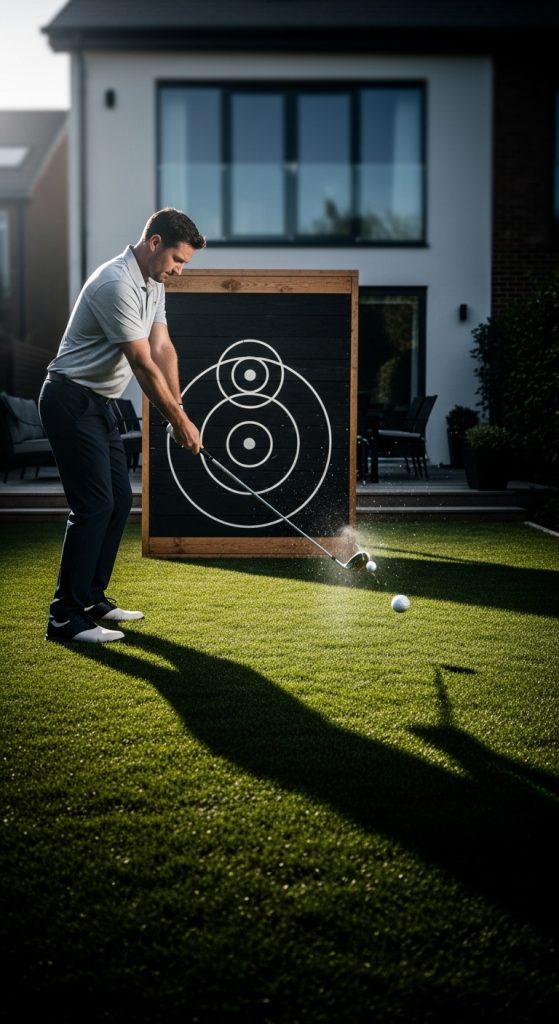
A target practice wall is designed to improve accuracy and control during swings. This setup uses a vertical surface with marked targets to provide visual feedback. It is particularly useful for practicing precision shots in limited space.
To construct this wall, use a sturdy wooden or metal frame. Attach a durable surface that can withstand repeated impacts. Mark target zones clearly using paint or tape. Position the wall at a safe distance from the hitting area. This setup enhances focus and provides measurable results for improvement.
Idea 7: Multi-Level Putting Green
How to Make

A multi-level putting green introduces elevation changes to simulate real course conditions. This design focuses on improving reading slopes and controlling ball speed. It adds complexity to standard putting practice.
To create this green, shape the ground to form gentle slopes and elevations. Use compacted soil or sand to build layers. Cover the surface with turf and ensure smooth transitions between levels. Install multiple cups at different heights. This setup requires precise leveling but offers advanced practice opportunities.
Idea 8: Backyard Driving Net Area
Step-by-Step Guide
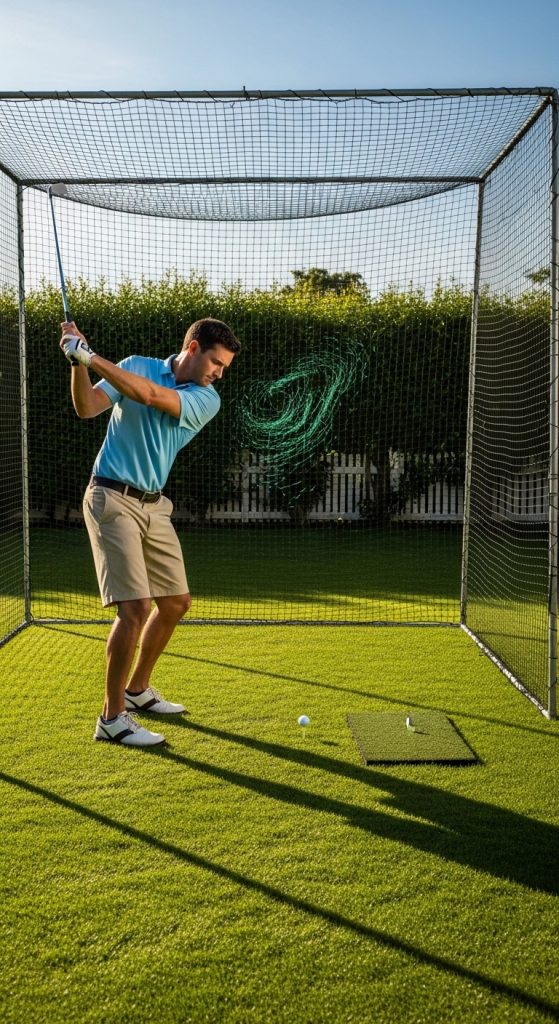
A driving net area allows full swing practice without requiring a large field. This setup focuses on safety and containment, ensuring that golf balls remain within a controlled space.
To build this area, install a strong net supported by poles or a frame. Position it at a safe distance from the hitting area. Use a hitting mat to protect the ground. Ensure the net is securely anchored to prevent movement. This setup enables consistent practice while maintaining safety and organization.
Idea 9: Glow-in-the-Dark Golf Setup
How to Create
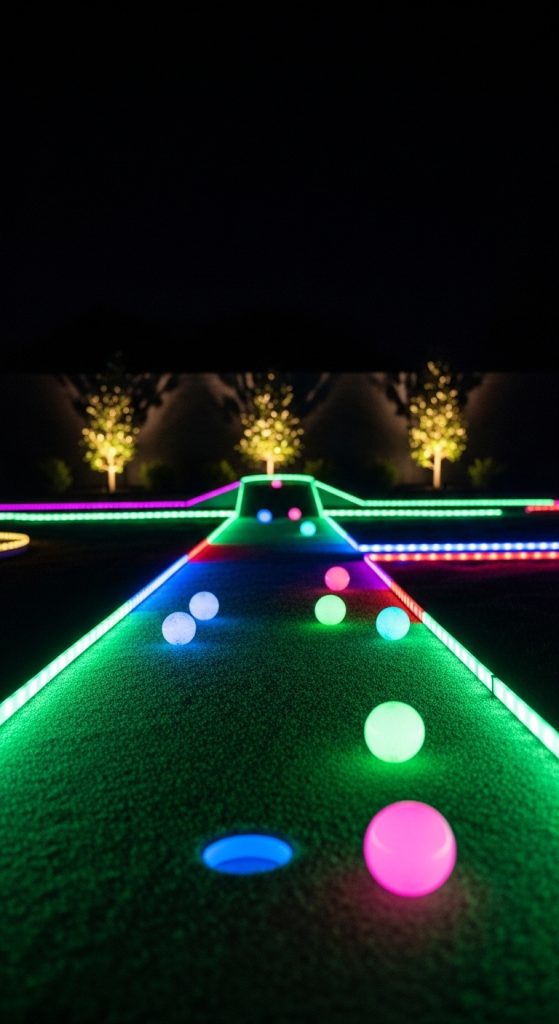
A glow-in-the-dark golf setup extends practice time into evening hours. This design uses lighting elements to create visibility while maintaining a unique aesthetic.
To create this setup, install LED lights around the putting area and targets. Use glow-in-the-dark balls or markers for visibility. Ensure lighting is evenly distributed to avoid shadows. This setup adds a creative element while maintaining functionality.
Idea 10: Recycled Material Golf Course
Execution Process
A recycled material golf course uses repurposed items to create a functional practice area. This idea focuses on sustainability and cost efficiency. It allows creative use of available materials while maintaining a structured layout.
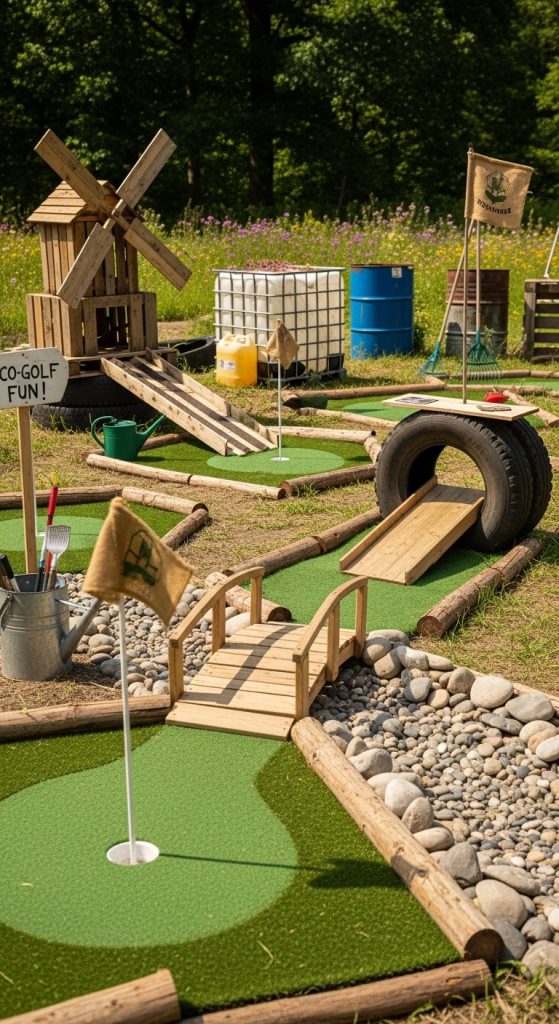
To build this course, collect items such as containers, wood pieces, and pipes. Use them to create obstacles and boundaries. Arrange the layout to form multiple practice sections. Ensure all materials are stable and safe for use. This approach reduces costs while encouraging creative design and resource management.
Common Beginner Mistakes and How to Avoid Them
A common mistake in backyard golf projects is poor surface leveling. Uneven ground affects ball movement and reduces practice accuracy. Always use leveling tools to create a smooth base. Another issue is improper spacing, which can limit movement and reduce functionality. Plan the layout carefully before construction.
Using weak or unstable materials can lead to structural problems. Choose durable materials that can withstand regular use. Ignoring safety measures, especially in driving areas, can create risks. Ensure proper net installation and safe distances.
Overcomplicating the design is another frequent error. Beginners should start with simple setups and gradually expand. Proper planning and attention to detail prevent these issues and ensure a successful project.
Practical Tips for Better Results
Use clear markings to define practice zones and improve accuracy. Maintain consistency in surface materials to ensure predictable ball movement. Regularly inspect the setup for wear and make necessary adjustments.
Incorporate simple alignment guides to improve technique. Keep the area clean and organized to maintain usability. Use weather-resistant materials to increase durability.
Start with small sections and expand gradually. This approach allows better control over the project and ensures steady improvement.
Styling, Presentation, or Organization Ideas
Integrate the golf setup into overall backyard organization by using consistent materials and colors. Define clear boundaries using stones, wood, or grass edges. Maintain a clean layout to enhance visual appeal.
Add seating or shaded areas to improve usability. Use lighting to highlight key sections and extend usability into evening hours. Arrange elements to maintain balance and avoid clutter.
A well-organized setup enhances both functionality and aesthetic value, making it a strong addition to home decor.
Budget or Time Planning
Plan the project based on available time and resources. Smaller setups can be completed quickly, while larger layouts require more preparation. Break the project into stages to maintain efficiency.
Use locally available materials to reduce costs. Focus on essential features before adding decorative elements. Allocate time for adjustments and improvements.
Efficient planning ensures the project remains within budget while achieving the desired outcome.
Creative Expansion and Advanced Inspiration
Expand the backyard golf setup by combining multiple features such as putting greens, chipping zones, and driving areas. Introduce new challenges to maintain engagement and improve skills.
Experiment with different layouts and materials to create unique designs. Add advanced elements such as automated ball returns or adjustable targets.
Integrate the setup with other outdoor features to create a multifunctional space. Continuous development ensures the project remains relevant and engaging over time.