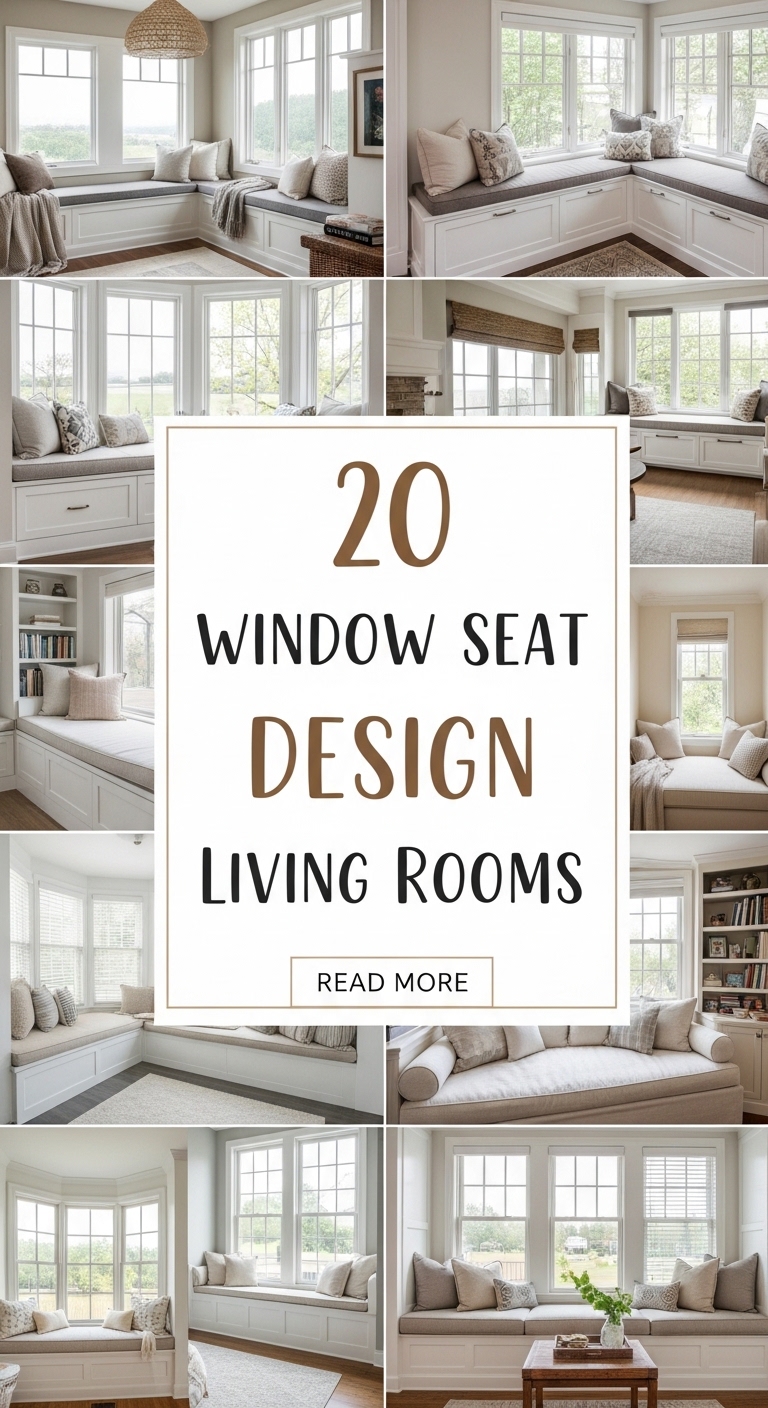
10 Modern Shoe Storage Ideas
Modern shoe storage ideas combine functionality, organization, and aesthetic design to improve everyday living spaces. Shoes are essential items used daily, yet they often create clutter when not stored properly. A well-planned storage system ensures easy access, protects footwear from damage, and contributes to a clean and visually appealing home environment. Pinterest ideas frequently highlight creative ways to store shoes efficiently while maintaining modern design standards and minimalist style.
This article explores ten practical and beginner friendly shoe storage solutions that align with current home decor and organization trends. Readers will learn how to implement each idea using simple materials, step by step methods, and clear planning strategies. Each concept focuses on maximizing space, improving accessibility, and enhancing the overall look of entryways, closets, or bedrooms. These ideas are suitable for small apartments, family homes, and anyone seeking creative project inspiration. By applying these methods, readers can transform cluttered spaces into organized and aesthetically pleasing areas with minimal effort and cost.
Why This Idea Is Trending or Useful
Shoe storage has become a trending topic in Pinterest inspiration due to the increasing focus on home organization and modern design. Many households face limited storage space, which makes efficient solutions essential. Creative ideas that combine DIY methods with minimalist style are gaining attention because they offer both practicality and visual appeal. Organized storage not only saves time but also reduces daily stress by making items easier to locate.
Another reason for the popularity of these ideas is their accessibility. Most solutions use simple materials and require basic tools, making them suitable for beginners. DIY tutorials provide step by step guidance, allowing individuals to create customized storage systems without professional help. This approach supports budget ideas while encouraging creativity and personalization. Additionally, modern shoe storage contributes to home decor by acting as both functional furniture and decorative elements. Whether placed in an entryway or bedroom, these storage systems enhance the overall aesthetic and reflect current trends in organization and interior styling.
Materials and Preparation
Before starting any shoe storage project, proper planning and preparation are essential. Common materials used in these DIY projects include wooden boards, metal frames, plastic bins, fabric organizers, screws, nails, brackets, and adhesive hooks. Basic tools such as a drill, measuring tape, level, screwdriver, and saw are often required. Selecting durable and easy-to-clean materials ensures long-lasting results and low maintenance.
Preparation begins with evaluating the available space and determining storage needs. Measure the area carefully to ensure the storage solution fits correctly. Consider the number of shoes, types of footwear, and frequency of use when planning the design. Creating a simple layout or sketch helps visualize the final result and prevents errors during construction. Cleaning and decluttering the area before installation improves efficiency and allows better organization. For beginner friendly projects, it is recommended to start with simple designs and gradually explore more advanced options. Proper planning ensures that the final storage system is both functional and aligned with modern design principles.
Idea 1: Floating Wall Shoe Shelves

How to Create
Floating wall shelves provide a clean and modern way to store shoes while saving floor space. This design is ideal for small rooms or entryways where maximizing vertical space is essential. The shelves create an open display that allows shoes to be easily visible and accessible. This method aligns with minimalist style by reducing clutter and maintaining a neat appearance. It also works well as a decorative feature, turning shoes into part of the room’s aesthetic.
To create floating shelves, start by measuring the wall area and marking the desired shelf positions. Use wooden boards cut to size and attach them using strong wall brackets or concealed mounting hardware. Ensure the shelves are level and securely fixed to support weight. Space the shelves evenly to accommodate different shoe sizes. Sand and paint or finish the wood to match your home decor. Install the shelves step by step, starting from the bottom upward. This easy project requires basic tools and provides a durable and visually appealing storage solution.
Idea 2: Under-Bed Shoe Drawers
Step-by-Step Guide
Under-bed storage is an effective way to utilize unused space in a bedroom. Shoe drawers placed beneath the bed keep footwear hidden while maintaining organization. This approach is especially useful for seasonal shoes or items not used daily. It supports a clean and uncluttered room while maximizing storage capacity without adding extra furniture.

To build under-bed drawers, measure the space beneath the bed and create wooden or plastic boxes that fit comfortably. Attach small wheels to the bottom for easy sliding. Divide the interior into sections using wooden dividers or inserts to keep shoes organized. Line the base with fabric or soft material to prevent damage. Place the drawers under the bed and arrange shoes by category or frequency of use. This beginner friendly DIY project requires minimal tools and offers a practical solution for compact spaces.
Idea 3: Vertical Shoe Rack Tower
How to Make
A vertical shoe rack tower is designed to store multiple pairs in a compact footprint. This structure is ideal for corners or narrow spaces where traditional racks may not fit. The vertical design allows efficient use of height while keeping shoes organized and accessible. It fits well within modern design trends that prioritize space-saving solutions.

To construct the tower, use wooden panels or metal frames to create stacked compartments. Each section should be sized to hold one or two pairs of shoes. Secure the structure with screws and ensure stability by anchoring it to the wall if necessary. Paint or finish the surface to match your interior style. Assemble the compartments step by step from bottom to top. This creative project is practical and adaptable, making it suitable for various room sizes and layouts.
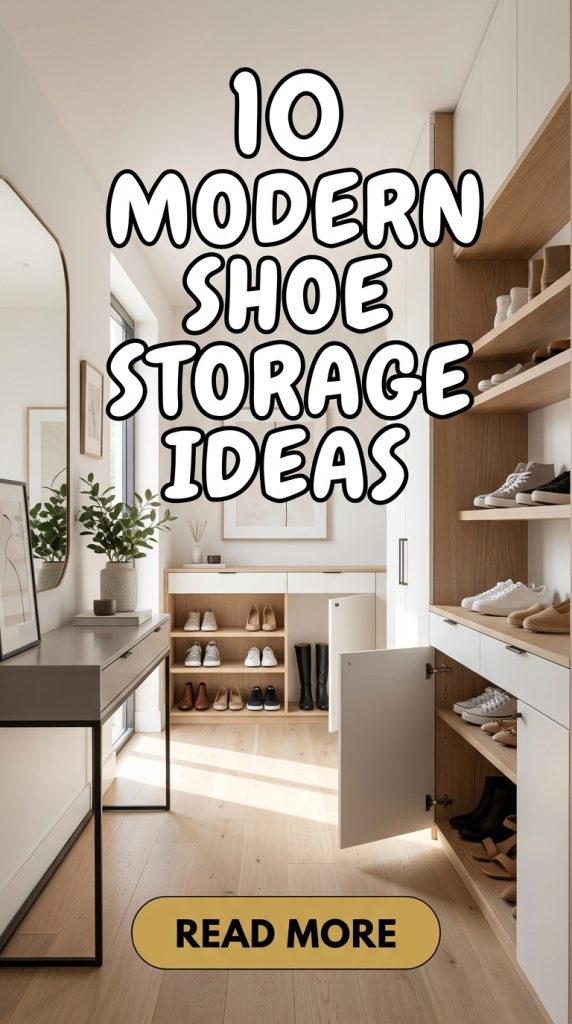
Idea 4: Hanging Door Shoe Organizer
How to Create
A hanging shoe organizer utilizes the back of doors to provide efficient storage. This method is commonly used in small apartments where floor space is limited. It keeps shoes visible and easy to access while maintaining organization. The design is simple and aligns with budget ideas and beginner friendly solutions.
To create this organizer, use a fabric or plastic hanging unit with multiple pockets. Attach it securely to the door using hooks or brackets. Ensure the organizer is evenly positioned to prevent imbalance. Place lightweight shoes such as sandals or flats in each pocket. For a DIY version, sew fabric pockets onto a sturdy backing material. This easy project requires minimal materials and offers immediate results. It is a practical solution for maximizing unused vertical space.
Idea 5: Bench with Hidden Shoe Storage

How to Create
A storage bench combines seating and organization in one functional piece. It is commonly placed in entryways, providing a convenient spot to sit while putting on or removing shoes. The hidden storage compartment keeps footwear out of sight, contributing to a clean and modern look.
To build this bench, construct a rectangular wooden box with a hinged lid. Divide the interior into sections to organize shoes efficiently. Add a cushioned top for comfort and aesthetic appeal. Paint or finish the bench to match the surrounding decor. Place the bench near the entrance for easy access. This DIY tutorial involves basic woodworking skills and provides a durable and stylish storage solution.
Idea 6: Transparent Shoe Boxes Display

Step-by-Step Guide
Transparent shoe boxes offer a clear and organized way to store footwear while keeping them protected from dust. This method allows easy identification of shoes without opening each box. It is particularly useful for collectors or individuals with multiple pairs.
To set up this system, purchase or create clear plastic boxes of uniform size. Stack them neatly in a closet or along a wall. Label each box if needed for additional organization. Arrange shoes by type, color, or usage frequency. Ensure the boxes are sturdy and properly aligned to prevent collapse. This setup method is simple, cost-effective, and aligns with modern minimalist storage trends.
Idea 7: Ladder-Style Shoe Rack

How to Make
A ladder-style rack leans against the wall and uses horizontal bars to hold shoes. This design is both functional and decorative, making it a popular Pinterest idea for modern homes. It creates an open display that enhances the aesthetic of the room.
To build the rack, use two long wooden beams and connect them with evenly spaced horizontal slats. Secure the structure and ensure it is stable when leaned against the wall. Sand and finish the wood for a smooth appearance. Place shoes on each level, ensuring even weight distribution. This creative project is simple and adds a unique visual element to the space.
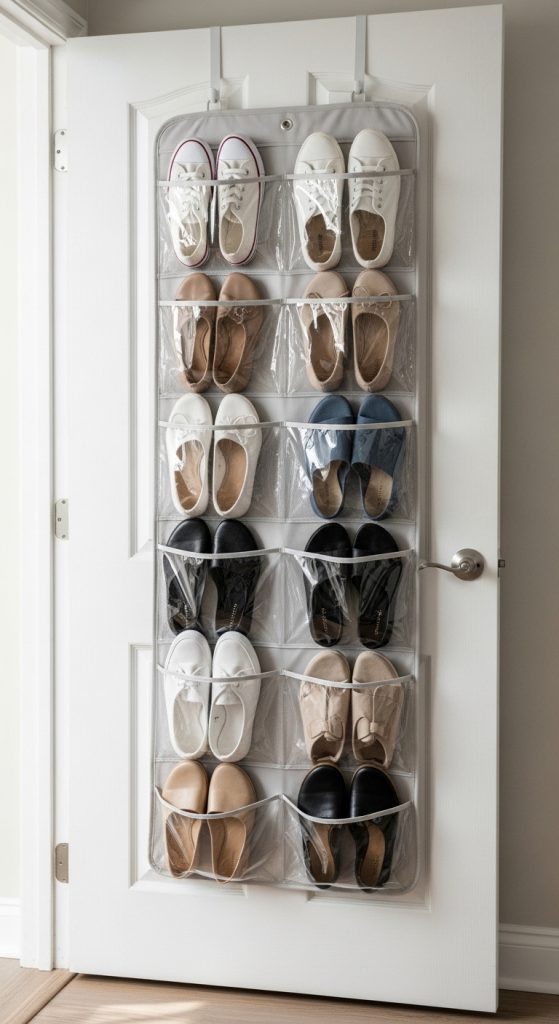
Idea 8: Pull-Out Closet Shoe Shelves
Execution Process
Pull-out shelves improve accessibility within closets by allowing shoes to slide out smoothly. This system makes it easier to view and select footwear without bending or rearranging items. It is ideal for organized and functional closet design.
To install pull-out shelves, measure the closet space and attach sliding rails to the sides. Build wooden shelves that fit within the rails and secure them properly. Test the sliding mechanism to ensure smooth operation. Arrange shoes neatly on each shelf. This method requires careful planning and precise measurements but provides a highly efficient storage solution.
Idea 9: Rotating Shoe Carousel

How to Create
A rotating shoe carousel is a space-efficient solution that allows easy access to multiple pairs. It is often used in closets or dressing areas and adds a modern, functional element to storage systems.
To create a carousel, use a circular base and attach vertical supports with rotating shelves. Install a central محور that allows smooth rotation. Divide the shelves into sections for different types of shoes. Ensure the structure is stable and balanced. This project may require more advanced tools but offers a unique and efficient storage system.
Idea 10: Wall-Mounted Shoe Grid System
Setup Method

A wall-mounted grid system uses metal or wooden panels to hold shoes in an organized pattern. This design is flexible and allows customization based on space and storage needs. It is commonly seen in modern and industrial-style interiors.
To set up the grid, mount panels securely on the wall using anchors and screws. Attach hooks or small shelves to hold shoes. Arrange the layout based on preference and available space. Ensure even spacing for a balanced look. This system is adaptable and supports creative ideas while maintaining functionality.
Common Beginner Mistakes and How to Avoid Them
One common mistake in DIY shoe storage projects is incorrect measurement. Inaccurate dimensions can lead to poor fitting and unstable structures. Always measure the space carefully and double-check before cutting materials. Another issue is overloading shelves beyond their capacity, which can cause damage or collapse. Selecting strong materials and proper supports prevents this problem. Beginners also tend to skip planning, resulting in disorganized layouts. Creating a clear plan ensures efficiency and better results. Using unsuitable materials can reduce durability, so it is important to choose items designed for weight-bearing use. Avoid rushing the process and follow each step carefully for a successful outcome.
Practical Tips for Better Results
For better results, focus on organization and consistency. Group shoes by type or frequency of use to improve accessibility. Use labels or color coding for quick identification. Ensure proper spacing between shelves to accommodate different shoe sizes. Regular cleaning and maintenance keep the storage system functional and visually appealing. When working on a DIY project, use quality tools and follow safety precautions. Testing stability before full use prevents accidents. Keeping the design simple enhances usability and aligns with modern minimalist style.
Styling, Presentation, or Organization Ideas
Styling plays a key role in making shoe storage visually appealing. Use neutral colors or coordinated finishes to match the overall home decor. Arrange shoes neatly and maintain symmetry for a clean look. Incorporate decorative elements such as baskets or lighting to enhance the aesthetic. Open storage systems can be styled like display units, showcasing footwear as part of the room design. Keeping the area clutter-free improves both functionality and presentation.
Budget or Time Planning
Effective planning helps complete projects within budget and time constraints. Start by listing required materials and comparing costs to avoid overspending. Choose simple designs that require fewer tools and less time. Reuse existing materials when possible to reduce expenses. Allocate time for each step and avoid rushing the process. Working in stages improves accuracy and reduces errors. Budget ideas and efficient planning ensure a smooth and cost-effective project.
Creative Expansion and Advanced Inspiration
Once basic storage systems are established, consider expanding into more advanced designs. Combine multiple ideas to create hybrid solutions, such as integrating shelves with seating or lighting. Experiment with different materials to achieve unique finishes. Add smart features like adjustable shelves for flexibility. Explore creative project variations that suit changing needs. Advanced inspiration can transform simple storage into a multifunctional and visually striking element of the home.